Part IV | Sequencer |
Correcting the data
1.In the STEP RECORD mode, specify the track you wish to correct.
2.Use the MEAS buttons to go to the measure you wish to modify. Use the CURSOR buttons
to move the cursor to the point ( * ) you wish to edit.
•The data stored at that point is shown on the display.
•When multiple data is stored at one point, different data is displayed in order each time a CURSOR button is pressed. When a chord is recorded, a different note in the chord is displayed each time a CURSOR button is pressed.
3.Correct the data.
There are three types of data:
Performance data
NOTE data (note pitch) and VEL data (how hard the key was played) and LEN data (1 = 1/96 of a quarter note [ ]) are displayed. Use the rele- vant buttons to correct the data as desired.
Sound data
The name of the sound is displayed. Change the sound as desired (the sound setting display is interposed on the current display).
Control data
The name of the function is displayed. Change the data as desired.
•Press the ERS button to erase the data which is displayed.
•You can also correct data which was stored in the REALTIME RECORD mode.
•Performance (NOTE) data can be recorded or edited on a piano roll display, and there is also a specialized display for recording and editing the DRUMS part data. (Refer to page 99.)
Sequencer
Assigning the images
Assign images to the selected point (PIC) of a song.
1.Use the SONG SELECT ∧ and ∨ of the SEQUENCER MENU display to select a song number to which the images will be assigned, and select RECORD & EDIT.
2.Select STEP RECORD on the RECORD & EDIT display.
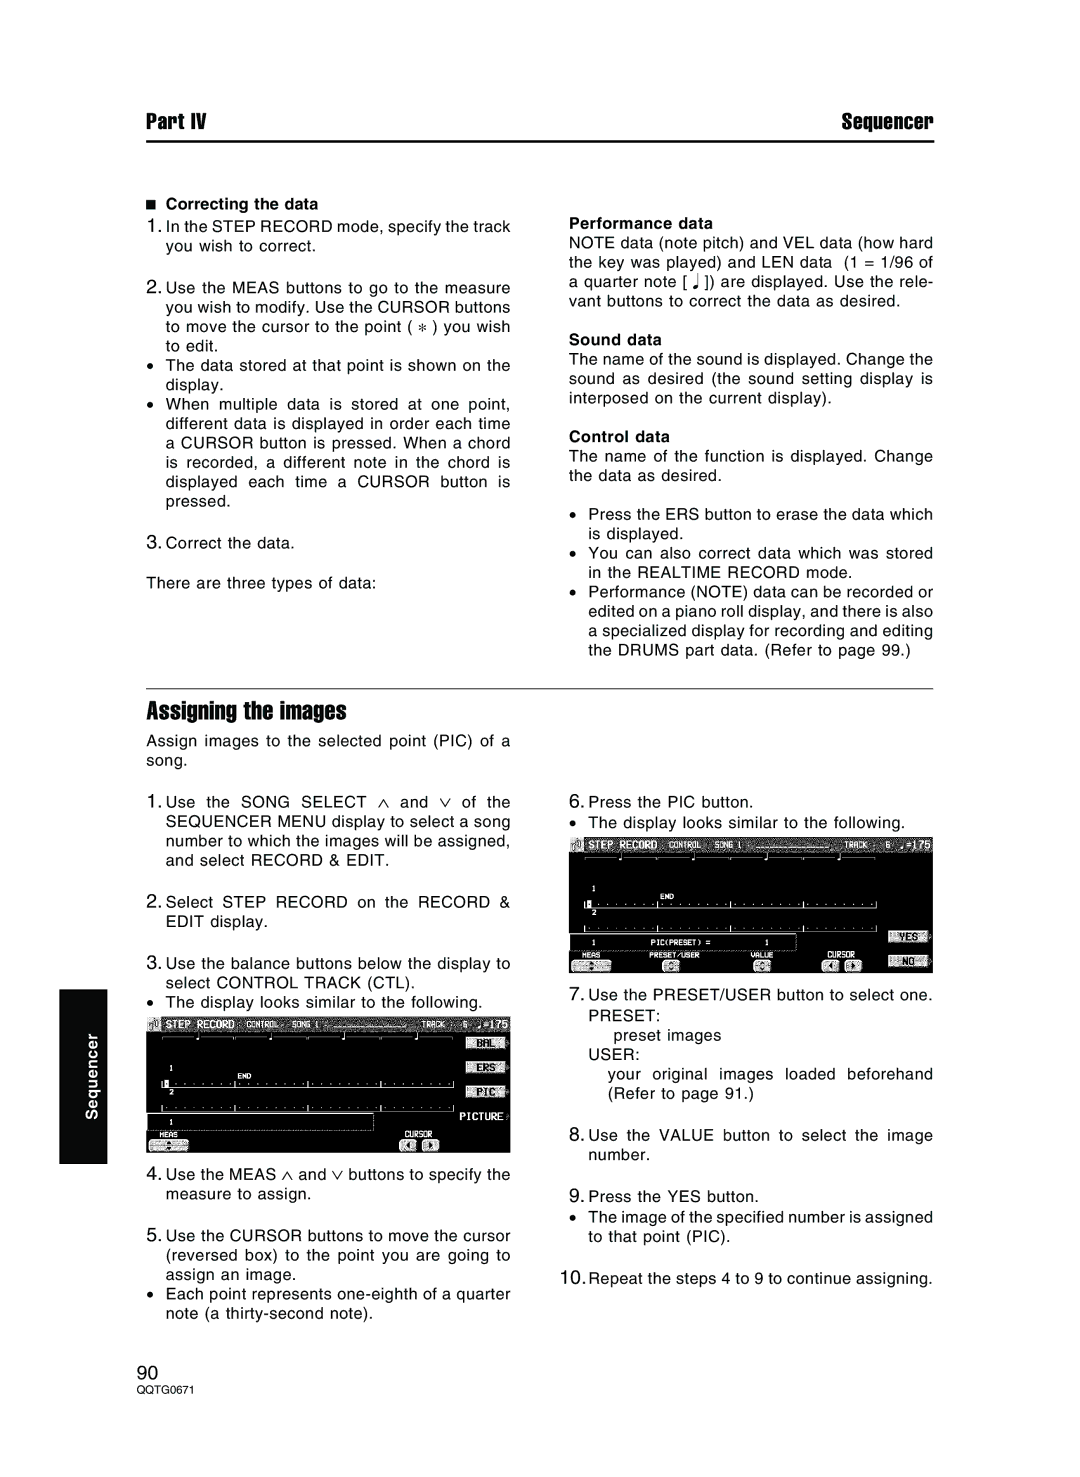
3.Use the balance buttons below the display to
select CONTROL TRACK (CTL).
•The display looks similar to the following.
4.Use the MEAS ∧ and ∨ buttons to specify the measure to assign.
5.Use the CURSOR buttons to move the cursor (reversed box) to the point you are going to assign an image.
•Each point represents
6.Press the PIC button.
•The display looks similar to the following.
7.Use the PRESET/USER button to select one.
PRESET: preset images
USER:
your original images loaded beforehand (Refer to page 91.)
8.Use the VALUE button to select the image number.
9.Press the YES button.
•The image of the specified number is assigned to that point (PIC).
10.Repeat the steps 4 to 9 to continue assigning.
90