English
Settings (continued)
(INPUT/OUTPUT continued)
USER SCREEN AUDIO DVD INPUT/OUTPUT RADIO
English
47
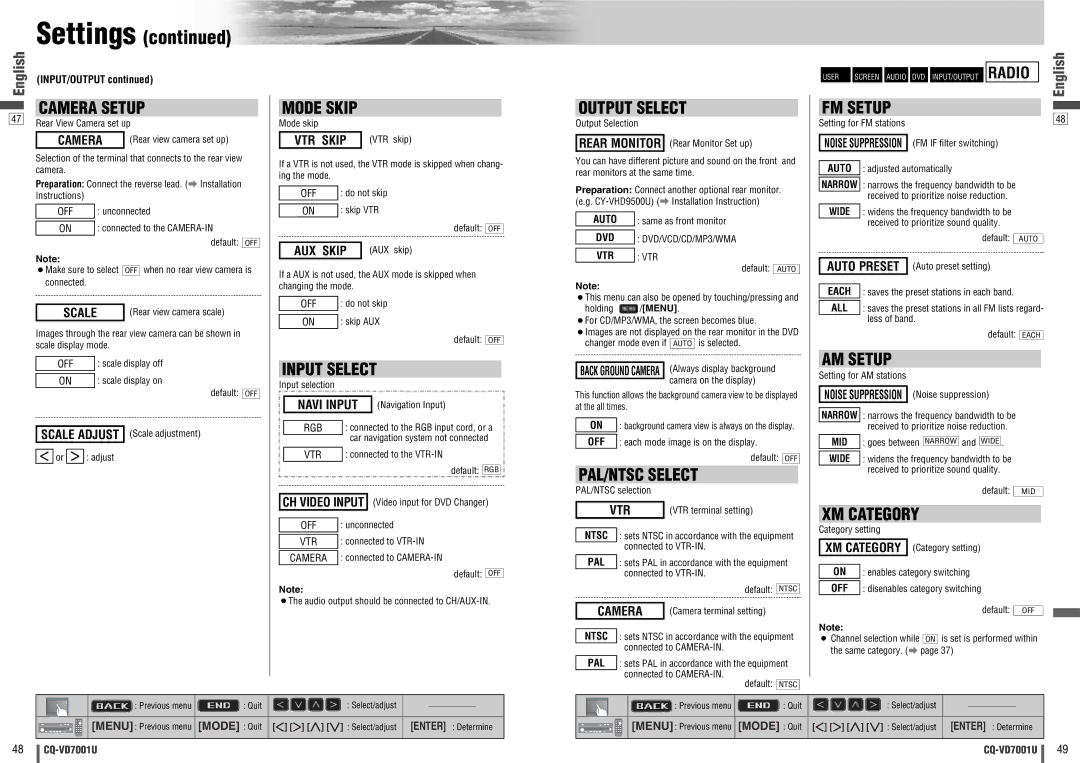
CAMERA SETUP
Rear View Camera set up
CAMERA | (Rear view camera set up) |
Selection of the terminal that connects to the rear view camera.
Preparation: Connect the reverse lead. (a Installation Instructions)
OFF | : unconnected |
| : connected to the |
ON |
default: OFF
Note: |
|
|
|
¡Make sure to select |
|
| when no rear view camera is |
| OFF | ||
connected. |
|
|
|
|
|
| |
SCALE |
| (Rear view camera scale) | |
Images through the rear view camera can be shown in scale display mode.
OFF | : scale display off |
|
|
ON | : scale display on |
default: OFF
SCALE ADJUST (Scale adjustment) ] or [ : adjust
MODE SKIP
Mode skip |
|
VTR SKIP | (VTR skip) |
If a VTR is not used, the VTR mode is skipped when chang- ing the mode.
OFF | : do not skip | ||||
| : skip VTR | ||||
ON | |||||
|
|
| default: |
|
|
|
|
| OFF | ||
|
|
|
|
|
|
AUX SKIP |
| (AUX skip) |
| ||
If a AUX is not used, the AUX mode is skipped when changing the mode.
OFF | : do not skip |
|
|
ON | : skip AUX |
default: OFF
INPUT SELECT
Input selection
NAVI INPUT (Navigation Input)
| RGB |
| : connected to the RGB input cord, or a | ||||
|
|
| car navigation system not connected | ||||
|
|
| |||||
|
|
|
|
|
|
| |
| VTR |
| : connected to the | ||||
|
|
|
|
| default: |
|
|
|
| RGB | |||||
|
| ||||||
CH VIDEO INPUT |
| (Video input for DVD Changer) |
| ||||
|
|
|
|
|
|
|
|
| OFF | : unconnected | |||||
|
|
|
|
|
|
|
|
| VTR | : connected to | |||||
CAMERA : connected to
default: OFF
Note:
¡The audio output should be connected to
OUTPUT SELECT
Output Selection
REAR MONITOR (Rear Monitor Set up)
You can have different picture and sound on the front and rear monitors at the same time.
Preparation: Connect another optional rear monitor. (e.g.
AUTO | : same as front monitor |
|
|
DVD | : DVD/VCD/CD/MP3/WMA |
|
|
VTR | : VTR |
default: AUTO
Note:
¡This menu can also be opened by touching/pressing and
holding ![]() /[MENU].
/[MENU].
¡For CD/MP3/WMA, the screen becomes blue.
¡Images are not displayed on the rear monitor in the DVD
changer mode even if | AUTO | is selected. | |
|
|
|
|
BACK GROUND CAMERA |
| (Always display background | |
|
| camera on the display) | |
|
| ||
This function allows the background camera view to be displayed at the all times.
ON | : background camera view is always on the display. | |
|
|
|
OFF | : each mode image is on the display. | |
| default: |
|
| OFF | |
PAL/NTSC SELECT
PAL/NTSC selection
VTR |
| (VTR terminal setting) |
NTSC : sets NTSC in accordance with the equipment connected to
PAL : sets PAL in accordance with the equipment connected to
default: NTSC
CAMERA |
| (Camera terminal setting) |
NTSC : sets NTSC in accordance with the equipment connected to
PAL : sets PAL in accordance with the equipment connected to
default: NTSC
FM SETUP
Setting for FM stations
NOISE SUPPRESSION (FM IF filter switching) AUTO : adjusted automatically
NARROW : narrows the frequency bandwidth to be received to prioritize noise reduction.
WIDE : widens the frequency bandwidth to be received to prioritize sound quality.
default: AUTO
AUTO PRESET (Auto preset setting) EACH : saves the preset stations in each band.
ALL : saves the preset stations in all FM lists regard- less of band.
default: EACH
AM SETUP
Setting for AM stations
NOISE SUPPRESSION (Noise suppression)
NARROW : narrows the frequency bandwidth to be received to prioritize noise reduction.
MID : goes between NARROW and WIDE .
WIDE : widens the frequency bandwidth to be received to prioritize sound quality.
default: MID
XM CATEGORY
Category setting
XM CATEGORY (Category setting)
ON | : enables category switching |
|
|
OFF | : disenables category switching |
default: OFF
Note:
¡Channel selection while ON is set is performed within the same category. (a page 37)
48
|
| : Previous menu | : Quit | : Select/adjust |
|
|
|
|
|
|
|
| |||
|
|
|
|
|
|
|
|
|
| [MENU] : Previous menu | [MODE] : Quit | []] [[] [}] [{] : Select/adjust | [ENTER] : Determine | ||
| |||||||
| |||||||
|
|
|
|
|
|
|
|
|
| : Previous menu | : Quit | : Select/adjust |
|
|
|
|
|
|
|
| |||
|
|
|
|
|
|
|
|
|
| [MENU] : Previous menu | [MODE] : Quit | []] [[] [}] [{] : Select/adjust | [ENTER] : Determine | ||
| |||||||
| |||||||
|
|
|
|
|
|
|
|
48
49
