6 (Only when [SELECT SCENES] is selected | 7 (Only when [SELECT SCENES]/ |
in step 5) | [SELECT DATE] is selected in step 5) |
Touch the scene you want to copy.
≥When touched, the scene is selected and the
![]()
![]() indication appears on the thumbnail. Touch the scene again to cancel the operation.
indication appears on the thumbnail. Touch the scene again to cancel the operation.
≥Up to 99 scenes can be selected in succession.
(Only when [SELECT DATE] is selected in
step 5)
Touch the date you want to copy.
≥When touched, the date is selected and surrounded by red. Touch the date again to cancel the operation.
≥Up to 99 dates can be selected in succession.
Touch [Enter]/[ENTER].
≥Touch [NEXT].
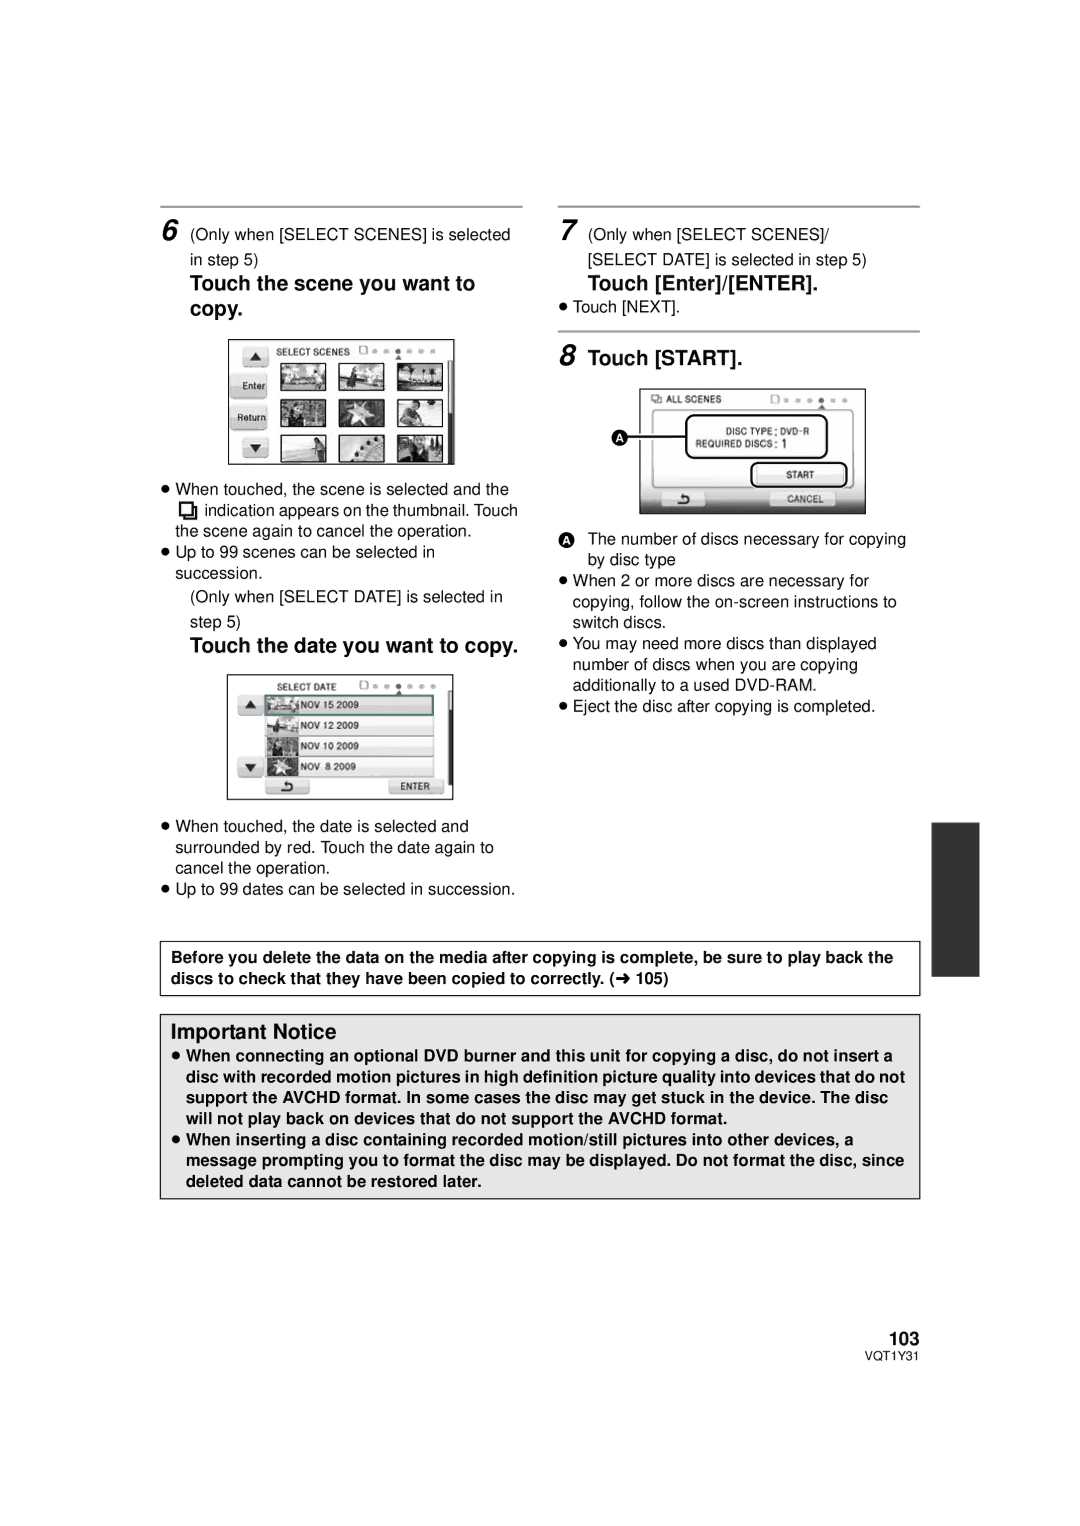
8 Touch [START].
AThe number of discs necessary for copying by disc type
≥When 2 or more discs are necessary for copying, follow the
≥You may need more discs than displayed number of discs when you are copying additionally to a used
≥Eject the disc after copying is completed.
Before you delete the data on the media after copying is complete, be sure to play back the discs to check that they have been copied to correctly. (l 105)
Important Notice
≥When connecting an optional DVD burner and this unit for copying a disc, do not insert a disc with recorded motion pictures in high definition picture quality into devices that do not support the AVCHD format. In some cases the disc may get stuck in the device. The disc will not play back on devices that do not support the AVCHD format.
≥When inserting a disc containing recorded motion/still pictures into other devices, a message prompting you to format the disc may be displayed. Do not format the disc, since deleted data cannot be restored later.