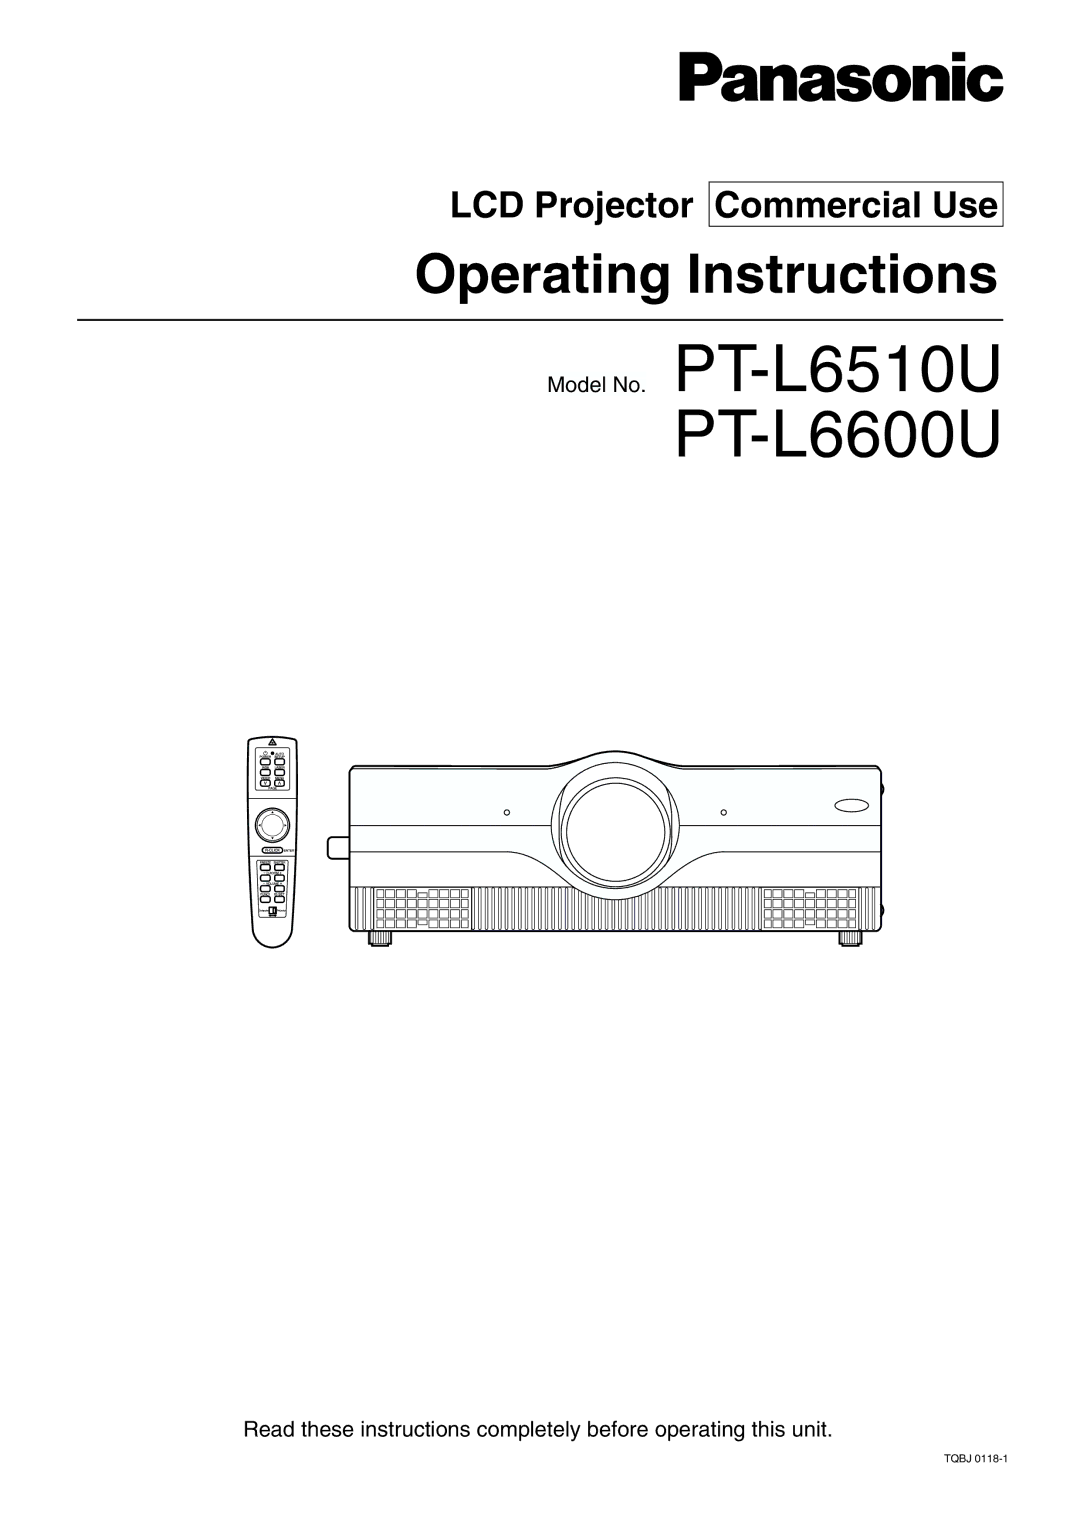
LCD Projector Commercial Use
Operating Instructions
Model No. PT-L6510U
PT-L6600U
Read these instructions completely before operating this unit.
TQBJ
1
Operating Instructions
Read these instructions completely before operating this unit.
TQBJ
1