OPTION 2 settings
 SETTING UNIT ID
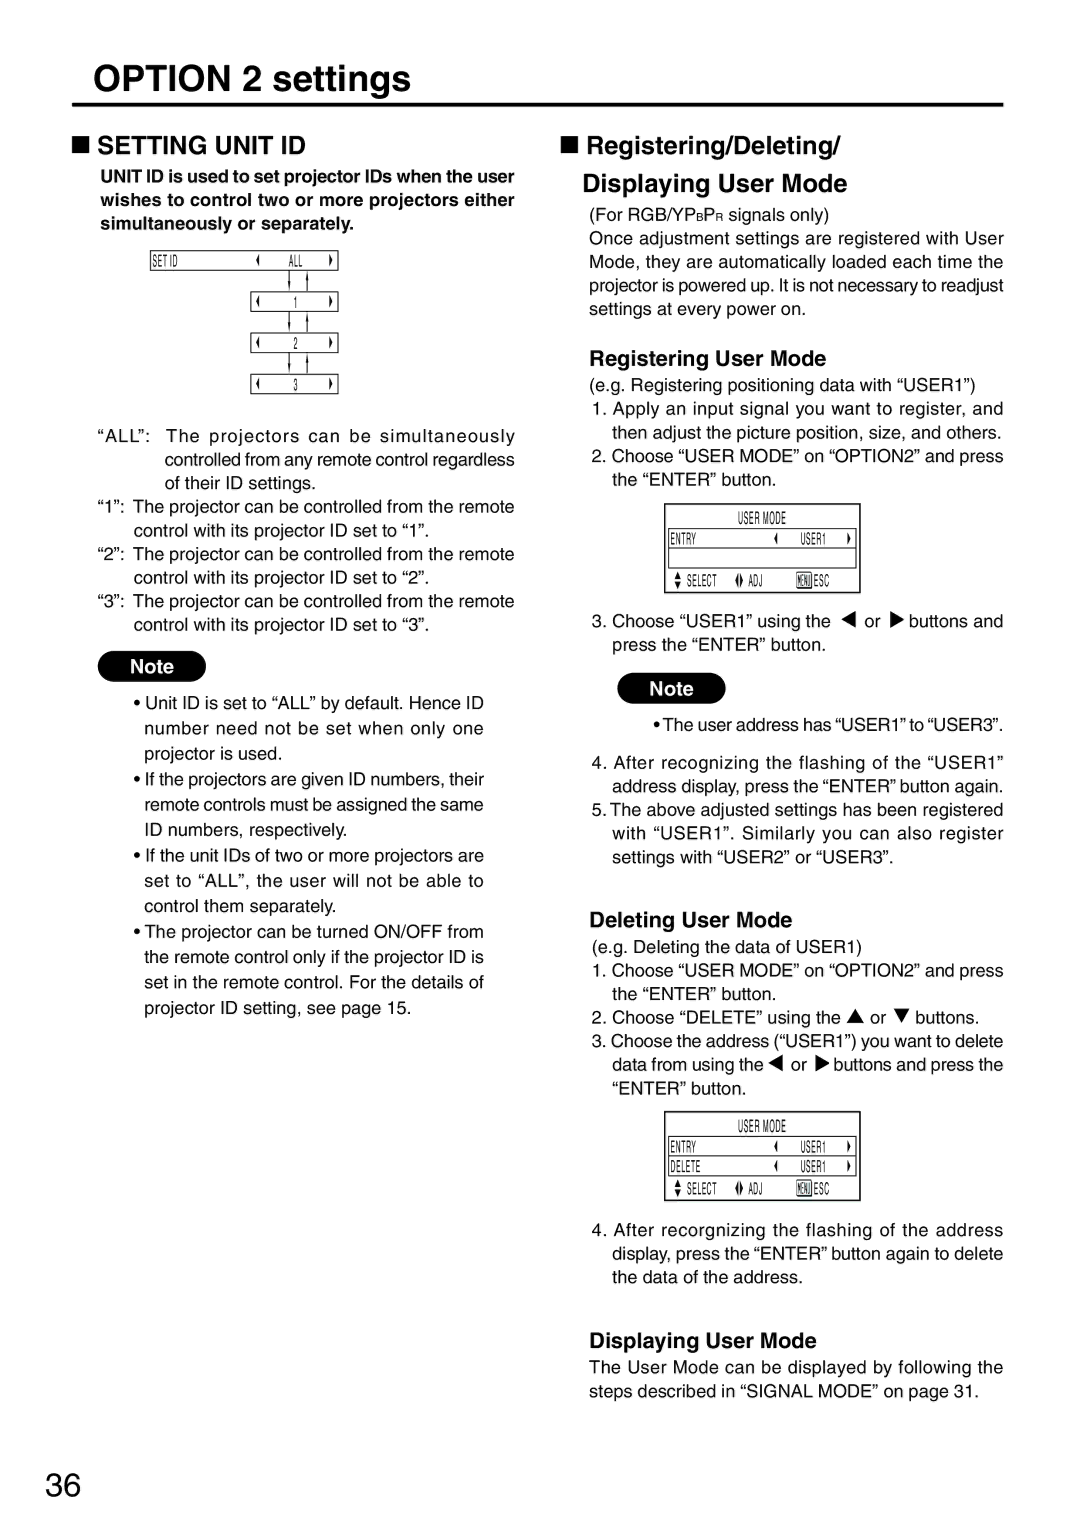
UNIT ID is used to set projector IDs when the user wishes to control two or more projectors either simultaneously or separately.
SET ID | ALL | |
|
|
|
|
|
|
1
2
3
“ALL”: The projectors can be simultaneously controlled from any remote control regardless of their ID settings.
“1”: The projector can be controlled from the remote control with its projector ID set to “1”.
“2”: The projector can be controlled from the remote control with its projector ID set to “2”.
“3”: The projector can be controlled from the remote control with its projector ID set to “3”.
Note
•Unit ID is set to “ALL” by default. Hence ID number need not be set when only one projector is used.
•If the projectors are given ID numbers, their remote controls must be assigned the same ID numbers, respectively.
•If the unit IDs of two or more projectors are set to “ALL”, the user will not be able to control them separately.
•The projector can be turned ON/OFF from the remote control only if the projector ID is set in the remote control. For the details of projector ID setting, see page 15.
 Registering/Deleting/
Displaying User Mode
(For RGB/YPBPR signals only)
Once adjustment settings are registered with User Mode, they are automatically loaded each time the projector is powered up. It is not necessary to readjust settings at every power on.
Registering User Mode
(e.g. Registering positioning data with “USER1”)
1.Apply an input signal you want to register, and then adjust the picture position, size, and others.
2.Choose “USER MODE” on “OPTION2” and press the “ENTER” button.
USER MODE
ENTRYUSER1
SELECT | ADJ |
|
|
| ESC |
|
|
3.Choose “USER1” using the ![]() or
or ![]() buttons and press the “ENTER” button.
buttons and press the “ENTER” button.
Note
•The user address has “USER1” to “USER3”.
4.After recognizing the flashing of the “USER1” address display, press the “ENTER” button again.
5.The above adjusted settings has been registered with “USER1”. Similarly you can also register settings with “USER2” or “USER3”.
Deleting User Mode
(e.g. Deleting the data of USER1)
1.Choose “USER MODE” on “OPTION2” and press the “ENTER” button.
2.Choose “DELETE” using the ![]() or
or ![]() buttons.
buttons.
3.Choose the address (“USER1”) you want to delete data from using the ![]() or
or ![]() buttons and press the “ENTER” button.
buttons and press the “ENTER” button.
USER MODE
ENTRY |
| USER1 | |||
DELETE |
| USER1 | |||
SELECT | ADJ |
|
|
| ESC |
|
| ||||
|
| ||||
4.After recorgnizing the flashing of the address display, press the “ENTER” button again to delete the data of the address.
Displaying User Mode
The User Mode can be displayed by following the steps described in “SIGNAL MODE” on page 31.
36