Model 3202 Getting Started Guide | 5 • Console and Telnet configuration | |
| ||
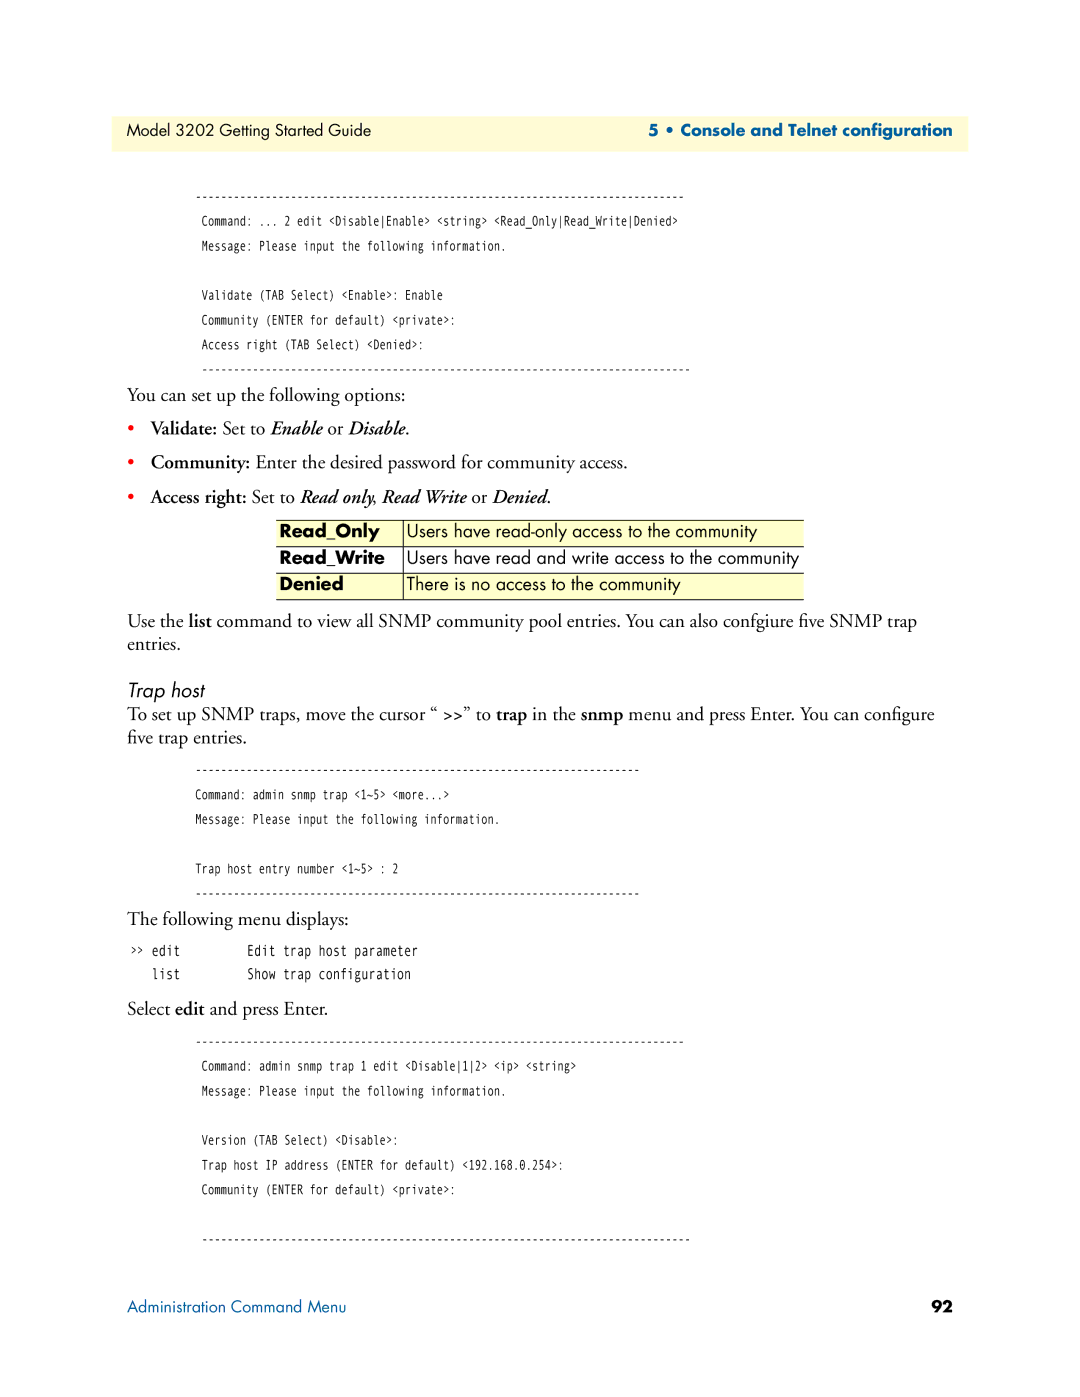
Command: | ... 2 edit <DisableEnable> <string> <Read_OnlyRead_WriteDenied> | |
Message: | Please input the following information. |
|
Validate (TAB Select) <Enable>: Enable
Community (ENTER for default) <private>:
Access right (TAB Select) <Denied>:
You can set up the following options:
•Validate: Set to Enable or Disable.
•Community: Enter the desired password for community access.
•Access right: Set to Read only, Read Write or Denied.
Read_Only | Users have |
Read_Write | Users have read and write access to the community |
|
|
Denied | There is no access to the community |
|
|
Use the list command to view all SNMP community pool entries. You can also confgiure five SNMP trap entries.
Trap host
To set up SNMP traps, move the cursor “ >>” to trap in the snmp menu and press Enter. You can configure five trap entries.
| |
| Command: admin snmp trap <1~5> <more...> |
| Message: Please input the following information. |
| Trap host entry number <1~5> : 2 |
| |
The following menu displays: | |
>> edit | Edit trap host parameter |
list | Show trap configuration |
Select edit and press Enter.
Command: admin snmp trap 1 edit <Disable12> <ip> <string>
Message: Please input the following information.
Version (TAB Select) <Disable>:
Trap host IP address (ENTER for default) <192.168.0.254>:
Community (ENTER for default) <private>:
Administration Command Menu | 92 |
