9490 Operator’s Handbook
Using the Trigger and LED –––––––––––––––––––––––––––––––––––
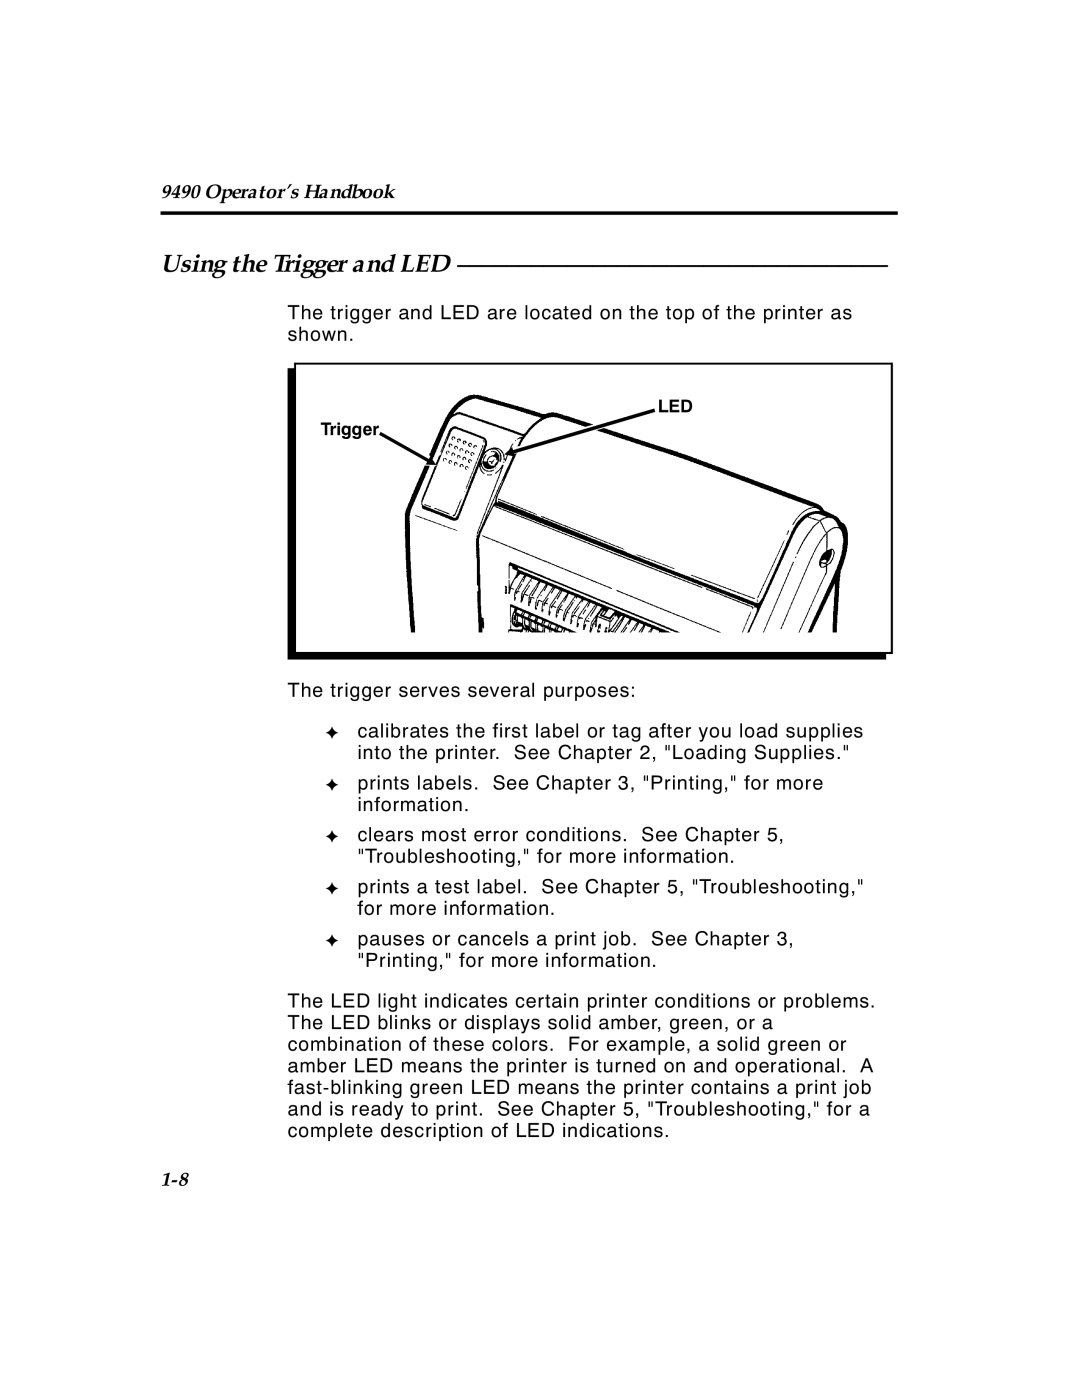
The trigger and LED are located on the top of the printer as shown.
LED
Trigger
The trigger serves several purposes:
✦calibrates the first label or tag after you load supplies into the printer. See Chapter 2, "Loading Supplies."
✦prints labels. See Chapter 3, "Printing," for more information.
✦clears most error conditions. See Chapter 5, "Troubleshooting," for more information.
✦prints a test label. See Chapter 5, "Troubleshooting," for more information.
✦pauses or cancels a print job. See Chapter 3, "Printing," for more information.
The LED light indicates certain printer conditions or problems. The LED blinks or displays solid amber, green, or a combination of these colors. For example, a solid green or amber LED means the printer is turned on and operational. A
TC9490OH Rev. C 3/97 |