3.Click a second time line point where you want the locked clip to end. Click Lock again. [Or, turn the Jog (inner dial) ![]() to select the end of the locked clip, and then select Lock.] A message appears in the information bar telling you the end time and date. The time line updates to indicate the locked clip.
to select the end of the locked clip, and then select Lock.] A message appears in the information bar telling you the end time and date. The time line updates to indicate the locked clip.
To lock a video clip from an enhanced search:
1.Perform an enhanced search. Refer to Performing an Enhanced Search on page 31. The Enhanced Search dialog box appears (refer to Enhanced Search Dialog Box on page 31).
2.Select a video clip [or turn the Jog (inner dial) ![]() to select a video clip], and then select Lock.
to select a video clip], and then select Lock.
To unlock a video clip:
You can unlock any video clip that has been locked by first performing an enhanced search for locked video.
1.Perform an enhanced search by setting the type to Locked or All Types. Refer to Performing an Enhanced Search on page 31.
2.Select a locked video clip [or turn the Jog (inner dial) ![]() to select a locked video clip], and then select Unlock.
to select a locked video clip], and then select Unlock.
NOTE: You can also unlock a video clip from the Quick Search dialog box. Place the time line cursor over a locked clip and the Lock icon toggles to Unlock.
MARKING AN EVENT
You can mark an event on a video clip while you are playing back recorded video. Marking an event on a video clip makes it easier to locate later. Unlike locked video, marked events are overwritten according to the disk overwrite settings for the DVR5100. Follow the instructions below to mark an event.
To mark an event from the Quick Export menu:
1.Play back recorded video. The border around the video pane is yellow.
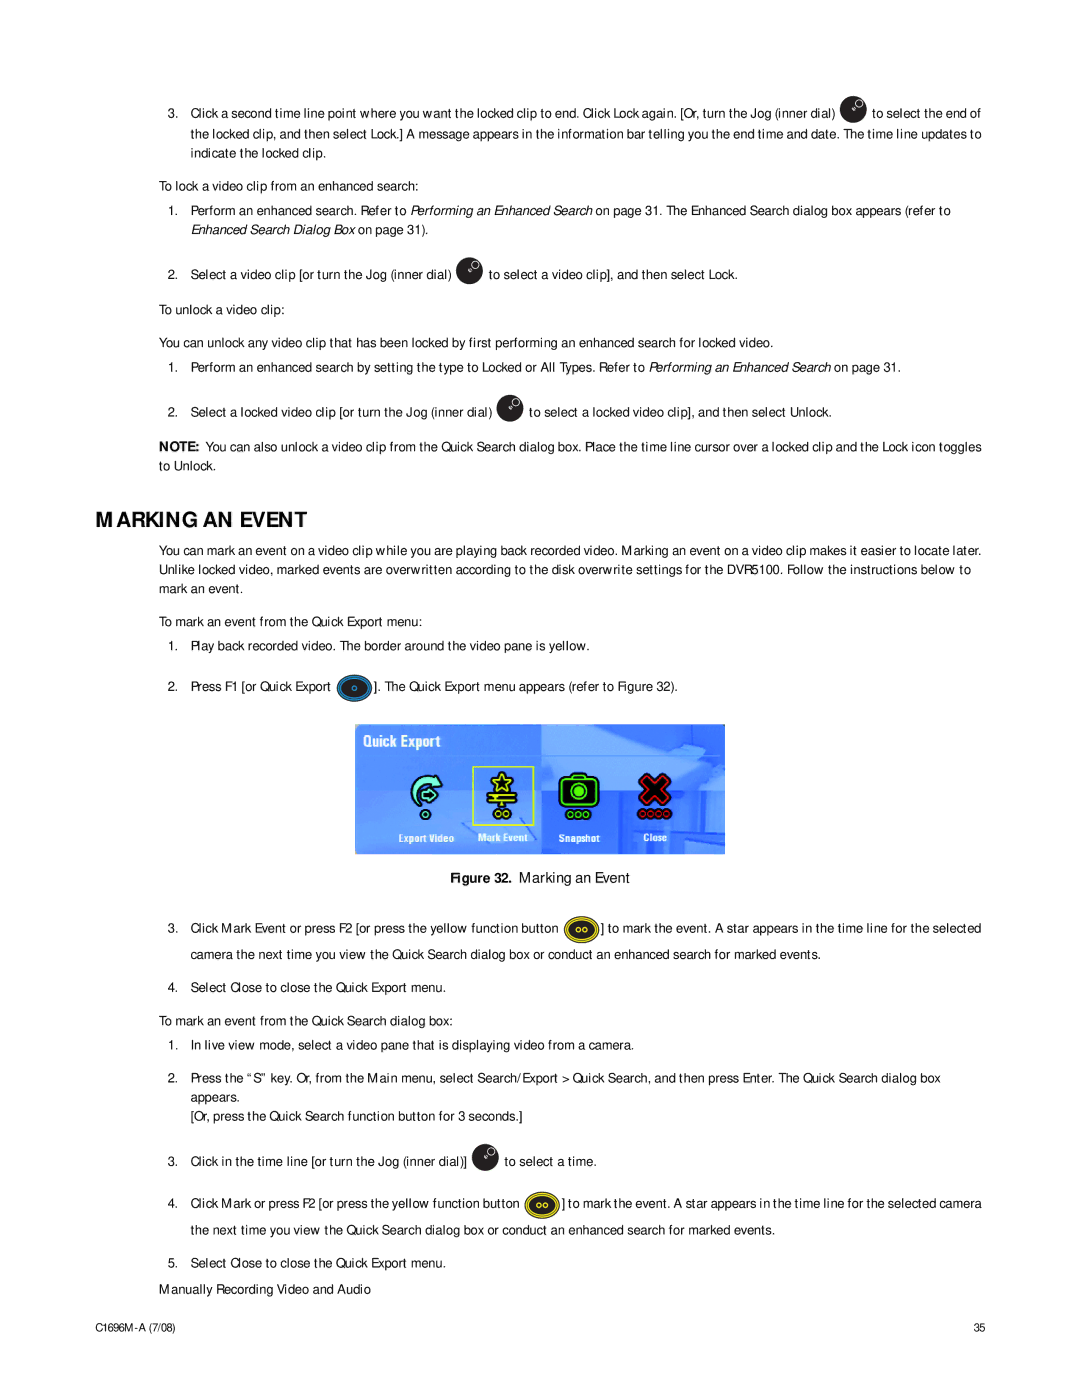
2.Press F1 [or Quick Export ![]() ]. The Quick Export menu appears (refer to Figure 32).
]. The Quick Export menu appears (refer to Figure 32).
Figure 32. Marking an Event
3.Click Mark Event or press F2 [or press the yellow function button ![]() ] to mark the event. A star appears in the time line for the selected camera the next time you view the Quick Search dialog box or conduct an enhanced search for marked events.
] to mark the event. A star appears in the time line for the selected camera the next time you view the Quick Search dialog box or conduct an enhanced search for marked events.
4.Select Close to close the Quick Export menu.
To mark an event from the Quick Search dialog box:
1.In live view mode, select a video pane that is displaying video from a camera.
2.Press the “S” key. Or, from the Main menu, select Search/Export > Quick Search, and then press Enter. The Quick Search dialog box appears.
[Or, press the Quick Search function button for 3 seconds.]
3.Click in the time line [or turn the Jog (inner dial)] ![]() to select a time.
to select a time.
4.Click Mark or press F2 [or press the yellow function button ![]() ] to mark the event. A star appears in the time line for the selected camera the next time you view the Quick Search dialog box or conduct an enhanced search for marked events.
] to mark the event. A star appears in the time line for the selected camera the next time you view the Quick Search dialog box or conduct an enhanced search for marked events.
5.Select Close to close the Quick Export menu.
Manually Recording Video and Audio
35 |
