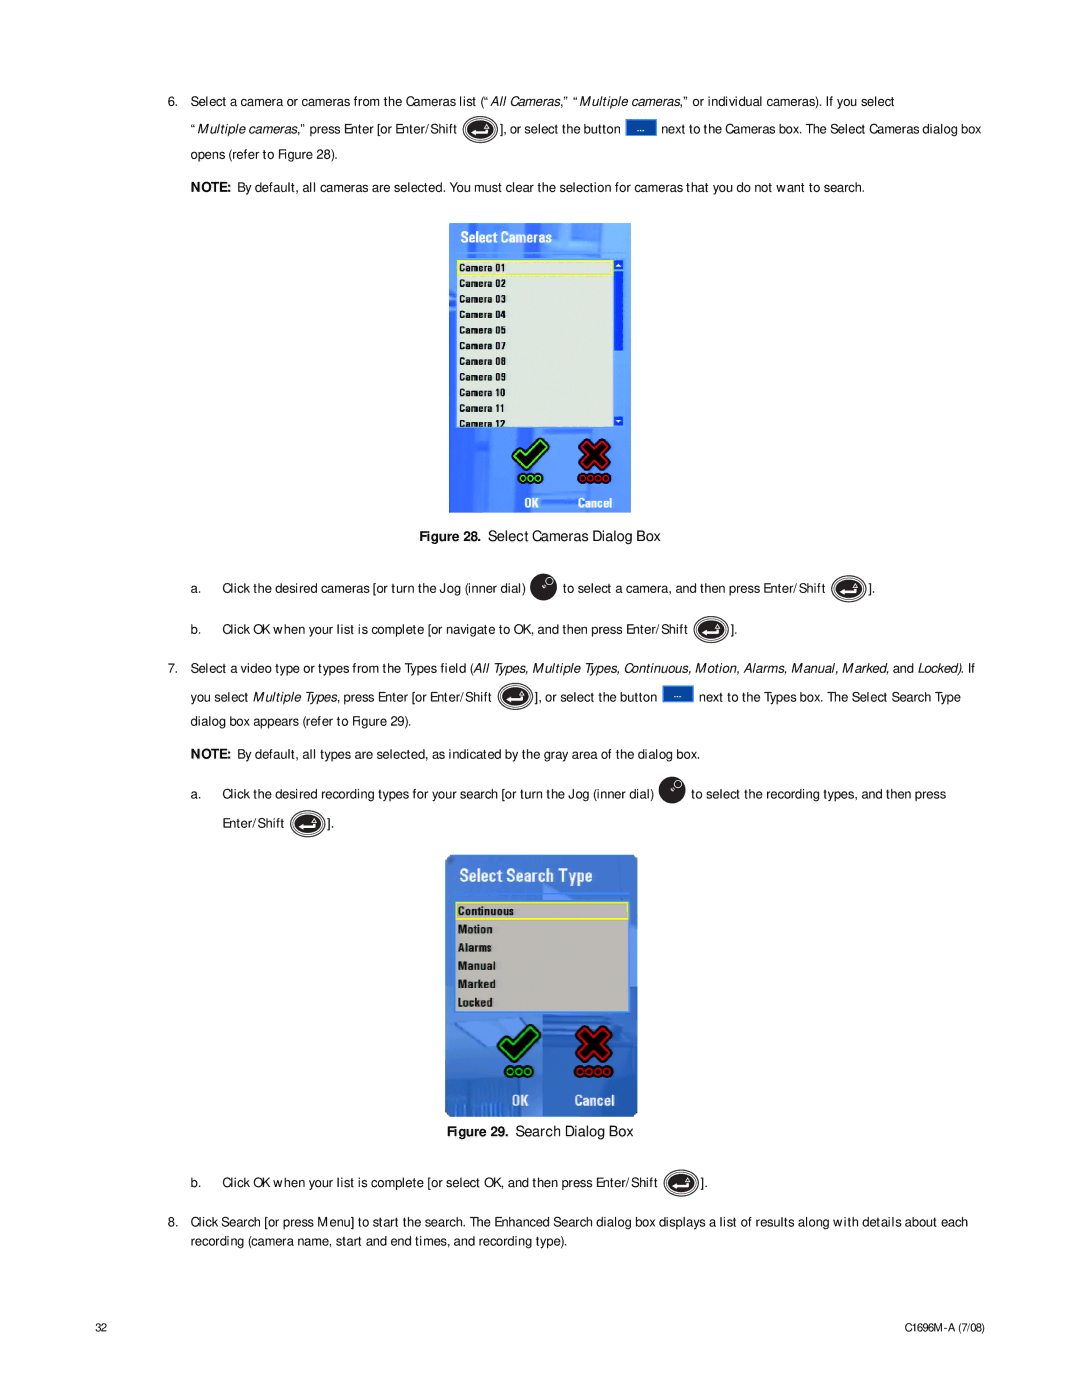
6.Select a camera or cameras from the Cameras list (“All Cameras,” “Multiple cameras,” or individual cameras). If you select
“Multiple cameras,” press Enter [or Enter/Shift ![]() ], or select the button
], or select the button ![]() next to the Cameras box. The Select Cameras dialog box opens (refer to Figure 28).
next to the Cameras box. The Select Cameras dialog box opens (refer to Figure 28).
NOTE: By default, all cameras are selected. You must clear the selection for cameras that you do not want to search.
Figure 28. Select Cameras Dialog Box
a.Click the desired cameras [or turn the Jog (inner dial)  to select a camera, and then press Enter/Shift
  ].
].
b.Click OK when your list is complete [or navigate to OK, and then press Enter/Shift  ].
].
7.Select a video type or types from the Types field (All Types, Multiple Types, Continuous, Motion, Alarms, Manual, Marked, and Locked). If
you select Multiple Types, press Enter [or Enter/Shift ![]() ], or select the button
], or select the button ![]() next to the Types box. The Select Search Type dialog box appears (refer to Figure 29).
next to the Types box. The Select Search Type dialog box appears (refer to Figure 29).
NOTE: By default, all types are selected, as indicated by the gray area of the dialog box.
a.Click the desired recording types for your search [or turn the Jog (inner dial) ![]() to select the recording types, and then press
to select the recording types, and then press
Enter/Shift  ].
].
Figure 29. Search Dialog Box
b. Click OK when your list is complete [or select OK, and then press Enter/Shift  ].
].
8.Click Search [or press Menu] to start the search. The Enhanced Search dialog box displays a list of results along with details about each recording (camera name, start and end times, and recording type).
32 |