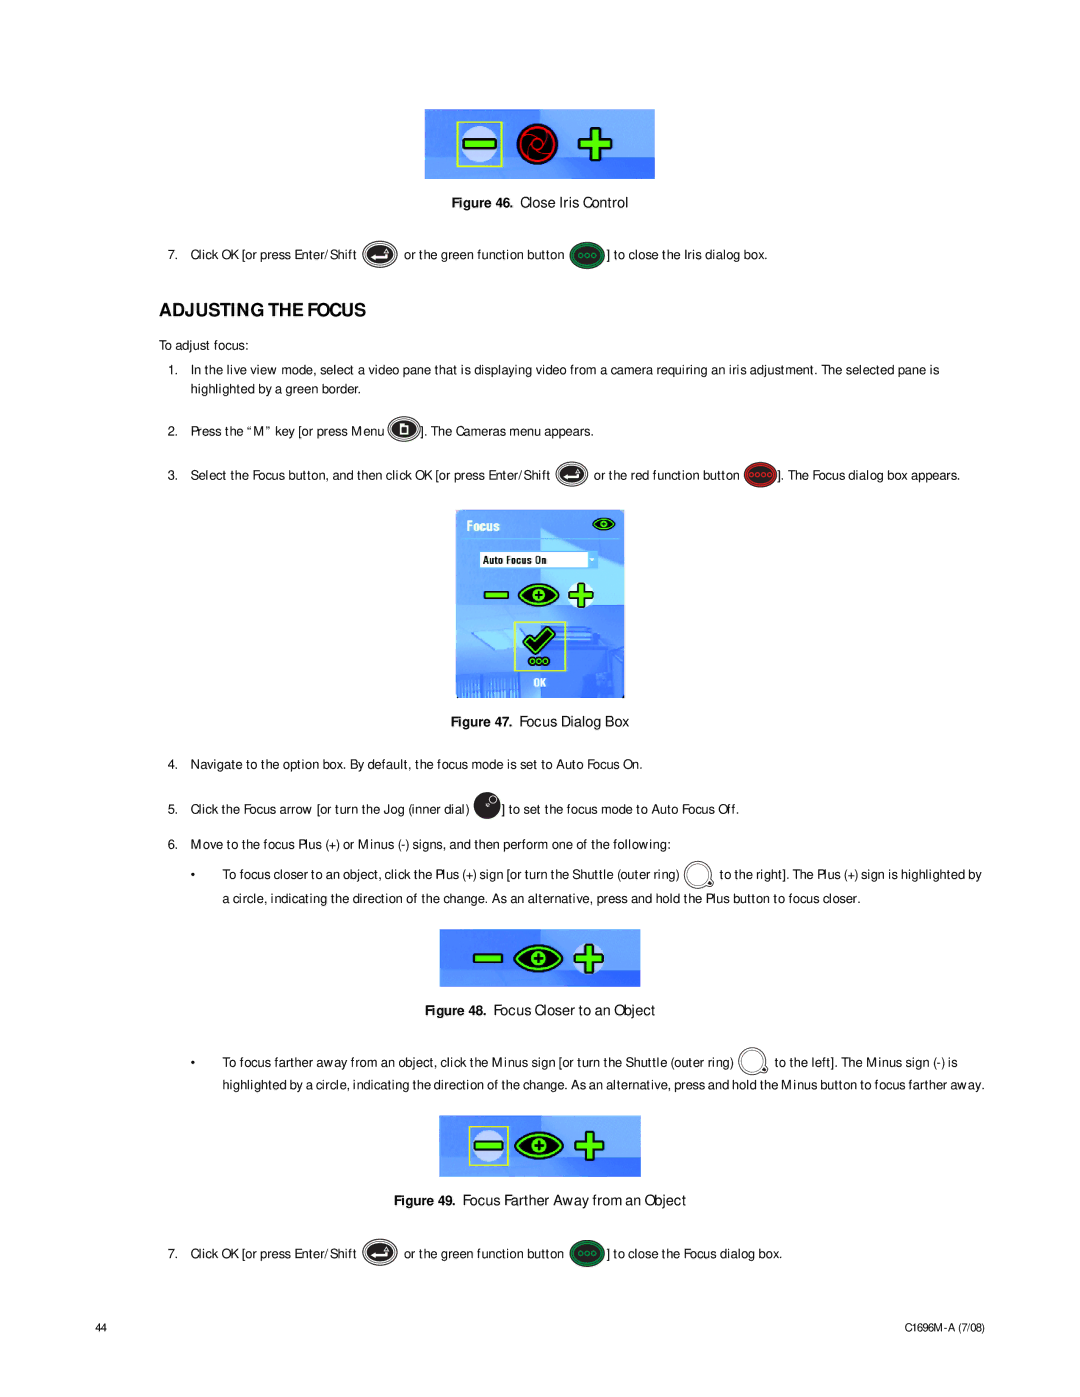
Figure 46. Close Iris Control
7. Click OK [or press Enter/Shift  or the green function button
  ] to close the Iris dialog box.
ADJUSTING THE FOCUS
To adjust focus:
1.In the live view mode, select a video pane that is displaying video from a camera requiring an iris adjustment. The selected pane is highlighted by a green border.
2.Press the “M” key [or press Menu ![]() ]. The Cameras menu appears.
]. The Cameras menu appears.
3.Select the Focus button, and then click OK [or press Enter/Shift ![]() or the red function button
or the red function button ![]() ]. The Focus dialog box appears.
]. The Focus dialog box appears.
Figure 47. Focus Dialog Box
4.Navigate to the option box. By default, the focus mode is set to Auto Focus On.
5.Click the Focus arrow [or turn the Jog (inner dial)  ] to set the focus mode to Auto Focus Off.
6.Move to the focus Plus (+) or Minus (-) signs, and then perform one of the following:
•To focus closer to an object, click the Plus (+) sign [or turn the Shuttle (outer ring) ![]() to the right]. The Plus (+) sign is highlighted by a circle, indicating the direction of the change. As an alternative, press and hold the Plus button to focus closer.
to the right]. The Plus (+) sign is highlighted by a circle, indicating the direction of the change. As an alternative, press and hold the Plus button to focus closer.
Figure 48. Focus Closer to an Object
•To focus farther away from an object, click the Minus sign [or turn the Shuttle (outer ring) ![]() to the left]. The Minus sign
to the left]. The Minus sign
Figure 49. Focus Farther Away from an Object
7. Click OK [or press Enter/Shift  or the green function button
  ] to close the Focus dialog box.
44 |
