The Initial Setup menu
2 | Use the | buttons to change the channel | |
preset then press . |
| ||
3 | Use the | buttons to change the color system | |
for the current input or | |||
| Video In |
|
|
| Color System | Preset | Pr01 |
|
| Color System | PAL |
Video Out
Component Video
• Default setting: Interlace
![]() Video
Video
Basic | Video In |
|
Disc | Video Out |
|
Video | Input Adjust |
|
Audio | Playback Adjust |
|
Recording |
|
|
Playback |
|
|
|
|
|
|
|
|
You only need to make this setting if you connected this recorder to your TV using the component video jacks.
If your TV is compatible with
![]() Video Out
Video Out
Component Video | Interlace |
|
|
•See also Progressive scan video in the glossary on page 67.
![]() Important
Important
If you switch to Progressive when using a TV that is not compatible with
STANDBY/ON. This will set the recorder’s video output back to Interlace.
08
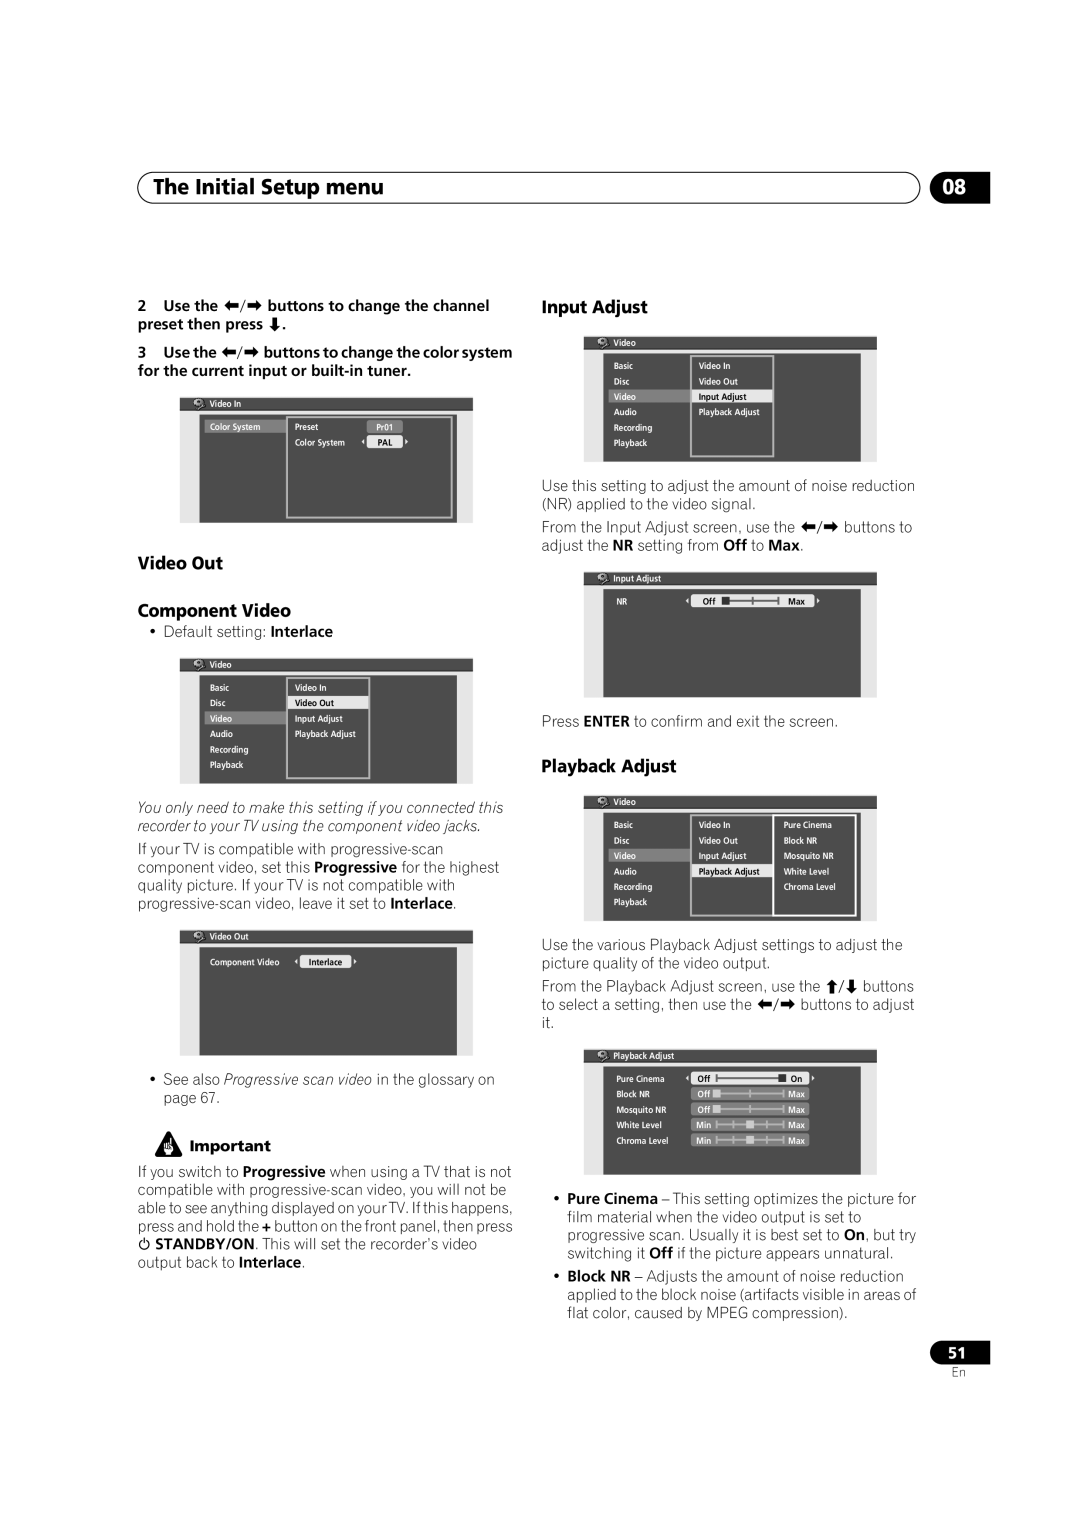
Input Adjust
![]() Video
Video
Basic | Video In |
|
Disc | Video Out |
|
Video | Input Adjust |
|
Audio | Playback Adjust |
|
Recording |
|
|
Playback |
|
|
|
|
|
Use this setting to adjust the amount of noise reduction (NR) applied to the video signal.
From the Input Adjust screen, use the | buttons to | ||
adjust the NR setting from Off to Max. |
| ||
Input Adjust |
|
|
|
NR | Off | Max |
|
Press ENTER to confirm and exit the screen.
Playback Adjust
![]()
![]()
![]() Video
Video
Basic | Video In | Pure Cinema |
Disc | Video Out | Block NR |
Video | Input Adjust | Mosquito NR |
Audio | Playback Adjust | White Level |
Recording |
| Chroma Level |
Playback |
|
|
|
|
|
Use the various Playback Adjust settings to adjust the picture quality of the video output.
From the Playback Adjust screen, use the | buttons | ||
to select a setting, then use the | buttons to adjust | ||
it. |
|
|
|
Playback Adjust |
|
|
|
Pure Cinema | Off | On |
|
Block NR | Off | Max |
|
Mosquito NR | Off | Max |
|
White Level | Min | Max |
|
Chroma Level | Min | Max |
|
•Pure Cinema – This setting optimizes the picture for film material when the video output is set to progressive scan. Usually it is best set to On, but try switching it Off if the picture appears unnatural.
•Block NR – Adjusts the amount of noise reduction applied to the block noise (artifacts visible in areas of flat color, caused by MPEG compression).
51
En