The Initial Setup menu | 08 |
•NICAM Select – If you want to record the
•Tuner Level – Set to Compression if the audio level from the
•External Audio – Select Stereo if the external audio input is regular stereo, or Bilingual if each channel carries a separate soundtrack.
•Bilingual Rec – When recording a bilingual source from an external input in Video mode or VR mode set to XP, you can choose to record either the A/L (left), or the B/R (right) audio channel.
![]() Note
Note
•Except in XP recording mode, if you’re recording in VR mode, both channels will be recorded and you can switch them as you like on playback.
•DTS – If your AV receiver, etc. has a
•MPEG – If your AV receiver, etc. is MPEG audio compatible, set to MPEG, otherwise set to MPEG
![]() Important
Important
•If you set DTS to On with a
•When set to On, there is no analog audio output when playing a DTS
•When playing a DTS audio CD (even when DTS is Off), noise is output from the analog outputs. Do not play this through your amplifier and speakers.
•When playing a DTS audio CD, make sure that Stereo is selected using the AUDIO button. See Switching DVD soundtracks on page 31.
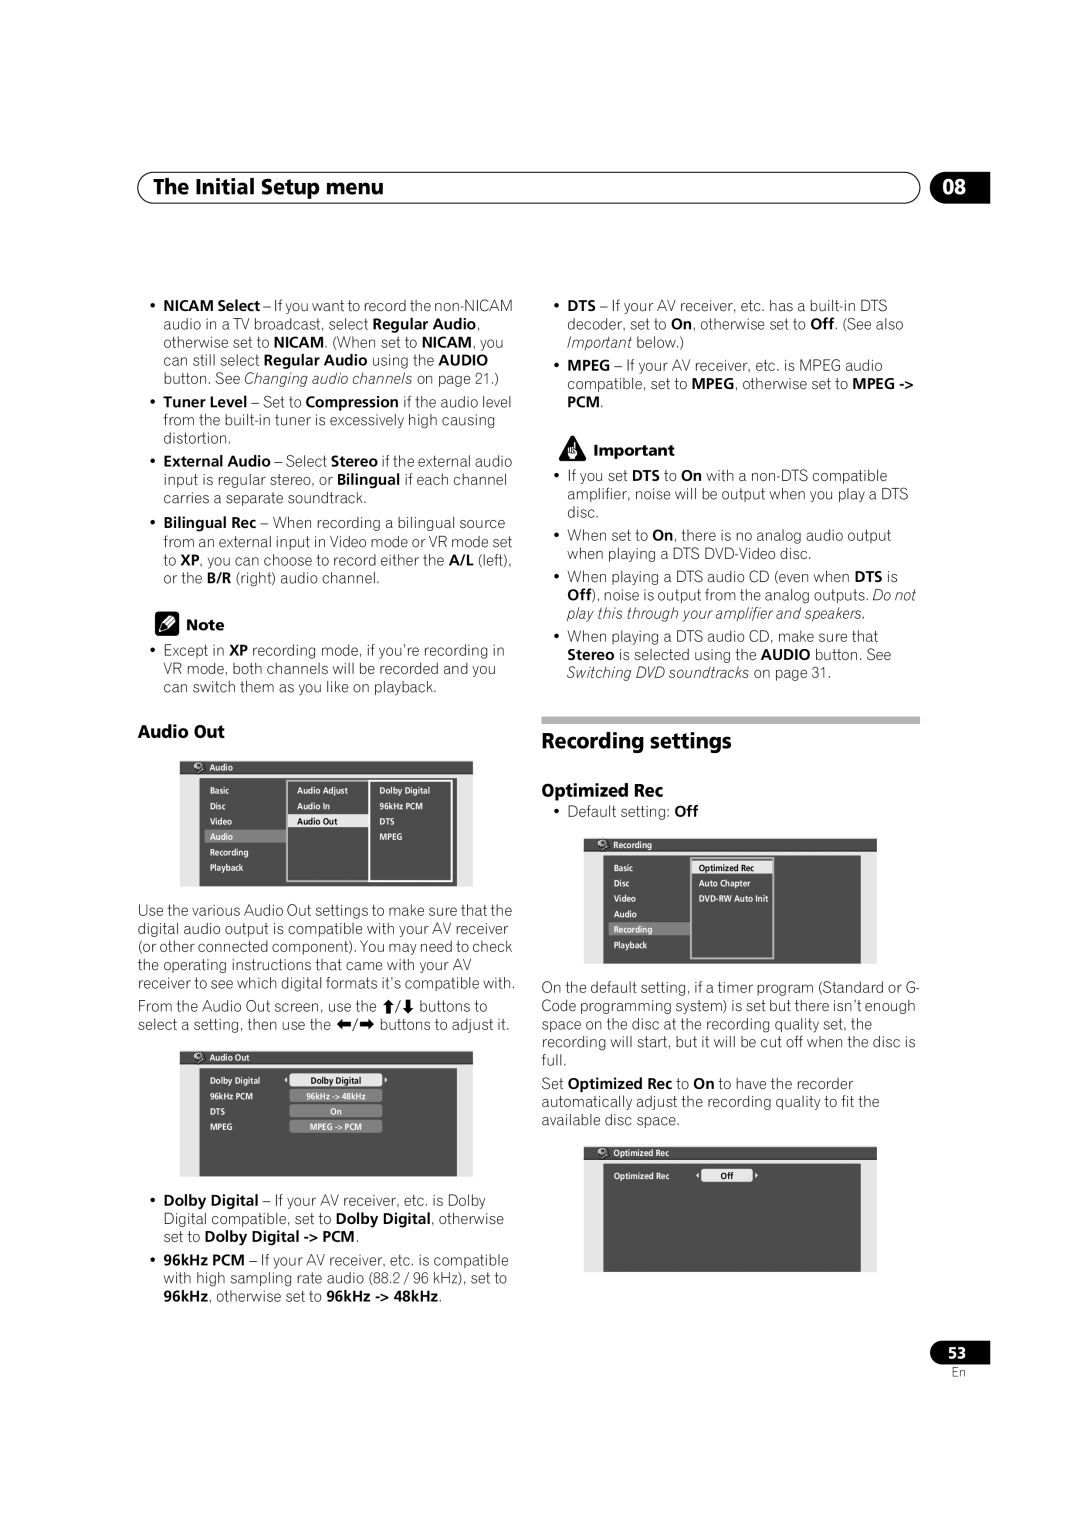
Audio Out
![]()
![]()
![]() Audio
Audio
Basic | Audio Adjust | Dolby Digital |
Disc | Audio In | 96kHz PCM |
Video | Audio Out | DTS |
Audio |
| MPEG |
Recording |
|
|
Playback |
|
|
|
|
|
Use the various Audio Out settings to make sure that the digital audio output is compatible with your AV receiver (or other connected component). You may need to check the operating instructions that came with your AV receiver to see which digital formats it’s compatible with.
From the Audio Out screen, use the | buttons to | |
select a setting, then use the | buttons to adjust it. | |
Audio Out |
|
|
Dolby Digital | Dolby Digital |
|
96kHz PCM | 96kHz |
|
DTS | On |
|
MPEG | MPEG |
|
•Dolby Digital – If your AV receiver, etc. is Dolby Digital compatible, set to Dolby Digital, otherwise set to Dolby Digital
•96kHz PCM – If your AV receiver, etc. is compatible with high sampling rate audio (88.2 / 96 kHz), set to 96kHz, otherwise set to 96kHz
Recording settings
Optimized Rec
• Default setting: Off
![]() Recording
Recording
Basic | Optimized Rec |
|
Disc | Auto Chapter |
|
Video |
| |
Audio |
|
|
Recording |
|
|
Playback |
|
|
|
|
|
On the default setting, if a timer program (Standard or G- Code programming system) is set but there isn’t enough space on the disc at the recording quality set, the recording will start, but it will be cut off when the disc is full.
Set Optimized Rec to On to have the recorder automatically adjust the recording quality to fit the available disc space.
![]() Optimized Rec
Optimized Rec
Optimized Rec | Off |
|
|
53
En