Projecting Images Using Network Utility
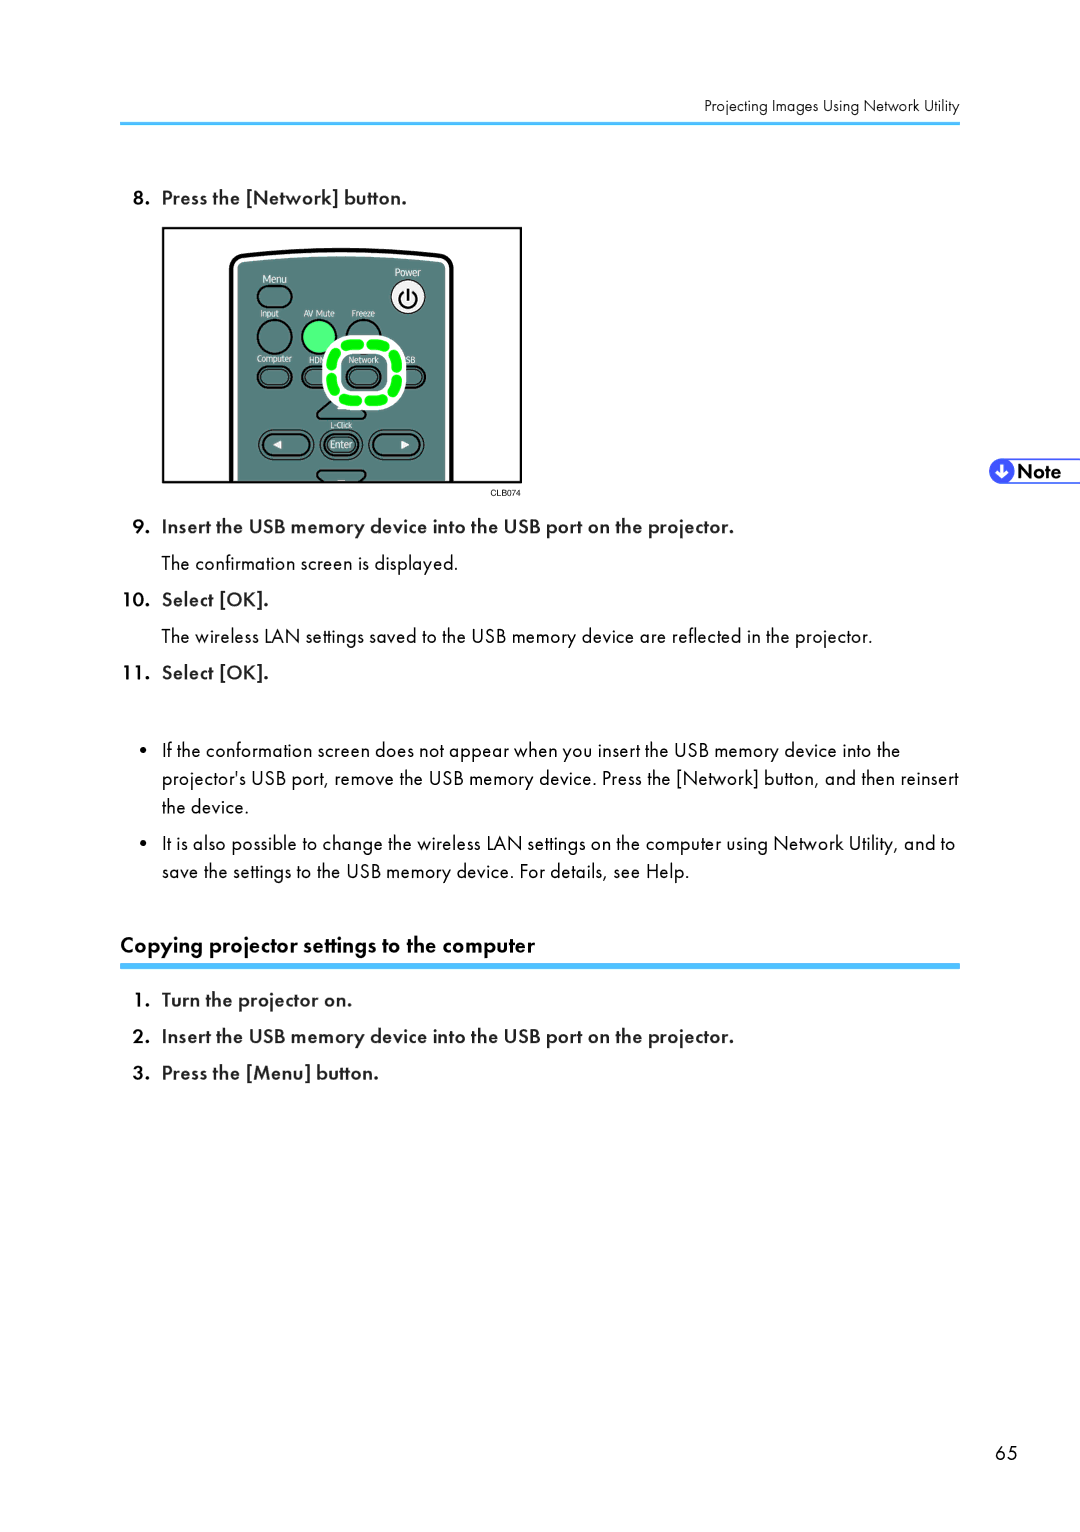
8.Press the [Network] button.
CLB074
9.Insert the USB memory device into the USB port on the projector. The confirmation screen is displayed.
10.Select [OK].
The wireless LAN settings saved to the USB memory device are reflected in the projector.
11.Select [OK].
•If the conformation screen does not appear when you insert the USB memory device into the projector's USB port, remove the USB memory device. Press the [Network] button, and then reinsert the device.
•It is also possible to change the wireless LAN settings on the computer using Network Utility, and to save the settings to the USB memory device. For details, see Help.
Copying projector settings to the computer
1.Turn the projector on.
2.Insert the USB memory device into the USB port on the projector.
3.Press the [Menu] button.
CLB046
65