3.Using the Projector via a Network
1.Insert the
2.Specify a language.
The launcher screen appears.
3.Click [PJ Network Utility Type A].
4.Specify a destination to save the application.
The "RICOH PJ NetworkUtility Type A" folder is copied to the computer.
5.To create a shortcut icon on the desktop, click [OK].
6.Close the screen.
To start Network Utility,
•You can also use Network Utility by dragging and dropping the "RICOH PJ NetworkUtility Type A" folder that is on the provided
•To delete Network Utility, delete the Network Utility folder.
Simple 1:1 Connection
To connect the computer and projector using the wireless LAN in ad hoc mode, select [Simple 1:1 Connection].
Make sure the projector's communication mode is "ad hoc". You can confirm the projector's LAN status on Network Information displayed on the screen.
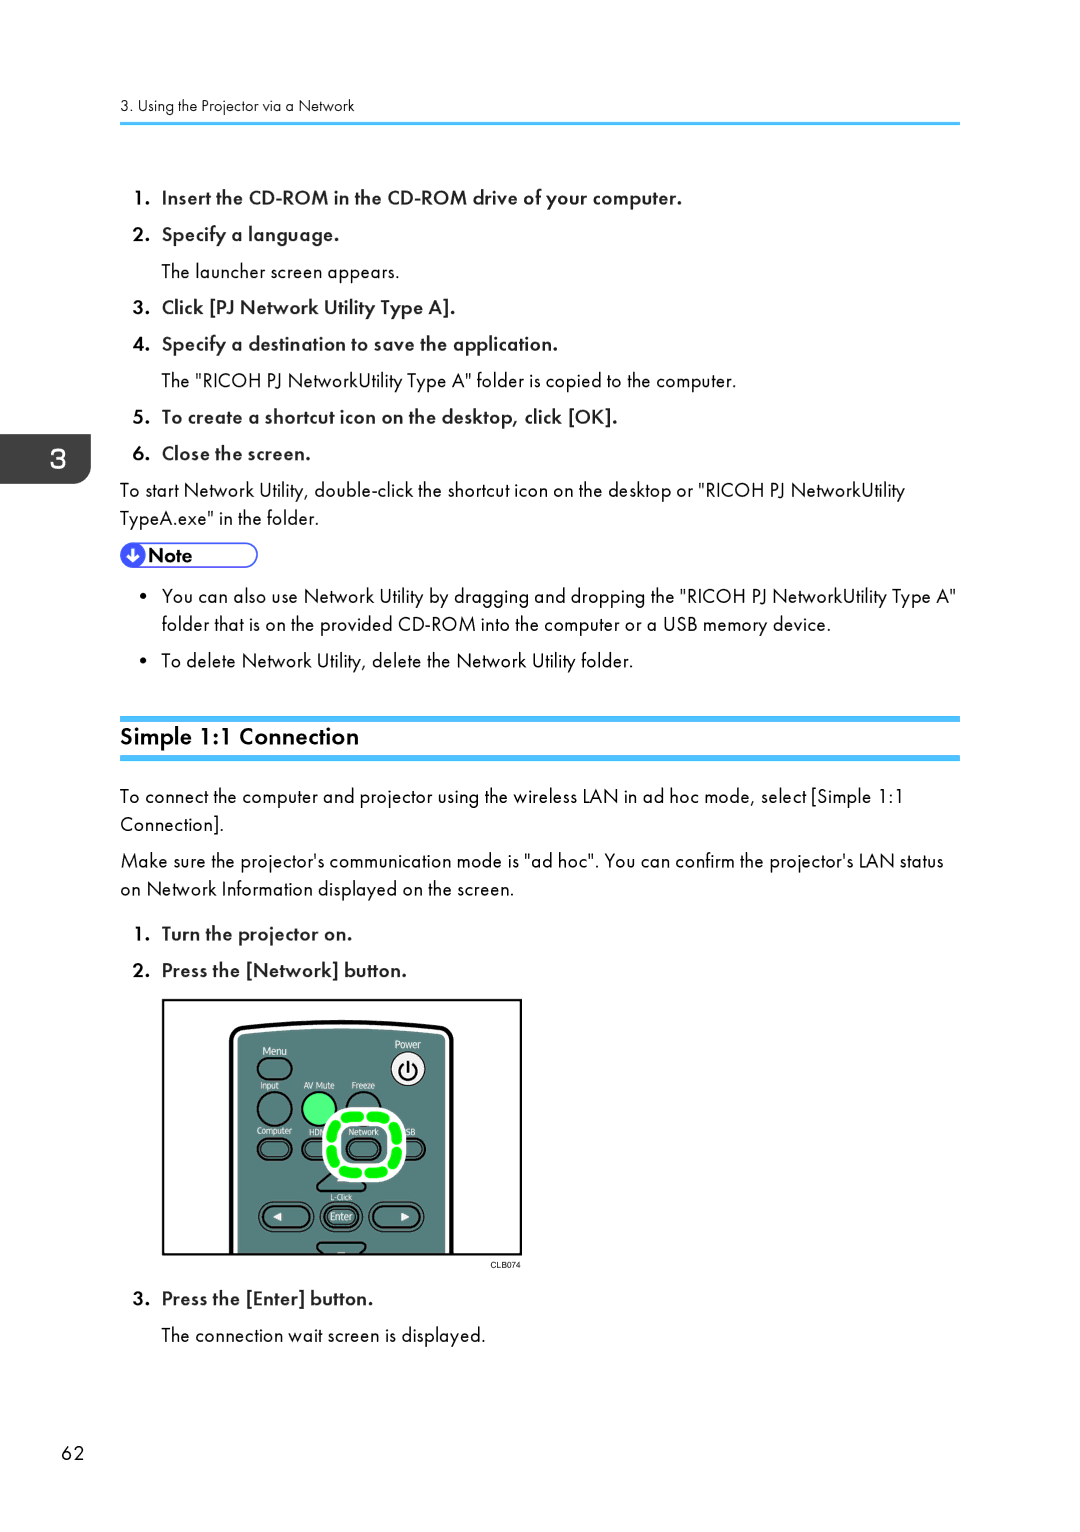
1.Turn the projector on.
2.Press the [Network] button.
CLB074
3.Press the [Enter] button.
The connection wait screen is displayed.
62