Projecting Images from a USB Memory Device or Digital Camera
Connecting the USB Device
Connect the USB memory device or digital camera to the projector.
The USB device can be connected even if the projector is already on.
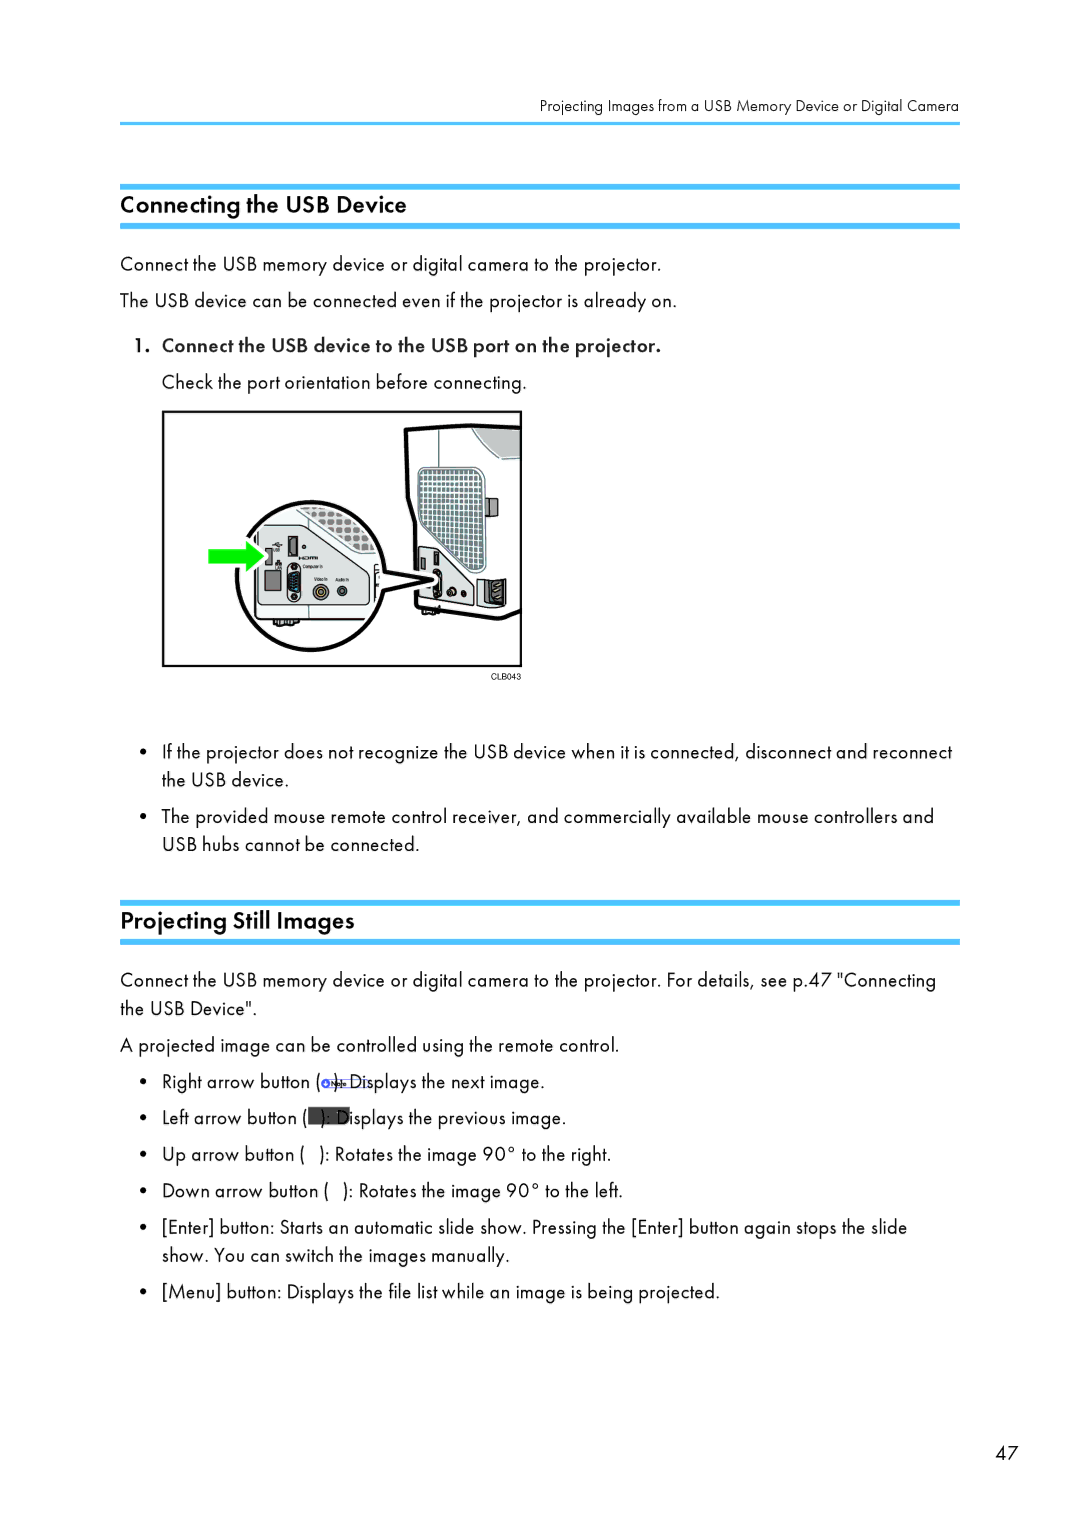
1.Connect the USB device to the USB port on the projector. Check the port orientation before connecting.
CLB043 |
•If the projector does not recognize the USB device when it is connected, disconnect and reconnect the USB device.
•The provided mouse remote control receiver, and commercially available mouse controllers and USB hubs cannot be connected.
Projecting Still Images
Connect the USB memory device or digital camera to the projector. For details, see p.47 "Connecting the USB Device".
A projected image can be controlled using the remote control.
•Right arrow button (![]() ): Displays the next image.
): Displays the next image.
•Left arrow button (![]() ): Displays the previous image.
): Displays the previous image.
•Up arrow button (![]() ): Rotates the image 90° to the right.
): Rotates the image 90° to the right.
•Down arrow button (![]() ): Rotates the image 90° to the left.
): Rotates the image 90° to the left.
•[Enter] button: Starts an automatic slide show. Pressing the [Enter] button again stops the slide show. You can switch the images manually.
•[Menu] button: Displays the file list while an image is being projected.
47