10Other Settings
Input function default and possible settings
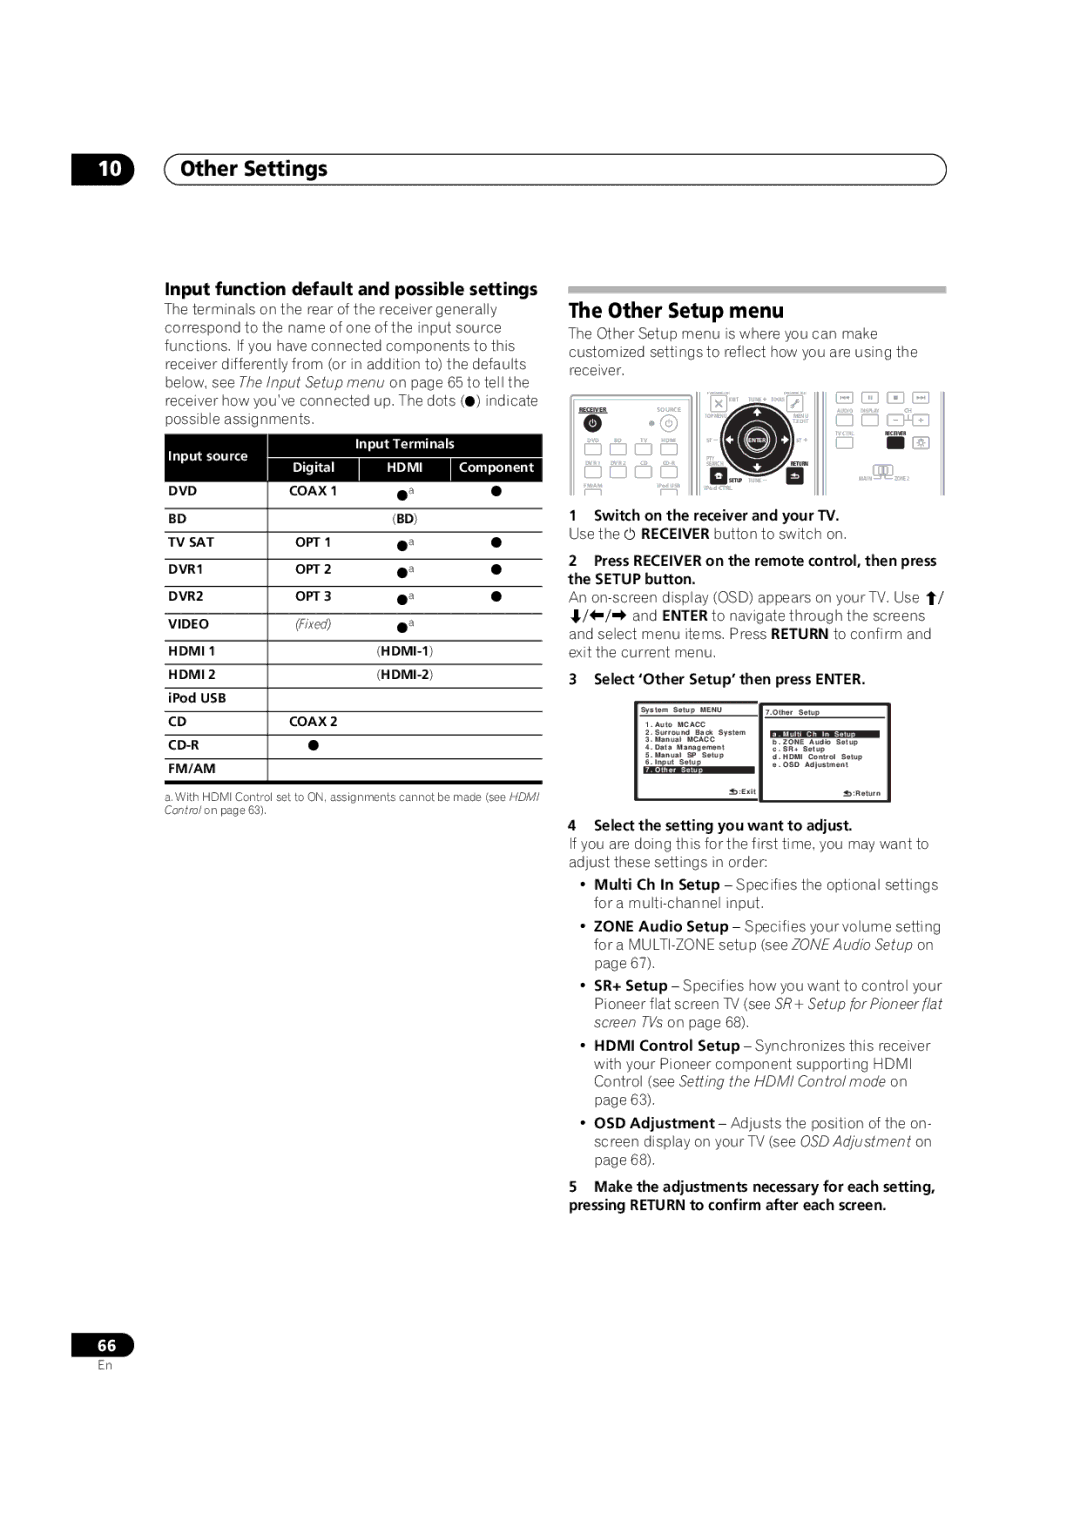
The terminals on the rear of the receiver generally correspond to the name of one of the input source functions. If you have connected components to this receiver differently from (or in addition to) the defaults below, see The Input Setup menu on page 65 to tell the receiver how you’ve connected up. The dots () indicate possible assignments.
Input source |
| Input Terminals |
| |
Digital | HDMI | Component | ||
| ||||
|
|
|
| |
DVD | COAX 1 | a | | |
|
| |
| |
BD |
| (BD) |
| |
|
|
|
| |
TV SAT | OPT 1 | a | | |
DVR1 | OPT 2 | a | | |
DVR2 | OPT 3 | a | | |
VIDEO | (Fixed) | a |
| |
|
| |
| |
HDMI 1 |
|
| ||
|
|
|
| |
HDMI 2 |
|
| ||
|
|
|
| |
iPod USB |
|
|
| |
|
|
|
| |
CD | COAX 2 |
|
| |
|
|
|
| |
|
|
| ||
|
|
|
| |
FM/AM |
|
|
| |
|
|
|
|
a. With HDMI Control set to ON, assignments cannot be made (see HDMI Control on page 63).
The Other Setup menu
The Other Setup menu is where you can make customized settings to reflect how you are using the receiver.
|
|
|
| PARAMETER |
| PARAMETER |
|
|
|
|
| EXIT | TUNE | TOOLS |
|
RECEIVER |
|
| SOURCE | TOP MENU |
| AUDIO DISPLAY | CH |
|
|
|
|
| MENU |
| |
|
|
|
|
|
| T.EDIT |
|
|
|
|
|
| ENTER | TV CTRL | RECEIVER |
DVD | BD | TV | HDMI | ST | ST |
| |
DVR 1 | DVR 2 | CD | PTY |
|
|
| |
SEARCH |
| RETURN |
| ||||
FM/AM |
|
| iPod USB | SETUP | TUNE | MAIN | ZONE 2 |
|
| iPod CTRL |
|
|
| ||
|
|
|
|
|
|
|
1Switch on the receiver and your TV. Use the RECEIVER button to switch on.
2Press RECEIVER on the remote control, then press
the SETUP button.
An
3Select ‘Other Setup’ then press ENTER.
System Setup MENU |
| 7.Other Setup | |||||||
1 | . Auto | MCACC |
|
|
|
|
| ||
2 | . Surround Back System |
|
|
|
|
| |||
|
| a . Multi | Ch In Setup | ||||||
3 | . Manual MCACC |
|
| b . ZONE Audio Setup |
| ||||
4 | . Data | Management |
|
| c . SR+ | Setup | |||
5 | . Manual SP Setup |
|
| d . HDMI Control Setup | |||||
6 | . Input | Setup |
|
| e . OSD | Adjustment | |||
| 7 | . Other | Setup |
|
|
|
|
|
|
|
|
| :Exit |
|
|
| :Return | ||
4 Select the setting you want to adjust.
If you are doing this for the first time, you may want to adjust these settings in order:
•Multi Ch In Setup – Specifies the optional settings for a
•ZONE Audio Setup – Specifies your volume setting for a
•SR+ Setup – Specifies how you want to control your Pioneer flat screen TV (see SR+ Setup for Pioneer flat screen TVs on page 68).
•HDMI Control Setup – Synchronizes this receiver with your Pioneer component supporting HDMI Control (see Setting the HDMI Control mode on page 63).
•OSD Adjustment – Adjusts the position of the on- screen display on your TV (see OSD Adjustment on page 68).
5Make the adjustments necessary for each setting, pressing RETURN to confirm after each screen.
66
En
