5 minute guide
Automatically setting up for surround sound (Auto MCACC)
02
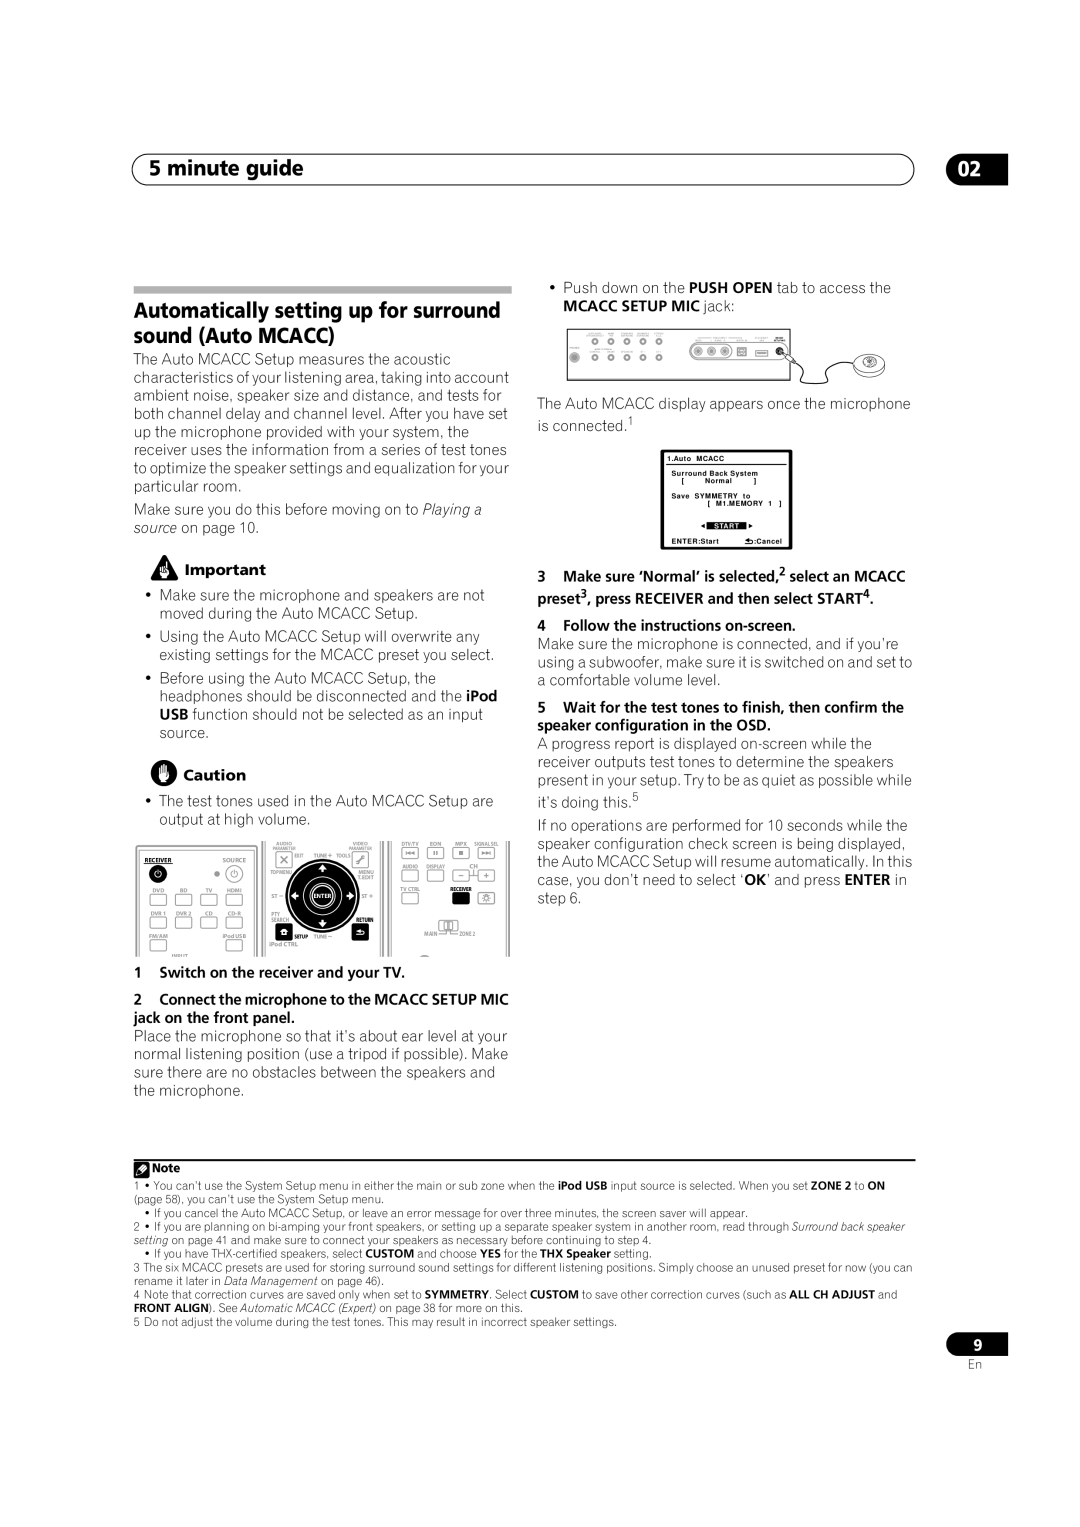
•Push down on the PUSH OPEN tab to access the MCACC SETUP MIC jack:
AUTO SURR/ | HOME | STANDARD | ADVANCED | STEREO/ |
STREAM DIRECT | THX | SURROUND | SURROUND | A.L.C. |
PHONES
| VIDEO INPUT |
| iPod DIRECT | MCACC |
VIDEO | L AUDIO R | DIGITAL IN | USB | SETUP MIC |
The Auto MCACC Setup measures the acoustic characteristics of your listening area, taking into account ambient noise, speaker size and distance, and tests for both channel delay and channel level. After you have set up the microphone provided with your system, the receiver uses the information from a series of test tones to optimize the speaker settings and equalization for your particular room.
Make sure you do this before moving on to Playing a source on page 10.
CONTROL | ON/OFF | SPEAKERS | ST – | ST + |
The Auto MCACC display appears once the microphone is connected.1
1.Auto | MCACC |
| |
Surround Back System | |||
[ | Normal | ] | |
Save | SYMMETRY | to | |
|
| [ M1.MEMORY 1 ] | |
|
|
|
|
|
| START |
|
ENTER:Start | :Cancel | ||
![]() Important
Important
•Make sure the microphone and speakers are not moved during the Auto MCACC Setup.
•Using the Auto MCACC Setup will overwrite any existing settings for the MCACC preset you select.
•Before using the Auto MCACC Setup, the headphones should be disconnected and the iPod USB function should not be selected as an input source.
![]() Caution
Caution
•The test tones used in the Auto MCACC Setup are output at high volume.
|
|
|
| AUDIO |
| VIDEO | DTV/TV | EON | MPX SIGNAL SEL |
|
|
|
| PARAMETER |
| PARAMETER |
|
|
|
RECEIVER |
|
| SOURCE | EXIT | TUNE | TOOLS |
|
|
|
|
|
|
|
| AUDIO | DISPLAY | CH | ||
|
|
|
| TOP MENU |
| MENU | |||
|
|
|
|
|
|
|
| ||
|
|
|
|
|
| T.EDIT |
|
|
|
DVD | BD | TV | HDMI | ST | ENTER | ST | TV CTRL |
| RECEIVER |
|
|
|
|
|
|
| |||
DVR 1 | DVR 2 | CD | PTY |
|
|
|
|
| |
|
|
|
| SEARCH |
| RETURN |
|
|
|
FM/AM |
|
| iPod USB | SETUP | TUNE |
|
| MAIN | ZONE 2 |
|
|
|
|
|
| ||||
|
|
|
| iPod CTRL |
|
|
|
|
|
| INPUT |
|
|
|
|
|
|
|
|
3Make sure ‘Normal’ is selected,2 select an MCACC preset3, press RECEIVER and then select START4.
4Follow the instructions on-screen.
Make sure the microphone is connected, and if you’re using a subwoofer, make sure it is switched on and set to a comfortable volume level.
5Wait for the test tones to finish, then confirm the speaker configuration in the OSD.
A progress report is displayed
If no operations are performed for 10 seconds while the speaker configuration check screen is being displayed, the Auto MCACC Setup will resume automatically. In this case, you don’t need to select ‘OK’ and press ENTER in step 6.
1Switch on the receiver and your TV.
2Connect the microphone to the MCACC SETUP MIC jack on the front panel.
Place the microphone so that it’s about ear level at your normal listening position (use a tripod if possible). Make sure there are no obstacles between the speakers and the microphone.
![]() Note
Note
1• You can’t use the System Setup menu in either the main or sub zone when the iPod USB input source is selected. When you set ZONE 2 to ON (page 58), you can’t use the System Setup menu.
•If you cancel the Auto MCACC Setup, or leave an error message for over three minutes, the screen saver will appear.
2• If you are planning on
•If you have
3The six MCACC presets are used for storing surround sound settings for different listening positions. Simply choose an unused preset for now (you can rename it later in Data Management on page 46).
4Note that correction curves are saved only when set to SYMMETRY. Select CUSTOM to save other correction curves (such as ALL CH ADJUST and FRONT ALIGN). See Automatic MCACC (Expert) on page 38 for more on this.
5Do not adjust the volume during the test tones. This may result in incorrect speaker settings.
9
En