Walls
Time should be spent to organize the job site. Set out the panels in the order you are going to use them. Get all your tools onto the floor deck, including:
•Foam scoop
•Marker
•Flat
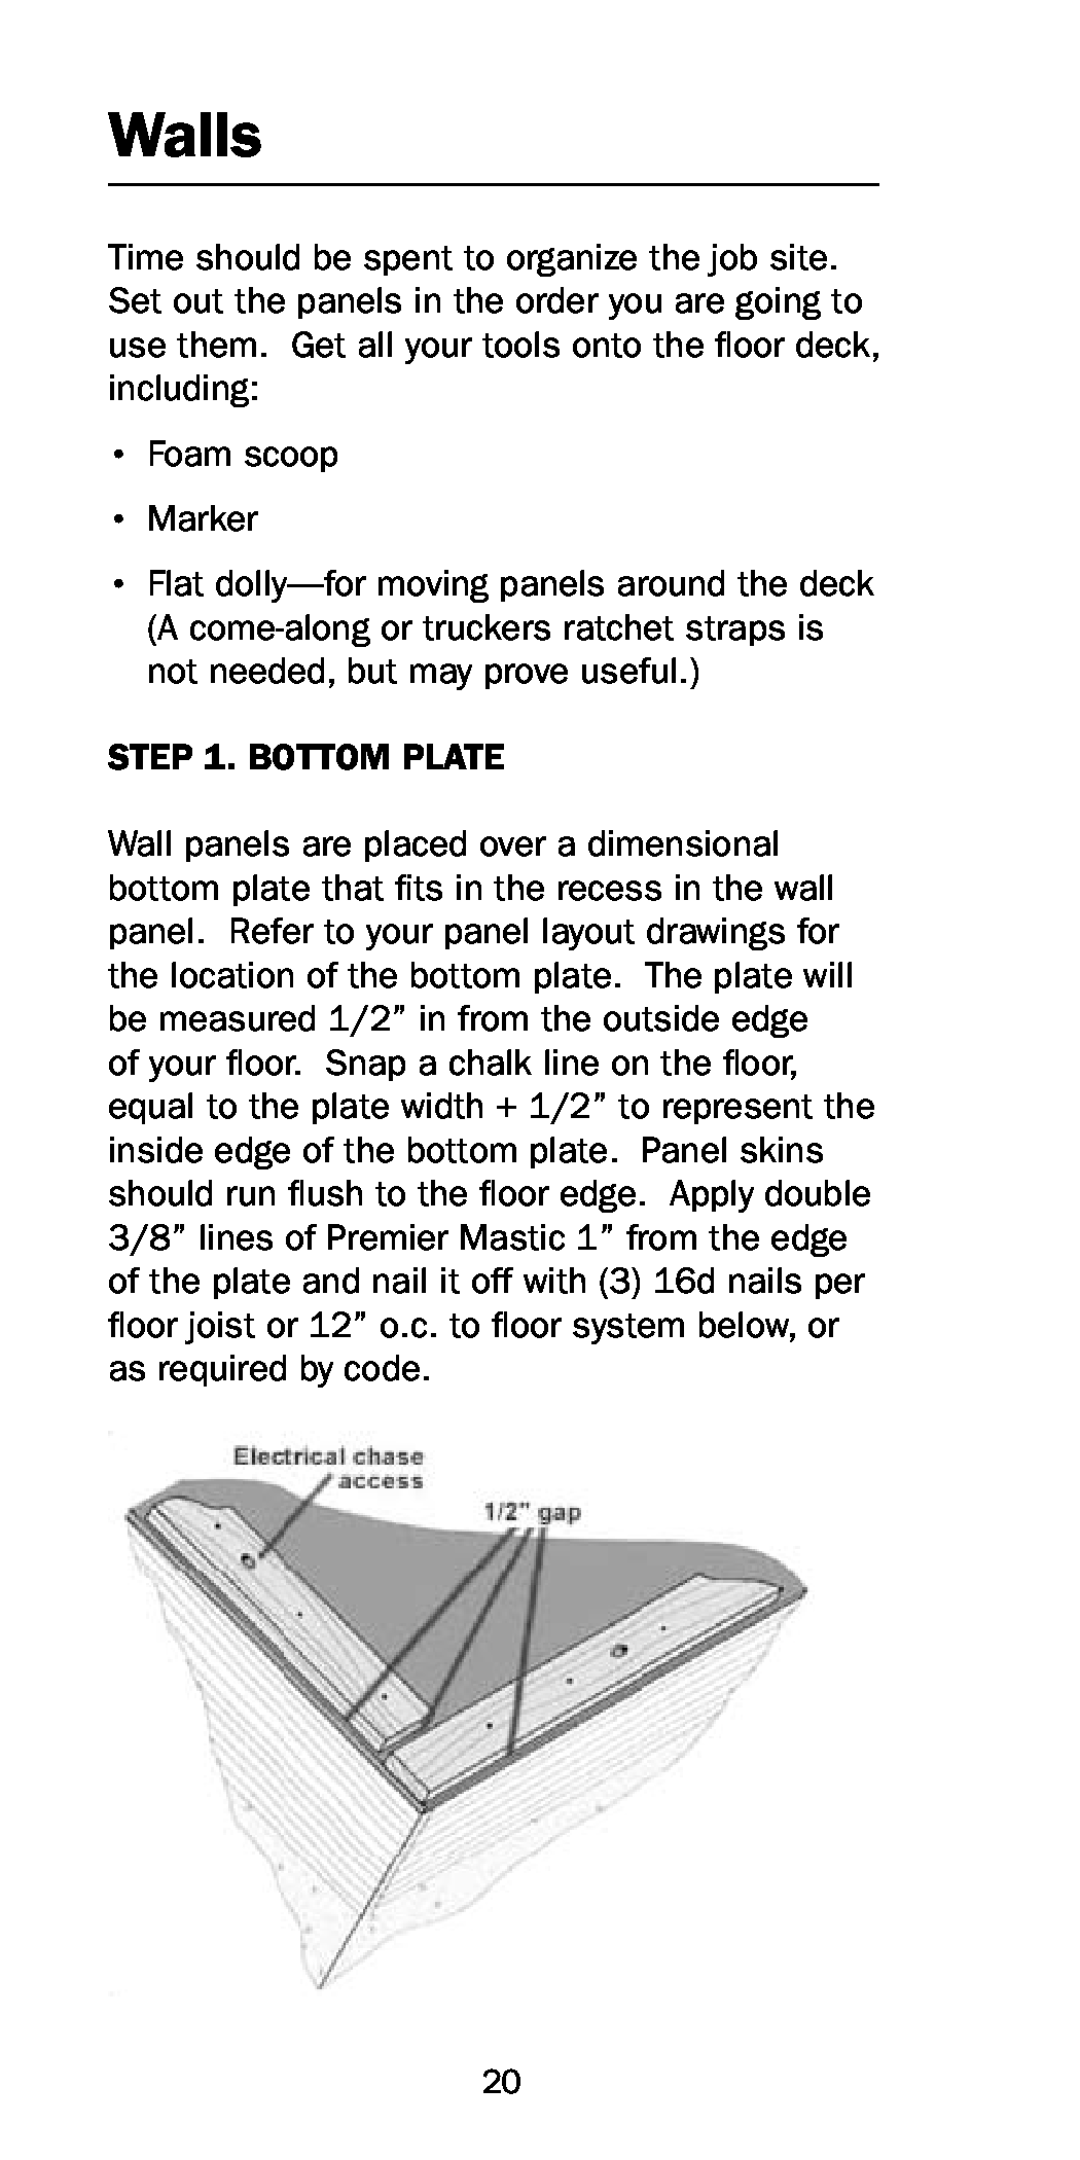
STEP 1. BOTTOM PLATE
Wall panels are placed over a dimensional bottom plate that fits in the recess in the wall panel. Refer to your panel layout drawings for the location of the bottom plate. The plate will be measured 1/2” in from the outside edge of your floor. Snap a chalk line on the floor, equal to the plate width + 1/2” to represent the inside edge of the bottom plate. Panel skins should run flush to the floor edge. Apply double 3/8” lines of Premier Mastic 1” from the edge of the plate and nail it off with (3) 16d nails per floor joist or 12” o.c. to floor system below, or as required by code.
20