Tsunami MP.11 Installation and Management
8.Place the back cover on the mounting location and mark the center of the three mounting holes.
9.Remove the cover from the wall and drill a hole at each of the locations you marked above. Each hole should be wide enough to hold a mounting plug (which is 6 mm x 35 mm).
10.Insert a plug into each hole. The MP.11 comes with four 6 mm x 35 mm plugs; you only need to use three of these when
11.Insert a screw into each of the mounting holes molded into the back cover. The MP.11 comes with four 3.5 mm x 40 mm
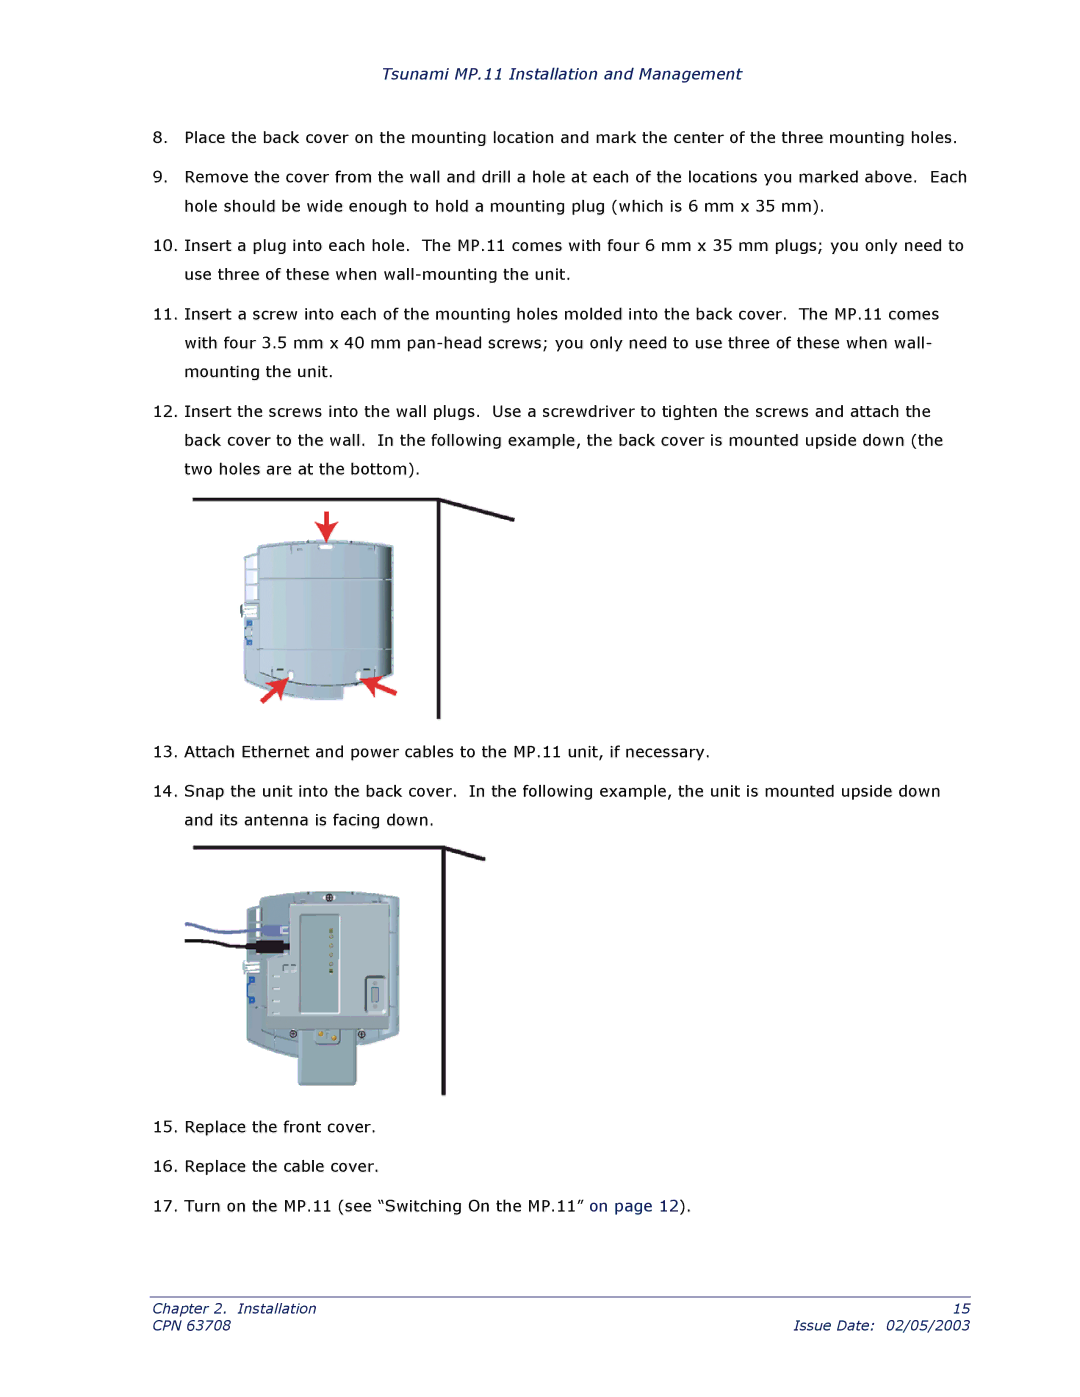
12.Insert the screws into the wall plugs. Use a screwdriver to tighten the screws and attach the back cover to the wall. In the following example, the back cover is mounted upside down (the two holes are at the bottom).
13.Attach Ethernet and power cables to the MP.11 unit, if necessary.
14.Snap the unit into the back cover. In the following example, the unit is mounted upside down and its antenna is facing down.
15.Replace the front cover.
16.Replace the cable cover.
17.Turn on the MP.11 (see “Switching On the MP.11” on page 12).
Chapter 2. Installation | 15 |
CPN 63708 | Issue Date: 02/05/2003 |