CB1200-I Pellet Insert
R
Rear Vent Installation Preparation:
1. | Remove the ENTIRE exhaust blower housing by remov- |
| ing the 4 nuts using a 7/16" socket wrench. Set the nuts |
| aside for later use. |
2. | Remove the 4 screws and remove the vertical exhaust |
| transition pipe exhaust blower housing. |
3. | Remove any silicone sealant remaining on the blower |
| housing. |
4. | Attach the rear vent adapter to the exhaust blower hous- |
| ing with 4 screws. Figure 18.2. |
5. | Apply a bead of high temperature silicone adhesive |
| around the juncture of the blower housing and rear vent |
| adapter, smoothing it around the joint to ensure that a |
| good seal is made. |
6. | |
| adapter attached) with the 4 nuts previously removed in |
4.Assemble the right corner and right panel pieces using 4 screws prior to attaching to insert. Figure 18.4.
5.After assembly, attach the right shroud panel/corner piece assembly to the insert with 3 screws across the bottom and 1 on the side. Figure 18.4.
| ||
| Plate | |
Outside Air | ||
| ||
Cover Plate |
|
Left Side
Figure 18.3
| Step 1. |
7. | Use 2 screws to attach left corner filler piece of rear |
| shroud to the insert hopper. Figures 17.1 & 17.2 on |
| page 17. |
8. | Install the left shroud corner with 2 screws into the hopper |
| body and 1 down into filler piece. Figure 18.1. |
9. | Install cover plate over top vent opening using 4 |
| screws. |
Attach right
corner piece to side panel first.
Right Side
Right Corner Piece
Rear Panel
Left Corner
Piece
Figure 18.1 | Figure 18.2 |
|
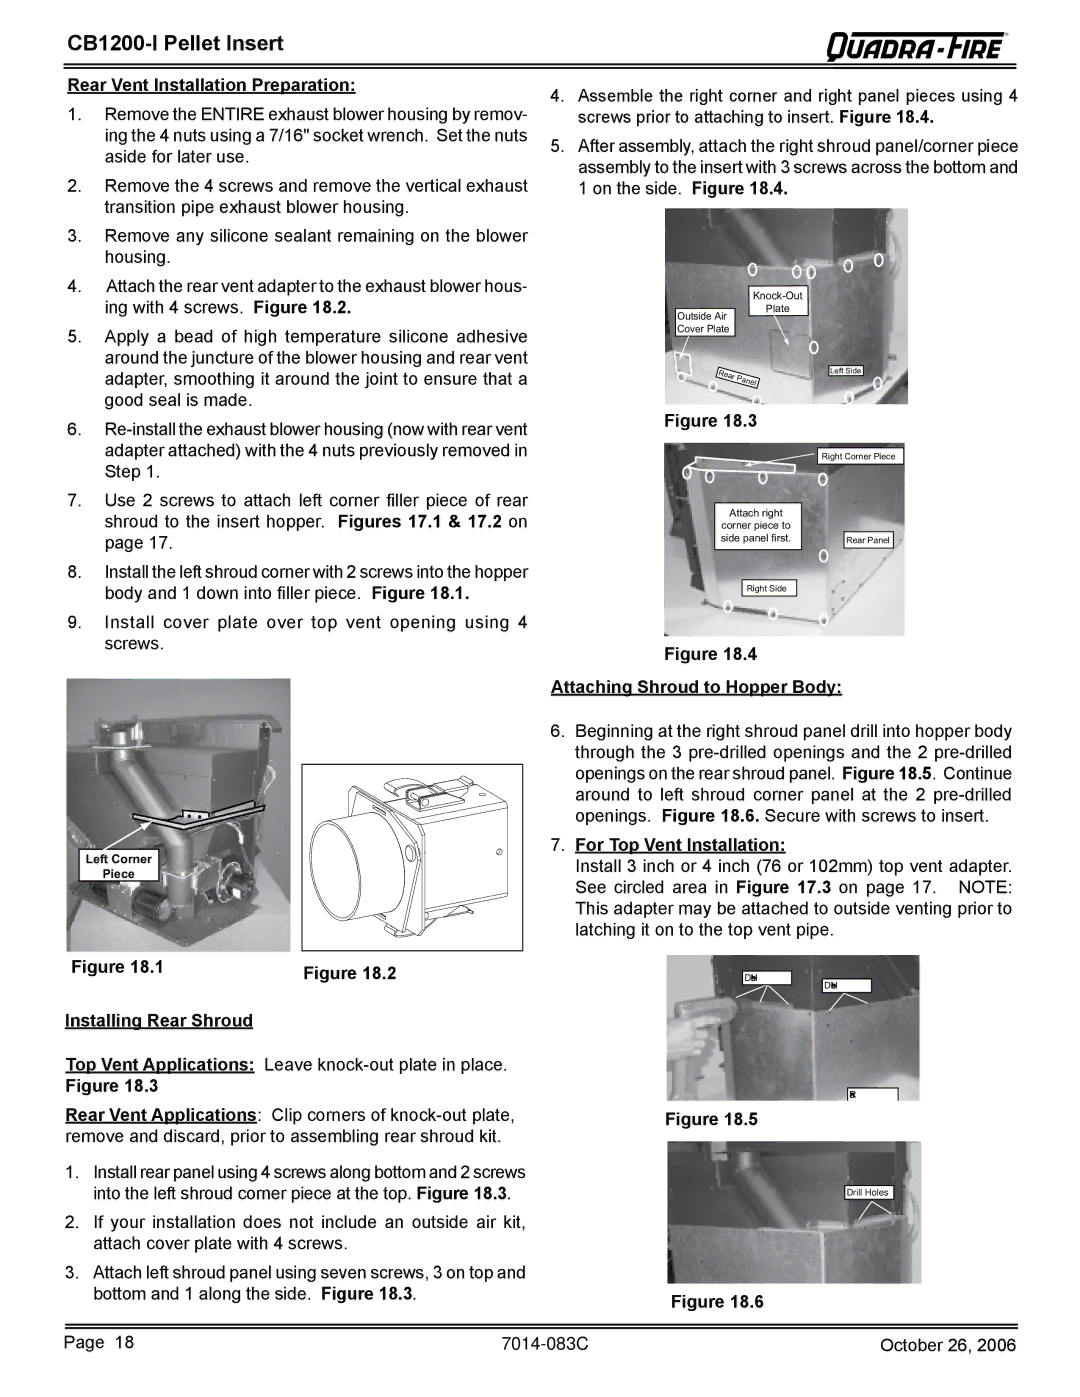
Installing Rear Shroud
Figure 18.4
Attaching Shroud to Hopper Body:
6.Beginning at the right shroud panel drill into hopper body through the 3
7.For Top Vent Installation:
Install 3 inch or 4 inch (76 or 102mm) top vent adapter. See circled area in Figure 17.3 on page 17. NOTE: This adapter may be attached to outside venting prior to latching it on to the top vent pipe.
Drill Holes
Drill Holes
Top Vent Applications: Leave |
|
|
|
|
|
Figure 18.3 |
|
|
|
|
|
|
|
| Rear Panel | ||
Rear Vent Applications: Clip corners of | Figure 18.5 | ||||
remove and discard, prior to assembling rear shroud kit. |
|
|
|
|
|
1. Install rear panel using 4 screws along bottom and 2 screws |
|
|
|
|
|
into the left shroud corner piece at the top. Figure 18.3. |
|
|
|
|
|
|
|
| Drill Holes |
| |
|
|
|
|
| |
2.If your installation does not include an outside air kit, attach cover plate with 4 screws.
3.Attach left shroud panel using seven screws, 3 on top and
bottom and 1 along the side. Figure 18.3. |
| Figure 18.6 |
|
| |
|
|
|
|
|
|
Page 18 | October 26, 2006 |