VRS Getting Started Guide
Using the Clarity Tab
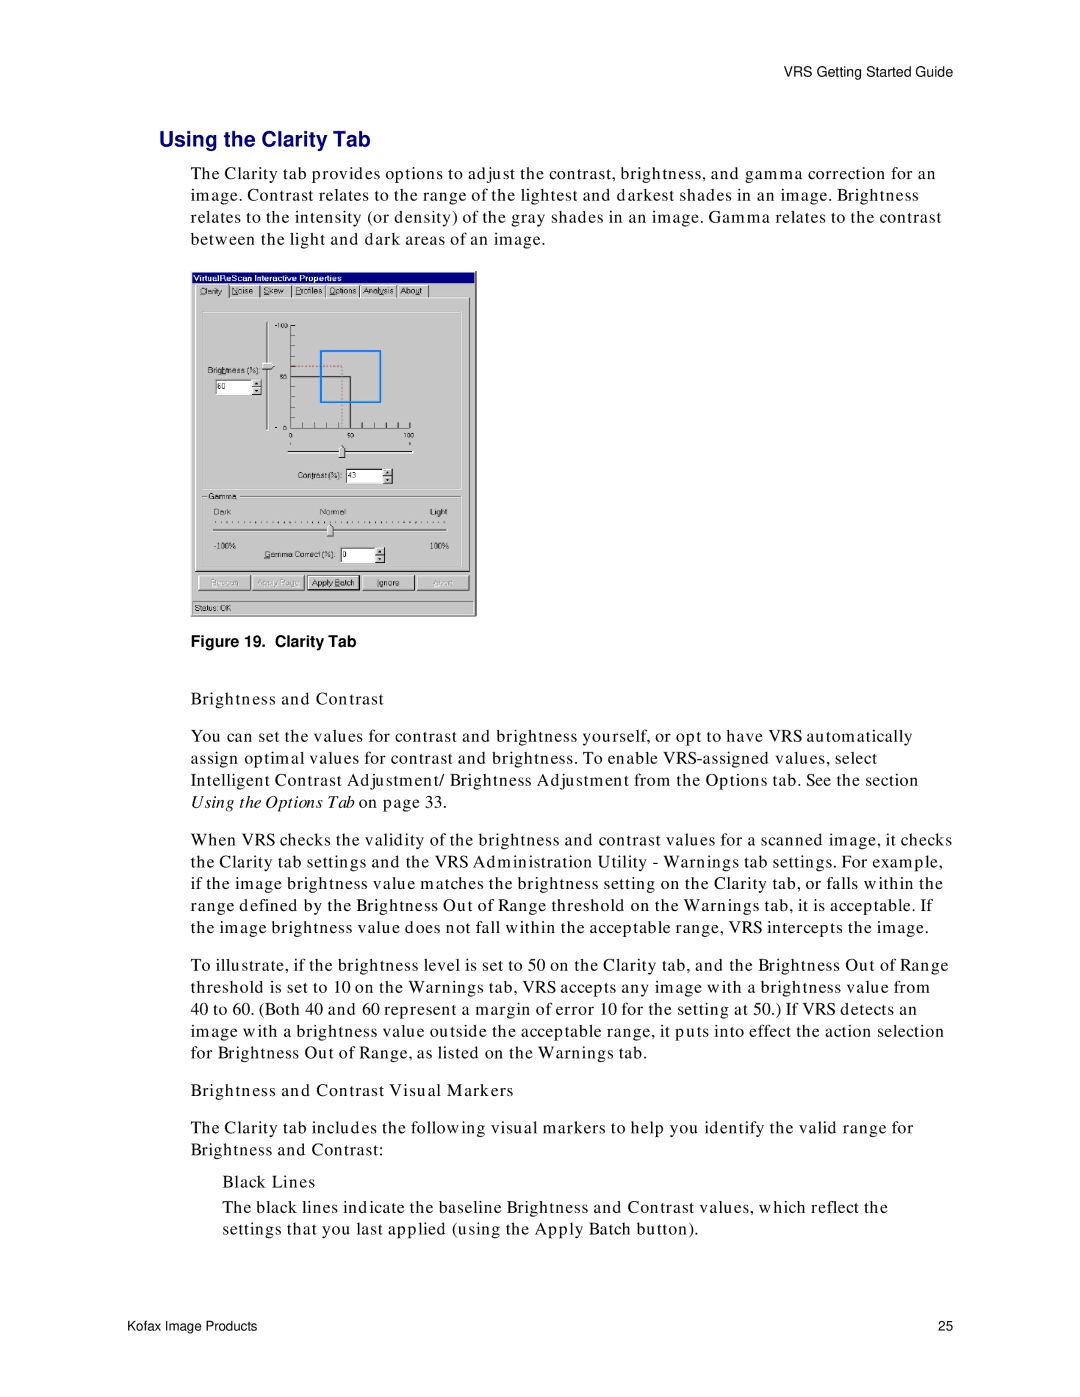
The Clarity tab provides options to adjust the contrast, brightness, and gamma correction for an image. Contrast relates to the range of the lightest and darkest shades in an image. Brightness relates to the intensity (or density) of the gray shades in an image. Gamma relates to the contrast between the light and dark areas of an image.
Figure 19. Clarity Tab
Brightness and Contrast
You can set the values for contrast and brightness yourself, or opt to have VRS automatically assign optimal values for contrast and brightness. To enable
When VRS checks the validity of the brightness and contrast values for a scanned image, it checks the Clarity tab settings and the VRS Administration Utility - Warnings tab settings. For example, if the image brightness value matches the brightness setting on the Clarity tab, or falls within the range defined by the Brightness Out of Range threshold on the Warnings tab, it is acceptable. If the image brightness value does not fall within the acceptable range, VRS intercepts the image.
To illustrate, if the brightness level is set to 50 on the Clarity tab, and the Brightness Out of Range threshold is set to 10 on the Warnings tab, VRS accepts any image with a brightness value from 40 to 60. (Both 40 and 60 represent a margin of error 10 for the setting at 50.) If VRS detects an image with a brightness value outside the acceptable range, it puts into effect the action selection for Brightness Out of Range, as listed on the Warnings tab.
Brightness and Contrast Visual Markers
The Clarity tab includes the following visual markers to help you identify the valid range for Brightness and Contrast:
Black Lines
The black lines indicate the baseline Brightness and Contrast values, which reflect the settings that you last applied (using the Apply Batch button).
Kofax Image Products | 25 |