Examples of Use
This section shows some examples of how you can use the
* Before hooking up or turning on any equipment, make sure the volume on all devices is turned down.
Analog Input to Analog Output
The microphone input is output from the
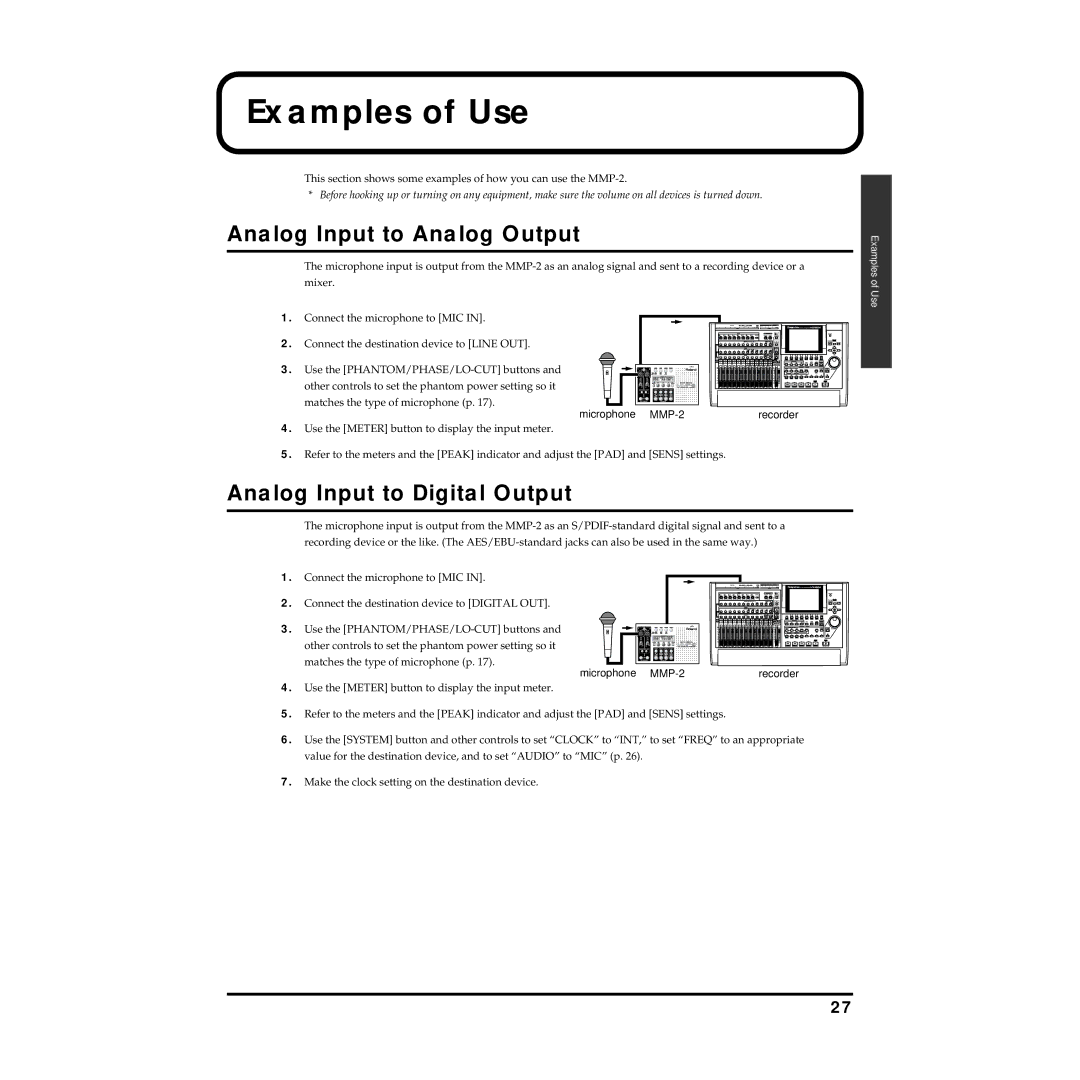
1. Connect the microphone to [MIC IN].
2. Connect the destination device to [LINE OUT].
3. Use the
microphone | recorder |
4.Use the [METER] button to display the input meter.
5.Refer to the meters and the [PEAK] indicator and adjust the [PAD] and [SENS] settings.
Analog Input to Digital Output
The microphone input is output from the
1. Connect the microphone to [MIC IN].
2. Connect the destination device to [DIGITAL OUT].
3. Use the
microphone | recorder |
4.Use the [METER] button to display the input meter.
5.Refer to the meters and the [PEAK] indicator and adjust the [PAD] and [SENS] settings.
6.Use the [SYSTEM] button and other controls to set “CLOCK” to “INT,” to set “FREQ” to an appropriate value for the destination device, and to set “AUDIO” to “MIC” (p. 26).
7.Make the clock setting on the destination device.
Examples of Use
27