Editing an automix
fig.4-18.e
NOTE
Gradation area
0 M1 | M5 |
| Time |
Gradation area
0 M1 | M8 |
| Time |
Editing of the automix data cannot be cancelled by the Undo function
1. | Press [PLAY (DISPLAY)]. |
2. | Hold down [SHIFT] and press [F6 (UTIL)]. |
3. | Press [PAGE] so that [F5] indicates “A.Mix,” and then |
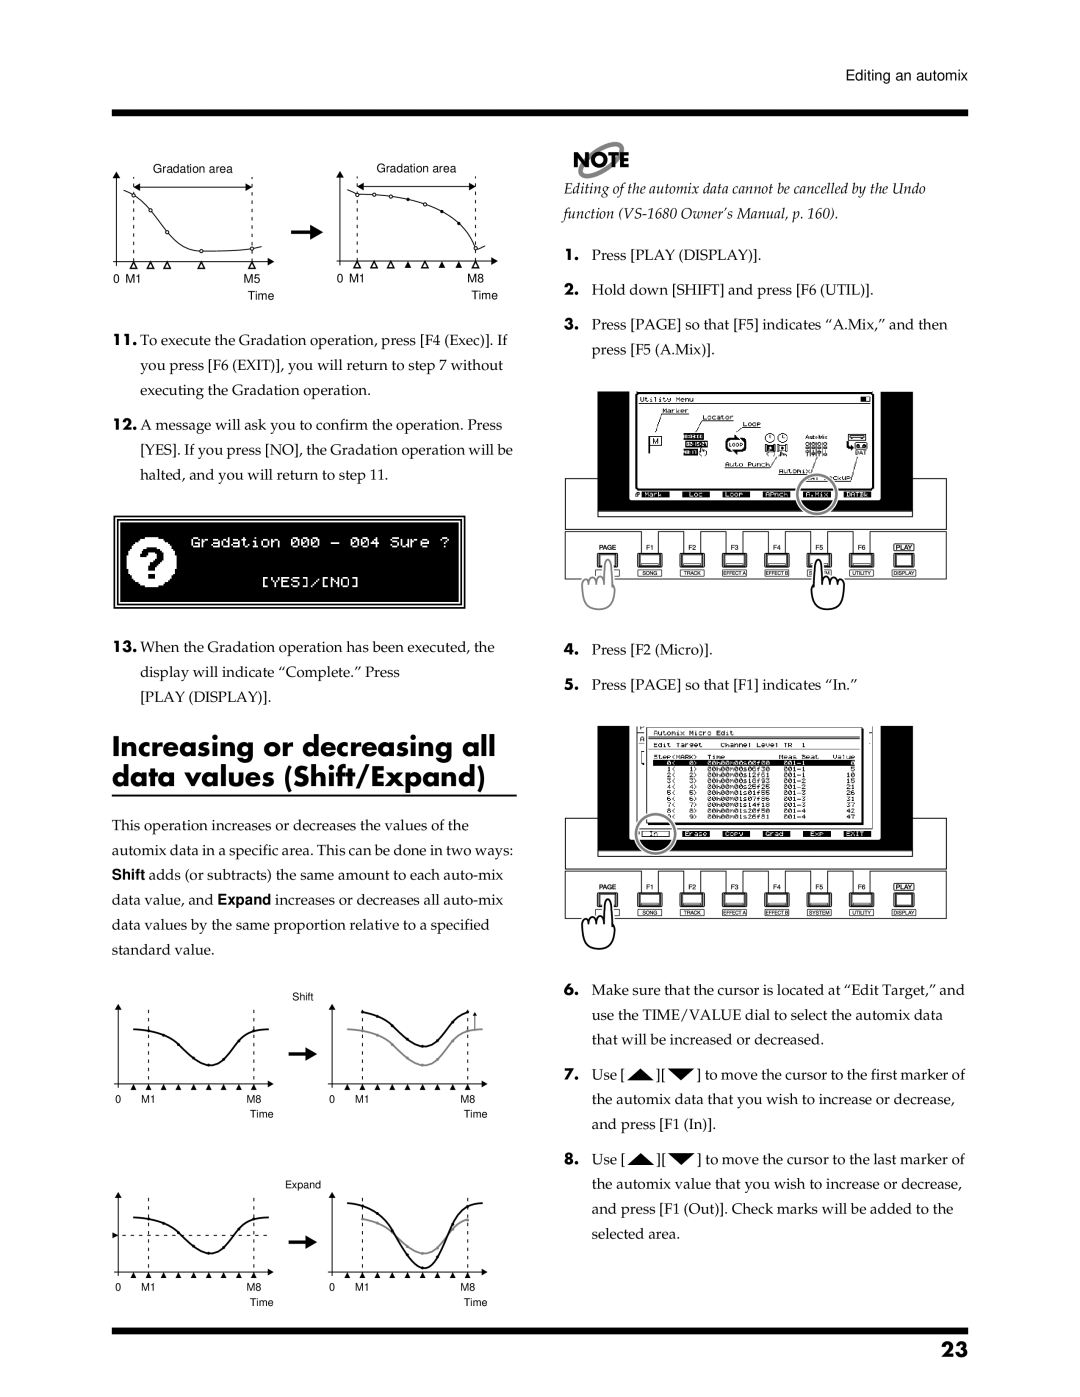
11.To execute the Gradation operation, press [F4 (Exec)]. If you press [F6 (EXIT)], you will return to step 7 without executing the Gradation operation.
12.A message will ask you to confirm the operation. Press [YES]. If you press [NO], the Gradation operation will be
halted, and you will return to step 11.
13.When the Gradation operation has been executed, the display will indicate “Complete.” Press
[PLAY (DISPLAY)].
Increasing or decreasing all data values (Shift/Expand)
This operation increases or decreases the values of the automix data in a specific area. This can be done in two ways: Shift adds (or subtracts) the same amount to each
fig.4-20.e
Shift
0 | M1 | M8 | 0 | M1 | M8 |
|
| Time |
|
| Time |
Expand
0 | M1 | M8 | 0 | M1 | M8 |
|
| Time |
|
| Time |
press [F5 (A.Mix)]. |
4.Press [F2 (Micro)].
5.Press [PAGE] so that [F1] indicates “In.”
6.Make sure that the cursor is located at “Edit Target,” and use the TIME/VALUE dial to select the automix data that will be increased or decreased.
7.Use [![]() ][
][![]() ] to move the cursor to the first marker of the automix data that you wish to increase or decrease, and press [F1 (In)].
] to move the cursor to the first marker of the automix data that you wish to increase or decrease, and press [F1 (In)].
8.Use [![]() ][
][![]() ] to move the cursor to the last marker of the automix value that you wish to increase or decrease, and press [F1 (Out)]. Check marks will be added to the selected area.
] to move the cursor to the last marker of the automix value that you wish to increase or decrease, and press [F1 (Out)]. Check marks will be added to the selected area.
23
