Installation
Most of the controls for the projector are accessed from within the projector’s menu system. There are several groups of related functions, with each group selectable from the Main Menu. Press MENU on the rear keypad or TheaterMaster remote to display this menu.
To select a
•Press the number key corresponding to the function menu you wish to access, such as 2 for the Image Settings menu.
•Press ![]() or
or ![]() on the directional keypad to highlight the desired option, then press ENTER or
on the directional keypad to highlight the desired option, then press ENTER or ![]() .
.
The corresponding function menu or
You navigate the function menus in a similar manner: enter a menu option number for any numbered option, or use the ![]() and
and ![]() keys to highlight the desired option, then press ENTER. Extra long menus have a scroll bar on the right; use the arrow keys to access the remainder of the menu. Locked items or items that do not pertain to the current action or condition appear dimmed and cannot be selected.
keys to highlight the desired option, then press ENTER. Extra long menus have a scroll bar on the right; use the arrow keys to access the remainder of the menu. Locked items or items that do not pertain to the current action or condition appear dimmed and cannot be selected.
Navigating the Projector Menus
RUNCO VIDEO EXTREME
![]() 1. Size and Position
1. Size and Position
2.Image Settings
3.Channel Setup
4.Configuration
5.Lamp
6.Status
7.PIP and Switching
8. Test Pattern  Off
Off
Note | 1. If there is no signal present, all |
are disabled. |
2.After 15 minutes of inactivity, the projector leaves the menu system and returns to the presentation.
3.The Status menu is
When finished with a function menu, do one of the following:
•Press EXIT to return to the previous screen.
•Press MENU to leave the menu system and return to the presentation.
To set up the
The projector stores and automatically recalls up to 50 different channels (source setups) | Channel Setup |
for a variety of inputs. This memory feature allows you to define and conveniently use a |
|
wide variety of customized setups rather than having to repeatedly |
|
projector for different presentations. Each projector input can have several different |
|
channels associated with it. |
|
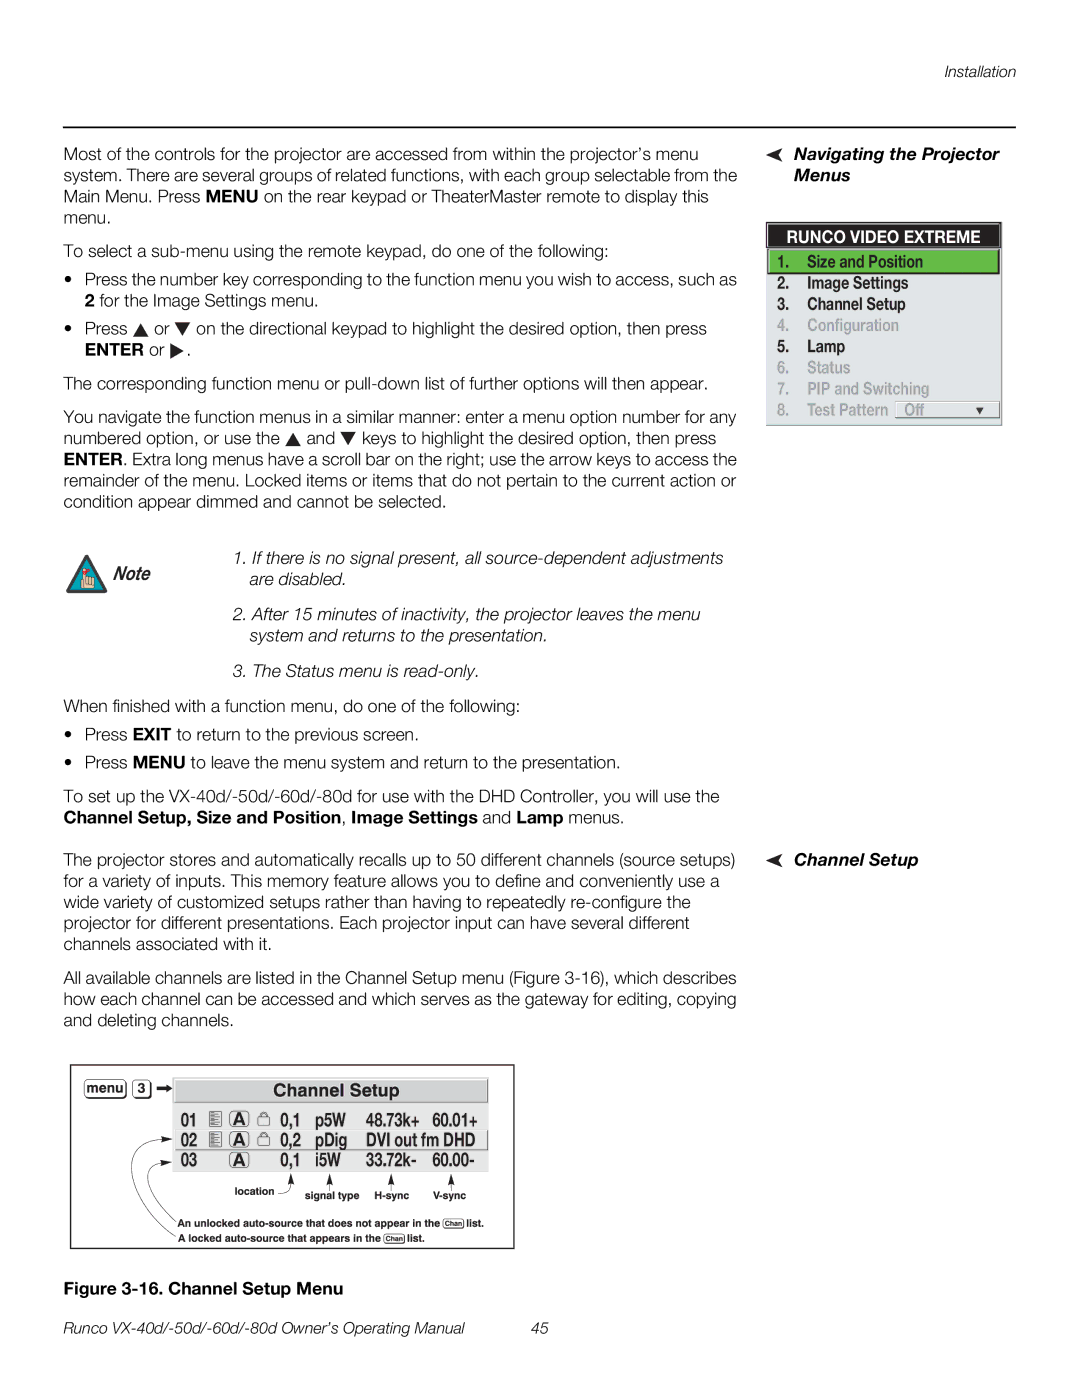
All available channels are listed in the Channel Setup menu (Figure
01 | 0,1 | p5W | 48.73k+ | 60.01+ |
02 | 0,2 | pDig | DVI out fm DHD | |
03 | 0,1 | i5W | 33.72k- | 60.00- |
Figure 3-16. Channel Setup Menu
Runco | 45 |