Installation
Filter: The proper filter setting is automatically set for virtually all signals, and rarely needs to be changed. It applies a low pass filter for noise reduction in the incoming input signal, particularly for HDTV or SDTV. Applied in the analog domain before sampling, this filtering removes high frequencies and thus reduces pixel phase noise (note this also reduces signal bandwidth). Override only if standard pixel tracking and phase adjustments do not adequately clear up a “noisy” video signal, or if a graphics signal appears overly “soft.” Both instances indicate that “Filter” may be set to the wrong option.
Detail: “Detail” adjusts the sharpness of a video image so that edges remain clearly defined. It can be particularly useful if a significant “Noise Reduction” adjustment has caused the image to appear too soft. Adjust until the display is as sharp as desired, keeping in mind that because “Detail” adds some high frequencies back into the image, it can also reintroduce a certain degree of noise.
Noise Reduction: Noise Reduction is similar to the “Filter” control, but operates in the
Color Space: “Color Space” determines how the color components of an analog input signal are decoded for accurate color in the display. With the
Video Options: This
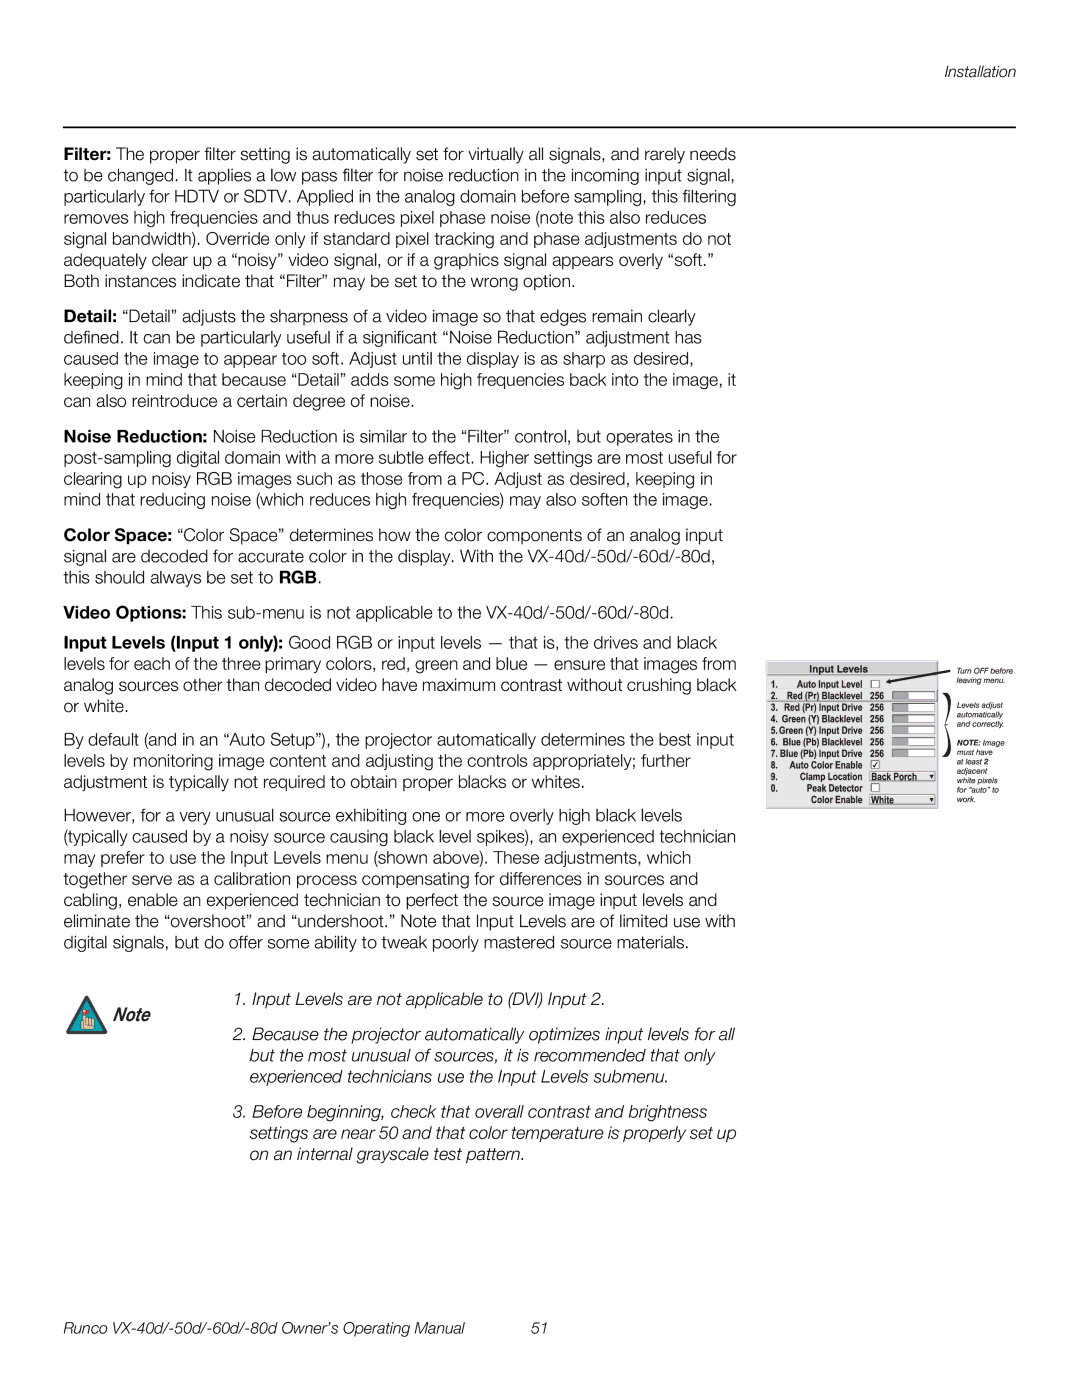
Input Levels (Input 1 only): Good RGB or input levels — that is, the drives and black levels for each of the three primary colors, red, green and blue — ensure that images from analog sources other than decoded video have maximum contrast without crushing black or white.
By default (and in an “Auto Setup”), the projector automatically determines the best input levels by monitoring image content and adjusting the controls appropriately; further adjustment is typically not required to obtain proper blacks or whites.
However, for a very unusual source exhibiting one or more overly high black levels (typically caused by a noisy source causing black level spikes), an experienced technician may prefer to use the Input Levels menu (shown above). These adjustments, which together serve as a calibration process compensating for differences in sources and cabling, enable an experienced technician to perfect the source image input levels and eliminate the “overshoot” and “undershoot.” Note that Input Levels are of limited use with digital signals, but do offer some ability to tweak poorly mastered source materials.
1. | Input Levels are not applicable to (DVI) Input 2. |
Note |
|
2. | Because the projector automatically optimizes input levels for all |
| but the most unusual of sources, it is recommended that only |
| experienced technicians use the Input Levels submenu. |
3. | Before beginning, check that overall contrast and brightness |
| settings are near 50 and that color temperature is properly set up |
| on an internal grayscale test pattern. |
Runco | 51 |