•Color Enable: Select which color or colors you want to see in the display. This is useful while working with color temperature white levels or input levels.
When you have finished calibrating Input 1, change the Display Device Input Source to DVI (Input 2) if that input will be used; refer to Selecting the Input Source on page 36. Then, repeat the procedure described in this section (starting with Channel Setup) for Input 2.
After calibrating projector Input 2, proceed with the next section, Working With the Lamp.
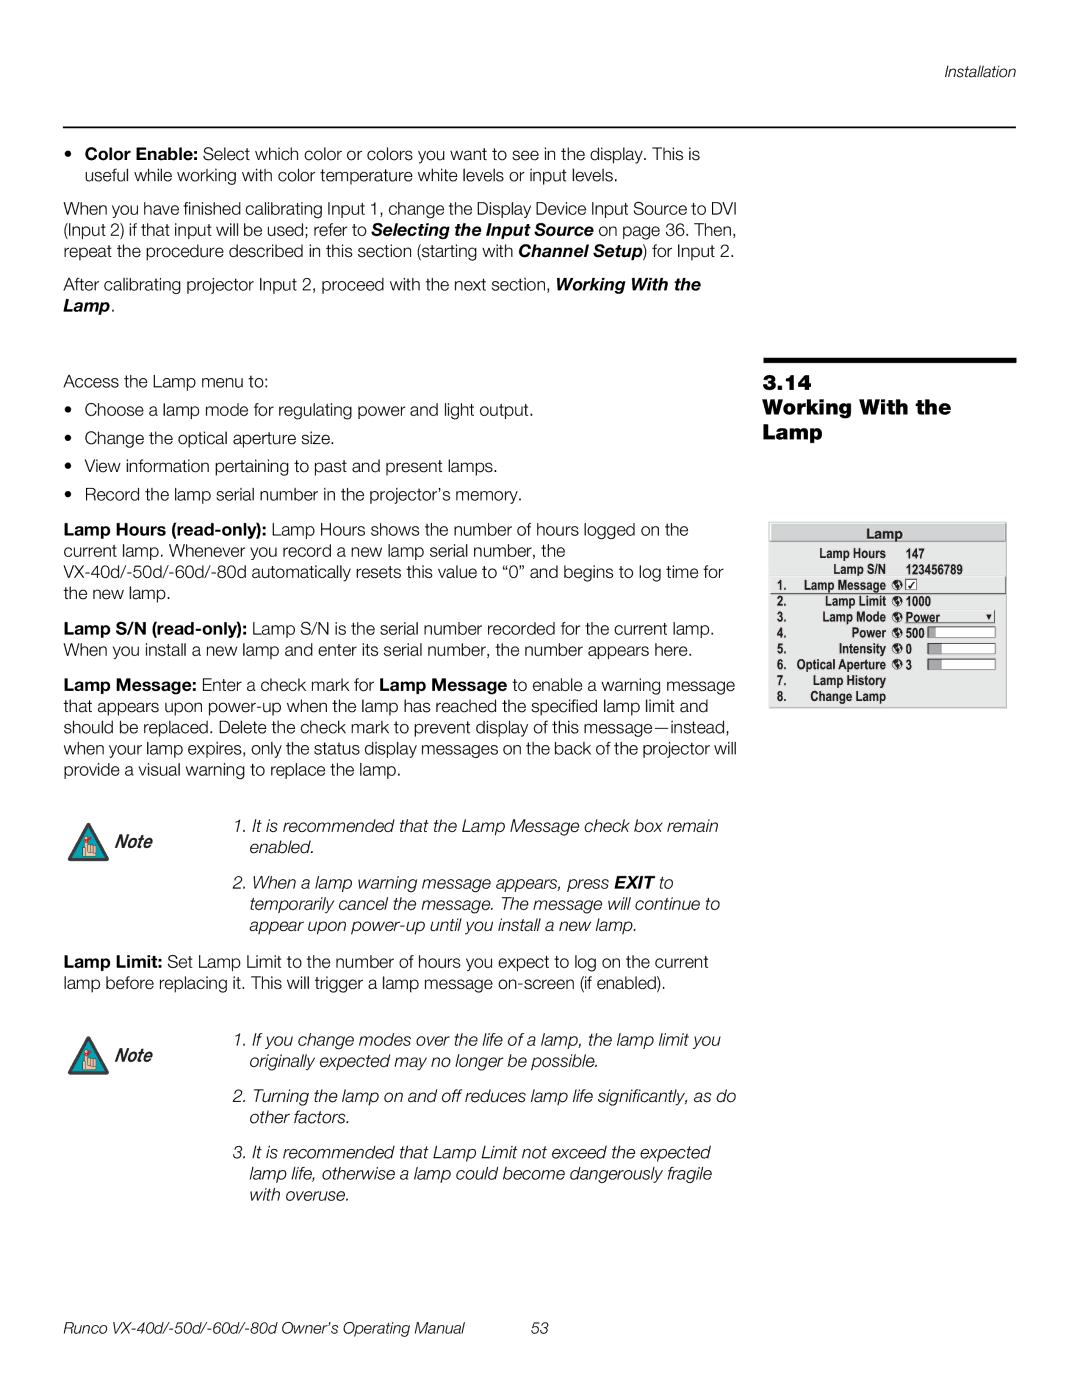
Access the Lamp menu to:
•Choose a lamp mode for regulating power and light output.
•Change the optical aperture size.
•View information pertaining to past and present lamps.
•Record the lamp serial number in the projector’s memory.
Lamp Hours
Lamp S/N
Lamp Message: Enter a check mark for Lamp Message to enable a warning message that appears upon
1. It is recommended that the Lamp Message check box remain
Note enabled.
2.When a lamp warning message appears, press EXIT to temporarily cancel the message. The message will continue to appear upon
Lamp Limit: Set Lamp Limit to the number of hours you expect to log on the current lamp before replacing it. This will trigger a lamp message
Note | 1. If you change modes over the life of a lamp, the lamp limit you |
originally expected may no longer be possible. |
2.Turning the lamp on and off reduces lamp life significantly, as do other factors.
3.It is recommended that Lamp Limit not exceed the expected lamp life, otherwise a lamp could become dangerously fragile with overuse.
3.14
Working With the Lamp
Runco | 53 |
