READY
Selecting the date and time
Please select the date and time when you use the camera for the first time
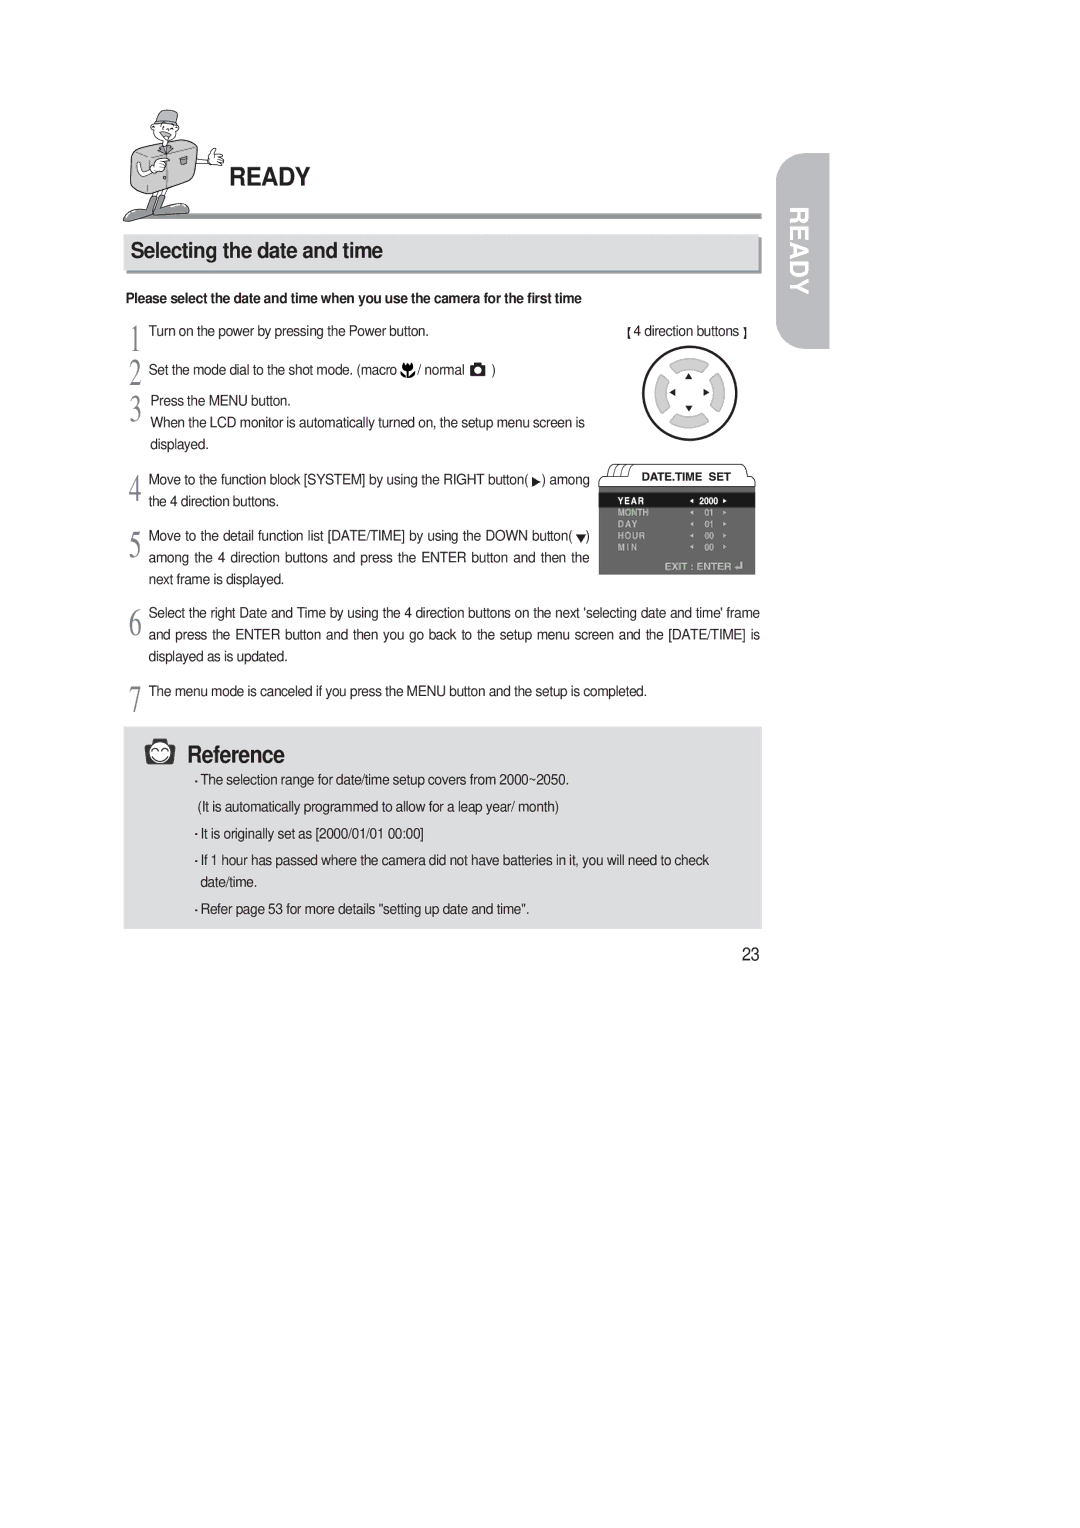
1 | Turn on the power by pressing the Power button. | 4 direction buttons |
2 | Set the mode dial to the shot mode. (macro / normal | ) |
3 | Press the MENU button. |
|
When the LCD monitor is automatically turned on, the setup menu screen is | ||
displayed.
4 Move to the function block [SYSTEM] by using the RIGHT button(![]() ) among the 4 direction buttons.
) among the 4 direction buttons.
5 Move to the detail function list [DATE/TIME] by using the DOWN button( ) among the 4 direction buttons and press the ENTER button and then the next frame is displayed.
Select the right Date and Time by using the 4 direction buttons on the next 'selecting date and time' frame
6 and press the ENTER button and then you go back to the setup menu screen and the [DATE/TIME] is displayed as is updated.
7 The menu mode is canceled if you press the MENU button and the setup is completed.
![]() Reference
Reference
The selection range for date/time setup covers from 2000~2050.
(It is automatically programmed to allow for a leap year/ month)
It is originally set as [2000/01/01 00:00]
If 1 hour has passed where the camera did not have batteries in it, you will need to check date/time.
Refer page 53 for more details "setting up date and time".
READY
23