4 Network setup
This chapter gives you
This chapter includes:
•Introduction
•Supported operating systems
•Configuring TCP/IP
•Setting Ethernet speed
•Restoring the network configuration
•Printing a network configuration page
Introduction
Once you have connected your machine to a network with an
You need to set up the network protocols on the machine to use it as your network printer. Protocols can be set up by the following two methods:
Via network administration programs
You can configure your machine’s print server settings and manage the machine via the following programs that came with your machine:
•SyncThru™ Web Admin Service: A
•SyncThru™ Web Service: A web server embedded to your network print server, which allows you to:
-Configure the network parameters necessary for the machine to connect to various network environments.
-Customize printer, copy, and fax settings.
•SetIP: A utility program allowing you to select a network interface and manually configure the addresses for use with the TCP/IP protocol.
For further details, refer to the user’s guide on the network utilities CD that came with your machine.
Via the control panel
You can set up the following basic network parameters through the machine’s control panel:
•Configure TCP/IP
•Configure EtherTalk
Supported operating systems
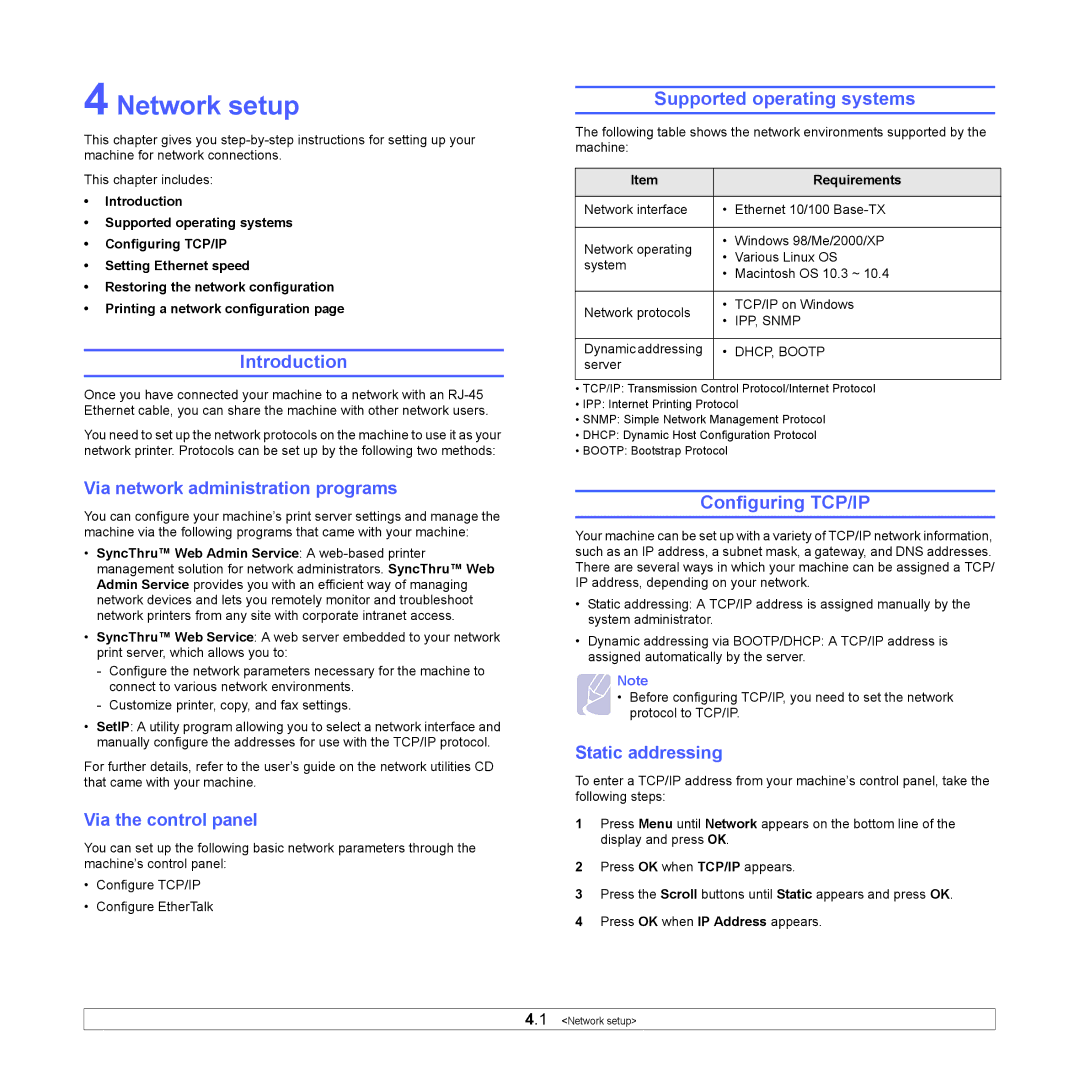
The following table shows the network environments supported by the machine:
Item |
| Requirements | |
|
|
| |
Network interface | • | Ethernet 10/100 | |
|
|
| |
Network operating | • | Windows 98/Me/2000/XP | |
• | Various Linux OS | ||
system | |||
• | Macintosh OS 10.3 ~ 10.4 | ||
| |||
|
| ||
Network protocols | • TCP/IP on Windows | ||
• IPP, SNMP | |||
| |||
|
| ||
Dynamic addressing | • DHCP, BOOTP | ||
server |
|
| |
|
|
| |
•TCP/IP: Transmission Control Protocol/Internet Protocol
•IPP: Internet Printing Protocol
•SNMP: Simple Network Management Protocol
•DHCP: Dynamic Host Configuration Protocol
•BOOTP: Bootstrap Protocol
Configuring TCP/IP
Your machine can be set up with a variety of TCP/IP network information, such as an IP address, a subnet mask, a gateway, and DNS addresses. There are several ways in which your machine can be assigned a TCP/ IP address, depending on your network.
•Static addressing: A TCP/IP address is assigned manually by the system administrator.
•Dynamic addressing via BOOTP/DHCP: A TCP/IP address is assigned automatically by the server.
Note
• Before configuring TCP/IP, you need to set the network protocol to TCP/IP.
Static addressing
To enter a TCP/IP address from your machine’s control panel, take the following steps:
1Press Menu until Network appears on the bottom line of the display and press OK.
2Press OK when TCP/IP appears.
3Press the Scroll buttons until Static appears and press OK.
4Press OK when IP Address appears.
4.1 <Network setup>
