System Setup
On-Screen Menu Navigation
System Setup
|
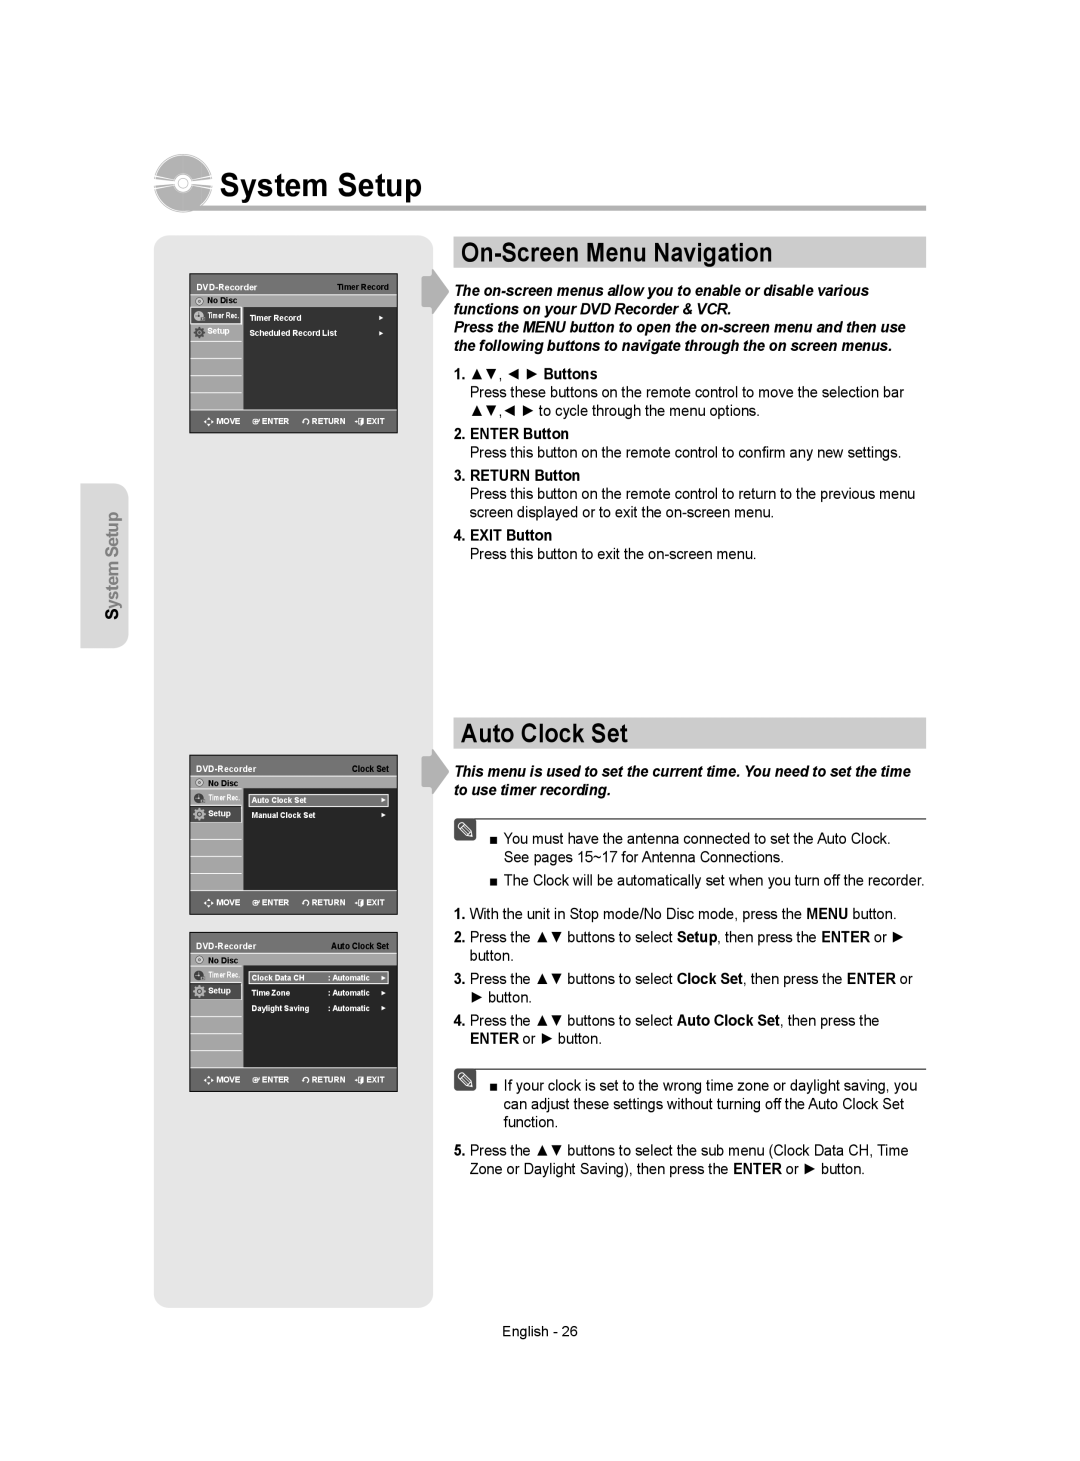
| Timer Record | |
| No Disc |
|
|
| Timer Rec. | Timer Record | ► |
| Setup | Scheduled Record List | ► |
|
|
|
|
![]()
![]() MOVE
MOVE ![]() ENTER
ENTER ![]() RETURN
RETURN ![]() EXIT
EXIT
The
Press the MENU button to open the
1.▲▼, ◄ ► Buttons
Press these buttons on the remote control to move the selection bar ▲▼,◄ ► to cycle through the menu options.
2.ENTER Button
Press this button on the remote control to confirm any new settings.
3.RETURN Button
Press this button on the remote control to return to the previous menu screen displayed or to exit the
4.EXIT Button
Press this button to exit the on-screen menu.
| Clock Set | ||
No Disc |
|
|
|
Timer Rec. | Auto Clock Set |
| ► |
Setup | Manual Clock Set | ► | |
MOVE | ENTER | RETURN | EXIT |
Auto Clock Set | ||||
No Disc |
|
|
|
|
Timer Rec. | Clock Data CH | : Automatic | ► | |
| ||||
Setup | Time Zone | : Automatic | ► | |
| Daylight Saving | : Automatic | ► | |
MOVE | ENTER | RETURN | EXIT | |
Auto Clock Set
This menu is used to set the current time. You need to set the time to use timer recording.
■ You must have the antenna connected to set the Auto Clock. See pages 15~17 for Antenna Connections.
■The Clock will be automatically set when you turn off the recorder.
1.With the unit in Stop mode/No Disc mode, press the MENU button.
2.Press the ▲▼ buttons to select Setup, then press the ENTER or ► button.
3.Press the ▲▼ buttons to select Clock Set, then press the ENTER or
►button.
4.Press the ▲▼ buttons to select Auto Clock Set, then press the ENTER or ► button.
■ If your clock is set to the wrong time zone or daylight saving, you can adjust these settings without turning off the Auto Clock Set function.
5.Press the ▲▼ buttons to select the sub menu (Clock Data CH, Time Zone or Daylight Saving), then press the ENTER or ► button.
English - 26