ENGLISH
Setting the CAM : Using USB Mode
Connecting the CAM to a Printer
By connecting the CAM to printers with PictBridge support (sold separately), you can send images |
| |
from the internal memory or external memory (Memory Stick or Memory Stick Pro) directly to | 2 | |
the printer with a few simple operations. | ||
|
1.Connect the CAM to the printer with PictBridge support with the USB cable.
2.Slide [Mode Selector] down to turn on the CAM.
◆ USB mode screen appears automatically.
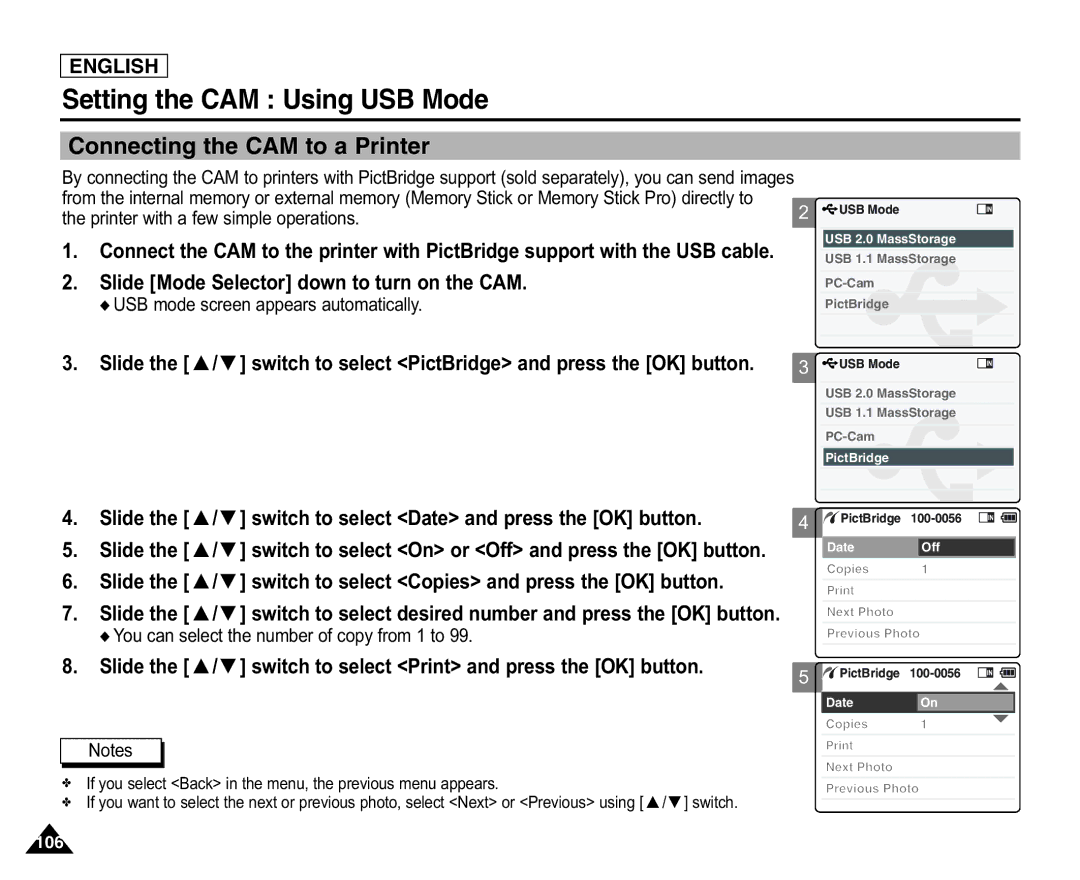
3. Slide the [ ▲ /▼ ] switch to select <PictBridge> and press the [OK] button. | 3 |
![]() USB Mode
USB Mode
USB 2.0 MassStorage
USB 1.1 MassStorage
Back
PictBridge
![]() USB Mode
USB Mode
USB 2.0 MassStorage
USB 1.1 MassStorage
PictBridge
4.Slide the [ ▲ /▼ ] switch to select <Date> and press the [OK] button.
5.Slide the [ ▲ /▼ ] switch to select <On> or <Off> and press the [OK] button.
6.Slide the [ ▲ /▼ ] switch to select <Copies> and press the [OK] button.
7.Slide the [ ▲ /▼ ] switch to select desired number and press the [OK] button.
◆ You can select the number of copy from 1 to 99.
8.Slide the [ ▲ /▼ ] switch to select <Print> and press the [OK] button.
Notes
✤If you select <Back> in the menu, the previous menu appears.
✤If you want to select the next or previous photo, select <Next> or <Previous> using [ ▲ /▼ ] switch.
4
5
![]() PictBridge
PictBridge
Date Off
Copies 1
Next Photo
Previous Photo
![]() PictBridge
PictBridge
Date On
Copies 1
Next Photo
Previous Photo
106