11. Appendix
2.Select “Key index”. Use the Point ed buttons choose the HEX or ASCII key. The four
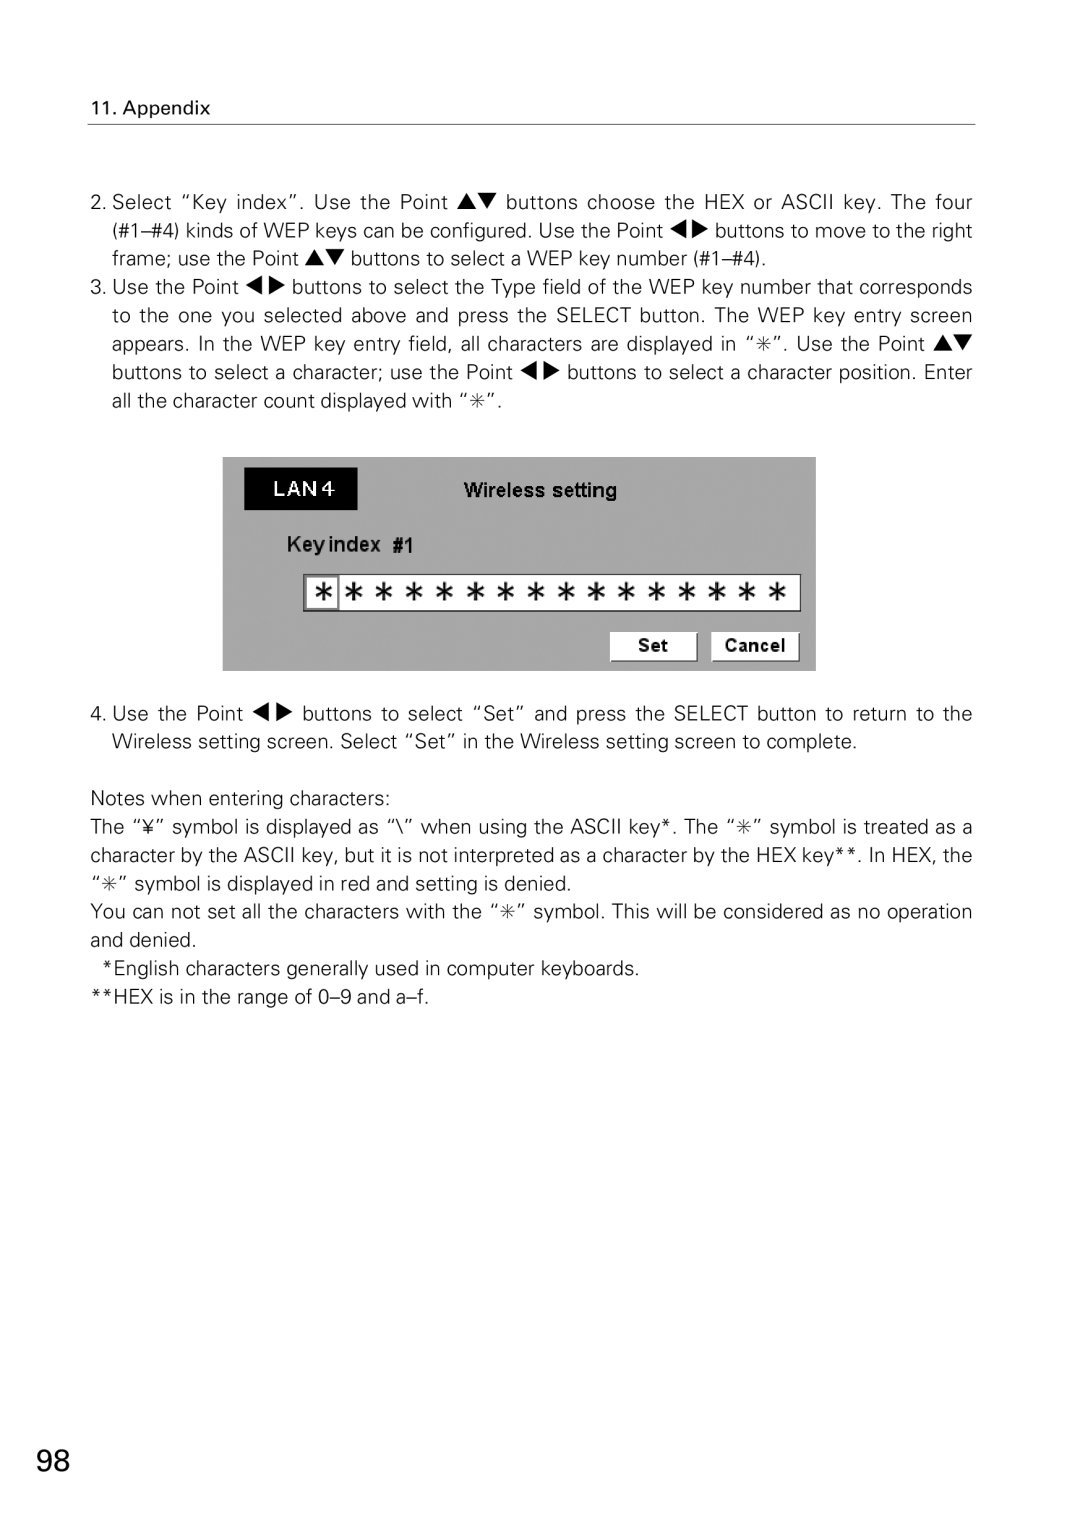
3.Use the Point 7 8 buttons to select the Type field of the WEP key number that corresponds to the one you selected above and press the SELECT button. The WEP key entry screen appears. In the WEP key entry field, all characters are displayed in “✳”. Use the Point ed buttons to select a character; use the Point 7 8 buttons to select a character position. Enter all the character count displayed with “✳”.
4.Use the Point 7 8 buttons to select “Set” and press the SELECT button to return to the Wireless setting screen. Select “Set” in the Wireless setting screen to complete.
Notes when entering characters:
The “¥” symbol is displayed as “\” when using the ASCII key*. The “✳” symbol is treated as a character by the ASCII key, but it is not interpreted as a character by the HEX key**. In HEX, the “✳” symbol is displayed in red and setting is denied.
You can not set all the characters with the “✳” symbol. This will be considered as no operation and denied.
*English characters generally used in computer keyboards. **HEX is in the range of
98