which line is connected to which station, you can transfer calls on some lines to some sta- tions.
The following chart shows a sample non- square configuration. In this configuration, lines 1 and 2 are common to all stations, and lines 3 and 4 are available to groups of sta- tions. Station 11 is the Auto Attendant. Since all lines are available at the Auto Attendant station, the Auto Attendant can answer all lines.
Calls to Lines 1 and 2 can be transferred to all stations.
Calls on Line 3 can be transferred to all sta- tions except stations 14 and 15.
Calls on Line 4 can only be transferred to the stations that have Line 4 (stations 11, 16, and 17 in the sample below). If you want to build a
Station ID |
| Line Number | |||
|
|
|
|
| |
|
|
|
|
|
|
| 1 |
| 2 | 3 | 4 |
|
|
|
|
|
|
Station 11 | X |
| X | X | X |
(Auto Attendant) |
|
|
|
|
|
|
|
|
|
|
|
Station 12 | X |
| X | X |
|
|
|
|
|
|
|
Station 13 | X |
| X | X |
|
|
|
|
|
|
|
Station 14 | X |
| X |
|
|
|
|
|
|
|
|
Station 15 | X |
| X |
|
|
|
|
|
|
|
|
Station 16 | X |
| X | X | X |
|
|
|
|
|
|
Station 17 | X |
| X | X | X |
|
|
|
|
|
|
Station 18 | X |
| X | X |
|
|
|
|
|
|
|
Station 19 | X |
| X | X |
|
|
|
|
|
|
|
Station 20 | X |
| X | X |
|
|
|
|
|
|
|
Station 21 | X |
| X | X |
|
|
|
|
|
|
|
Station 22 | X |
| X | X |
|
|
|
|
|
|
|
Note: See “Setting the Private Line” on Page 16 to effectively use the private line(s).
MOUNTING THE SYSTEM
You can place your phone on a desk, or mount it on a standard wall plate or directly on a wall. Select a location that is near a modular telephone line jack and an AC out- let.
On a Desk
1.Remove the mounting bracket by pulling it down.
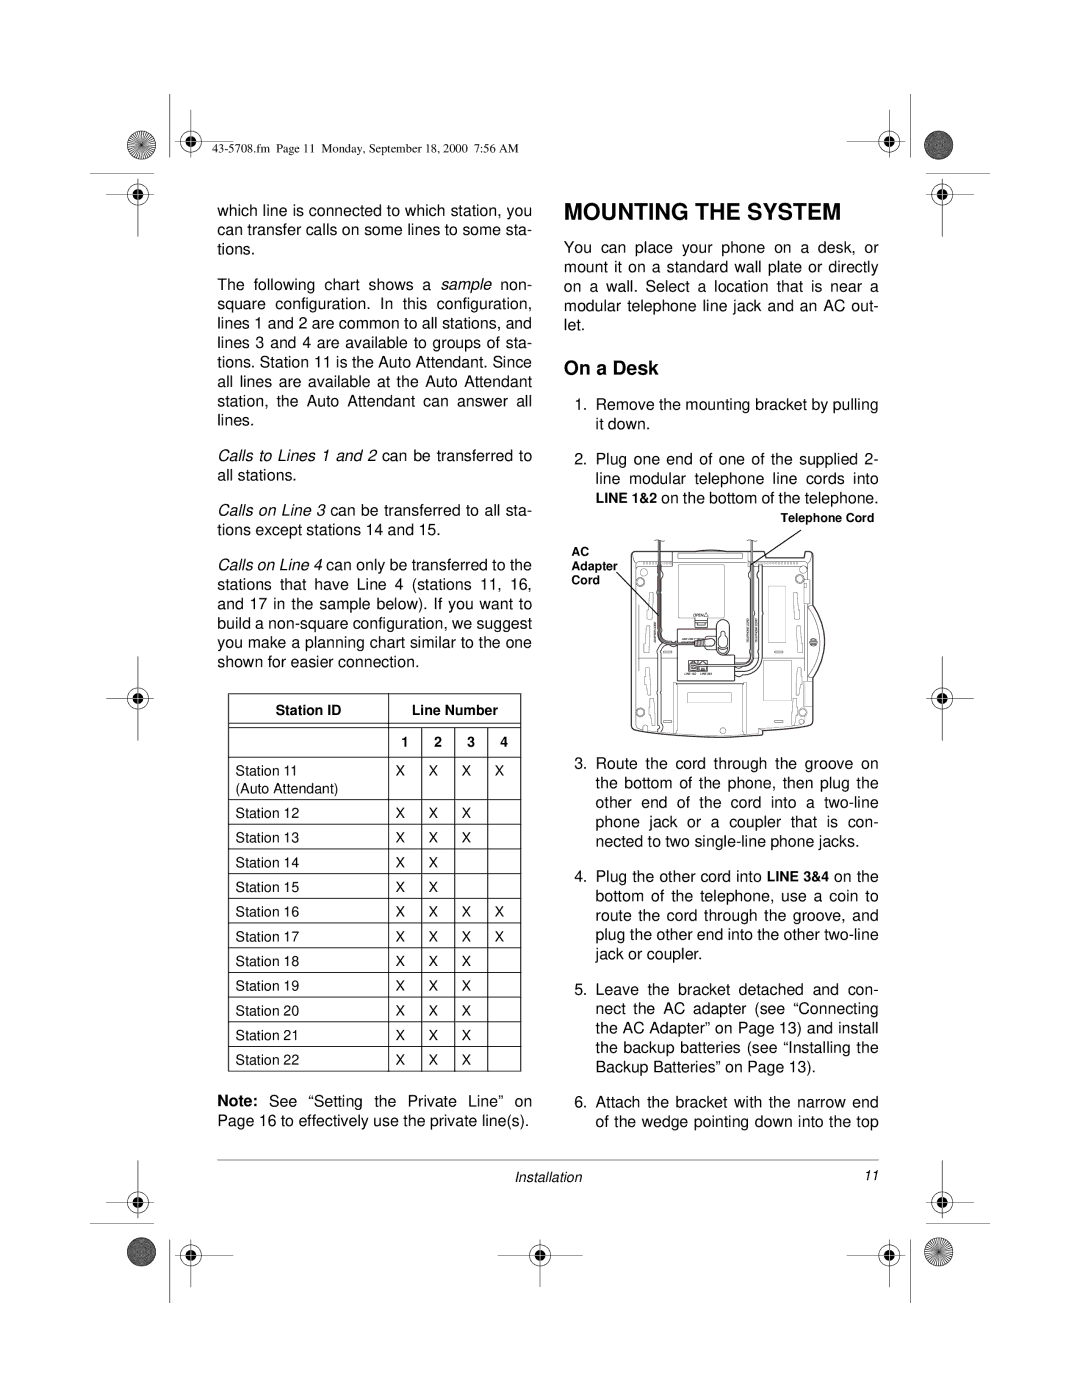
2.Plug one end of one of the supplied 2- line modular telephone line cords into LINE 1&2 on the bottom of the telephone.
Telephone Cord
AC
Adapter
Cord
3.Route the cord through the groove on the bottom of the phone, then plug the other end of the cord into a
4.Plug the other cord into LINE 3&4 on the bottom of the telephone, use a coin to route the cord through the groove, and plug the other end into the other
5.Leave the bracket detached and con- nect the AC adapter (see “Connecting the AC Adapter” on Page 13) and install the backup batteries (see “Installing the Backup Batteries” on Page 13).
6.Attach the bracket with the narrow end of the wedge pointing down into the top
Installation | 11 |
| ||
|
|
|
|
|
|
|
|
|
|
|
|
|
|
|