TROUBLESHOOTING THE ELECTRICAL SYSTEM
assembly circuit board (refer to Wiring Diagram 2). Use a DC voltmeter to measure the VDC at the power connector. Pin #1
is negative and Pin#10 is positive. The reading should be between 12 and 19 VDC. If you are not getting power to the connector, replace the power connector assembly and retest.
b.If you are getting the correct voltage at the power connector, reconnect it to the J2 position on the relay assembly circuit board. Disconnect the main cable connector at the J1 position of the relay assembly circuit board. Check the VDC reading at the silver tabs on the relay assembly circuit board. Tab #4 (labelled +/ WHT) is positive and tab #5 (labelled GND/BLK) is negative (refer to Wiring Diagram 2). You should get a reading between 12 and
19 VDC. If your reading is not within the range, replace the relay assembly circuit board and retest.
c.If you are getting the correct voltage at tabs #4 and #5, check the VDC reading at the connector labeled position J1 on the relay assembly circuit board. Pin #4 is positive and pin #5 is negative. You should get a reading between 12 and 19 VDC. If your reading is not within the range, replace the relay assembly circuit board and retest.
d.If all of the above power tests produce VDC readings that are within range and the Power indicator light is still not lit, the Power indicator light is probably inoperable. Replace the relay assembly circuit board, reconnect all wires, and retest.
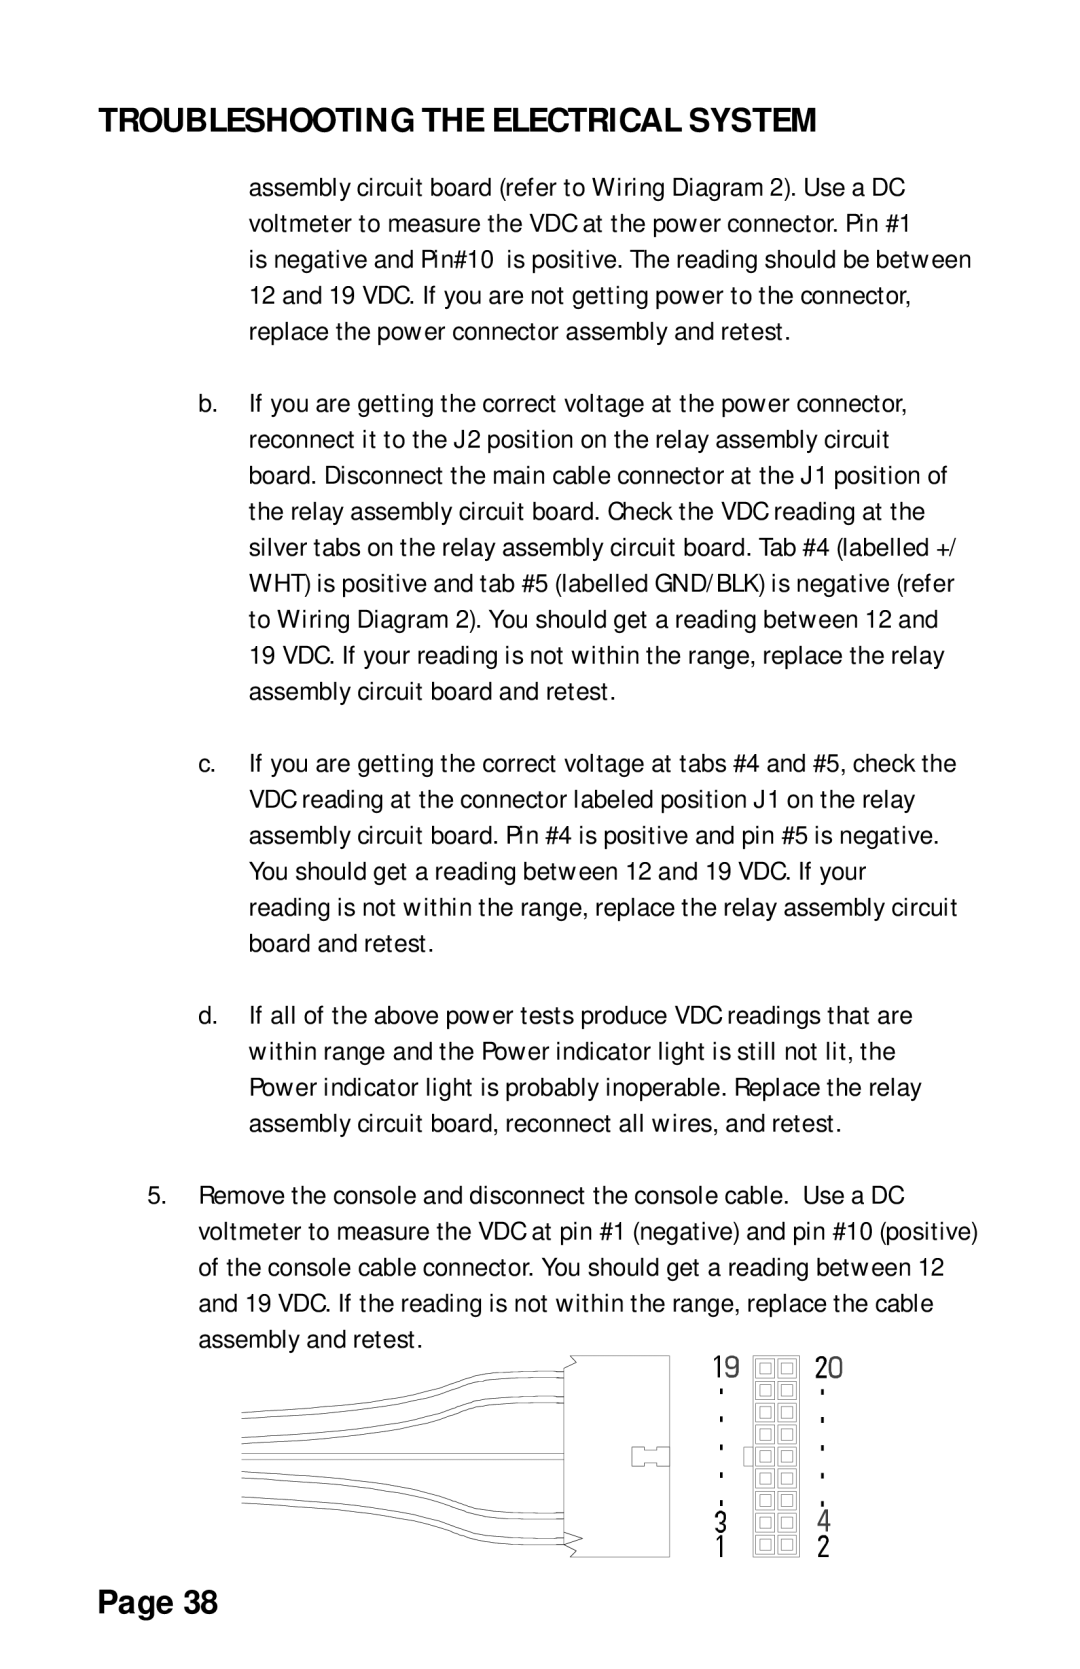
5.Remove the console and disconnect the console cable. Use a DC voltmeter to measure the VDC at pin #1 (negative) and pin #10 (positive) of the console cable connector. You should get a reading between 12 and 19 VDC. If the reading is not within the range, replace the cable assembly and retest.
Page 38
