Programmer's Guide | PcOS Series 150 | Product |
Chapter 7:
Product Self-tests
The Series 150 Printer contains several levels of
Level 0 Diagnostics
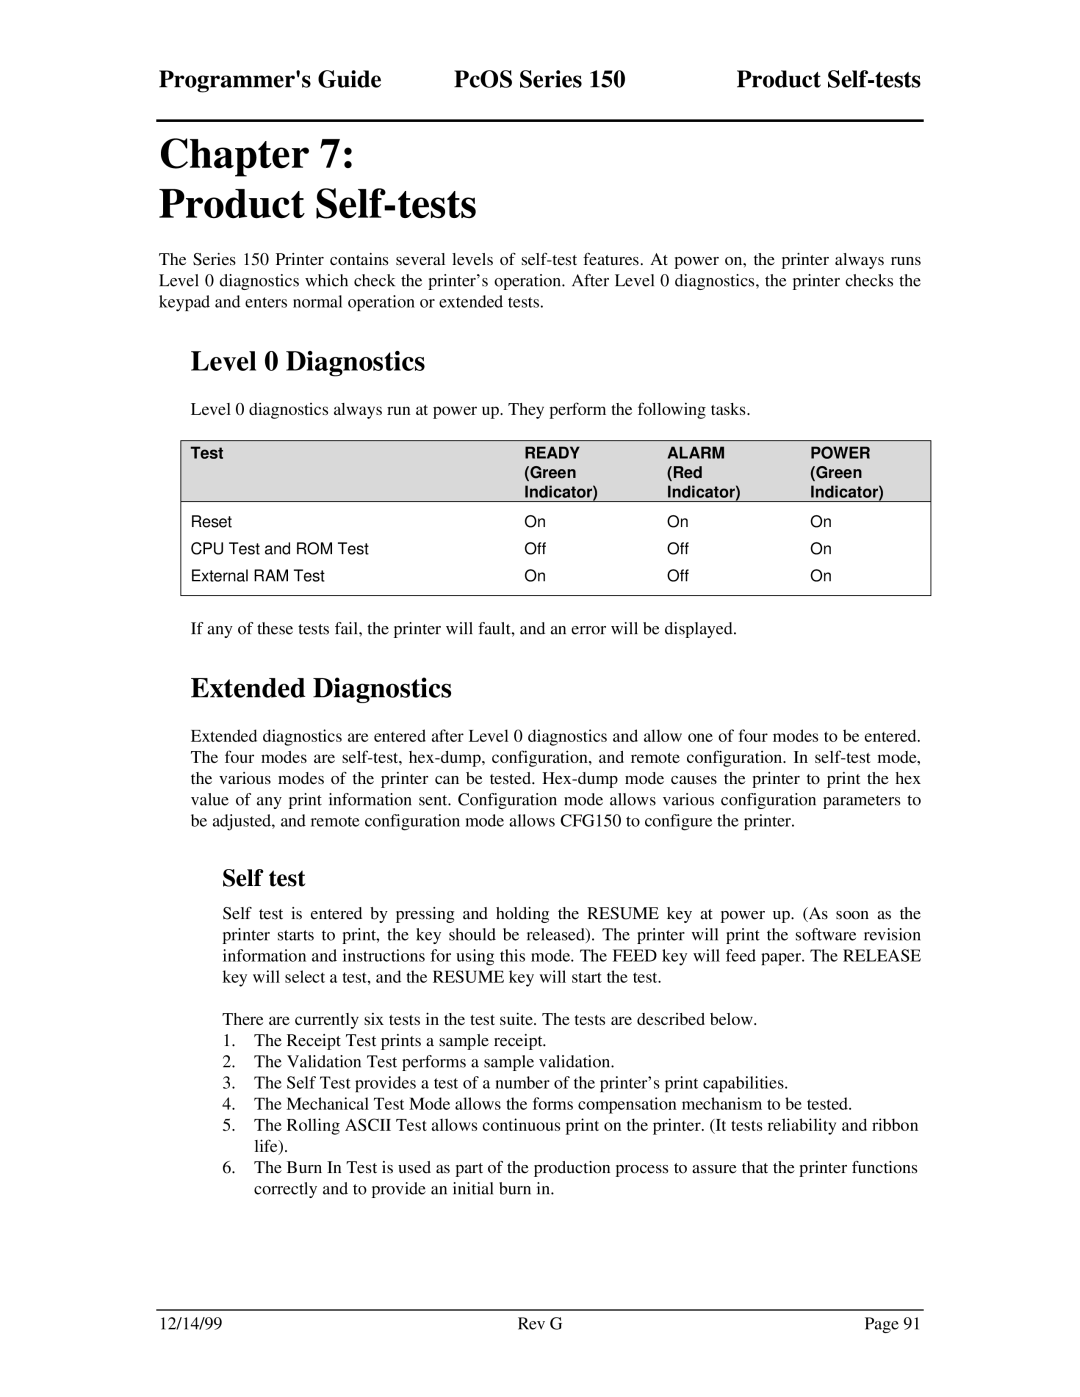
Level 0 diagnostics always run at power up. They perform the following tasks.
Test | READY | ALARM | POWER |
| (Green | (Red | (Green |
| Indicator) | Indicator) | Indicator) |
Reset | On | On | On |
CPU Test and ROM Test | Off | Off | On |
External RAM Test | On | Off | On |
|
|
|
|
If any of these tests fail, the printer will fault, and an error will be displayed.
Extended Diagnostics
Extended diagnostics are entered after Level 0 diagnostics and allow one of four modes to be entered. The four modes are
Self test
Self test is entered by pressing and holding the RESUME key at power up. (As soon as the printer starts to print, the key should be released). The printer will print the software revision information and instructions for using this mode. The FEED key will feed paper. The RELEASE key will select a test, and the RESUME key will start the test.
There are currently six tests in the test suite. The tests are described below.
1.The Receipt Test prints a sample receipt.
2.The Validation Test performs a sample validation.
3.The Self Test provides a test of a number of the printer’s print capabilities.
4.The Mechanical Test Mode allows the forms compensation mechanism to be tested.
5.The Rolling ASCII Test allows continuous print on the printer. (It tests reliability and ribbon life).
6.The Burn In Test is used as part of the production process to assure that the printer functions correctly and to provide an initial burn in.
12/14/99 | Rev G | Page 91 |
