20
9.Set the release lever to the
10.When the paper stops, set the release lever for sprocket- feed paper again.
11.Install the paper guide on the printer. See Figures
10)or raise (Figure
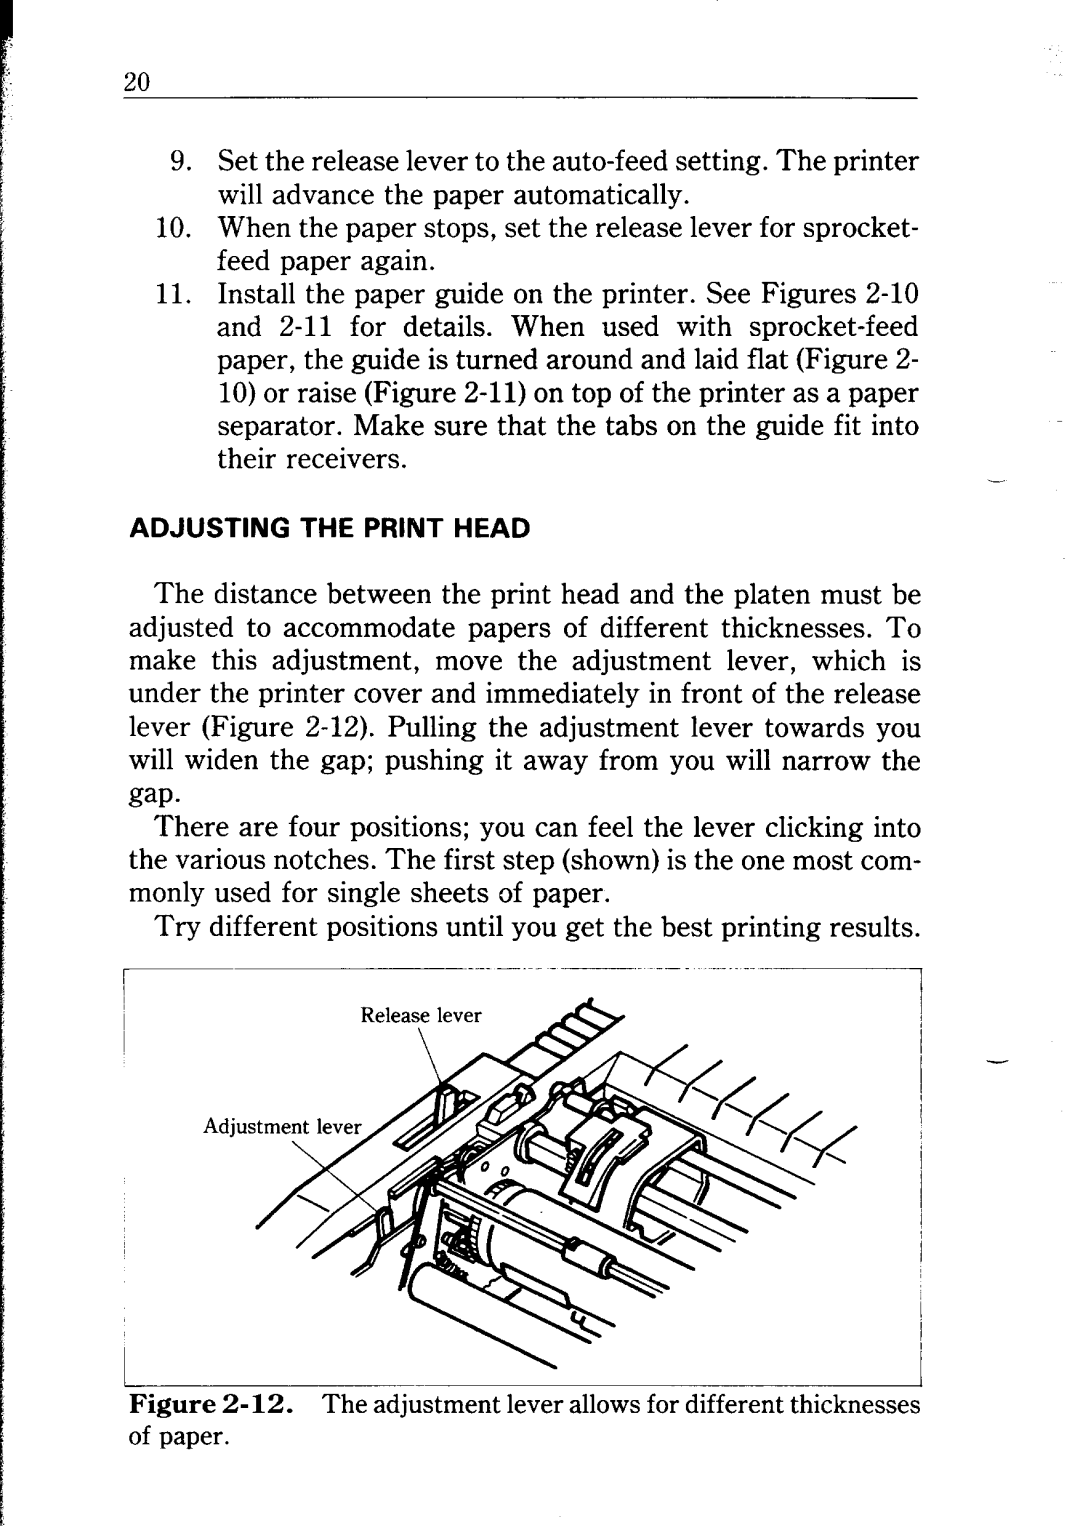
ADJUSTING THE PRINT HEAD
The distance between the print head and the platen must be adjusted to accommodate papers of different thicknesses. To make this adjustment, move the adjustment lever, which is under the printer cover and immediately in front of the release lever (Figure
gap-
There are four positions; you can feel the lever clicking into the various notches. The first step (shown) is the one most com- monly used for single sheets of paper.
Try different positions until you get the best printing results.
-