|
|
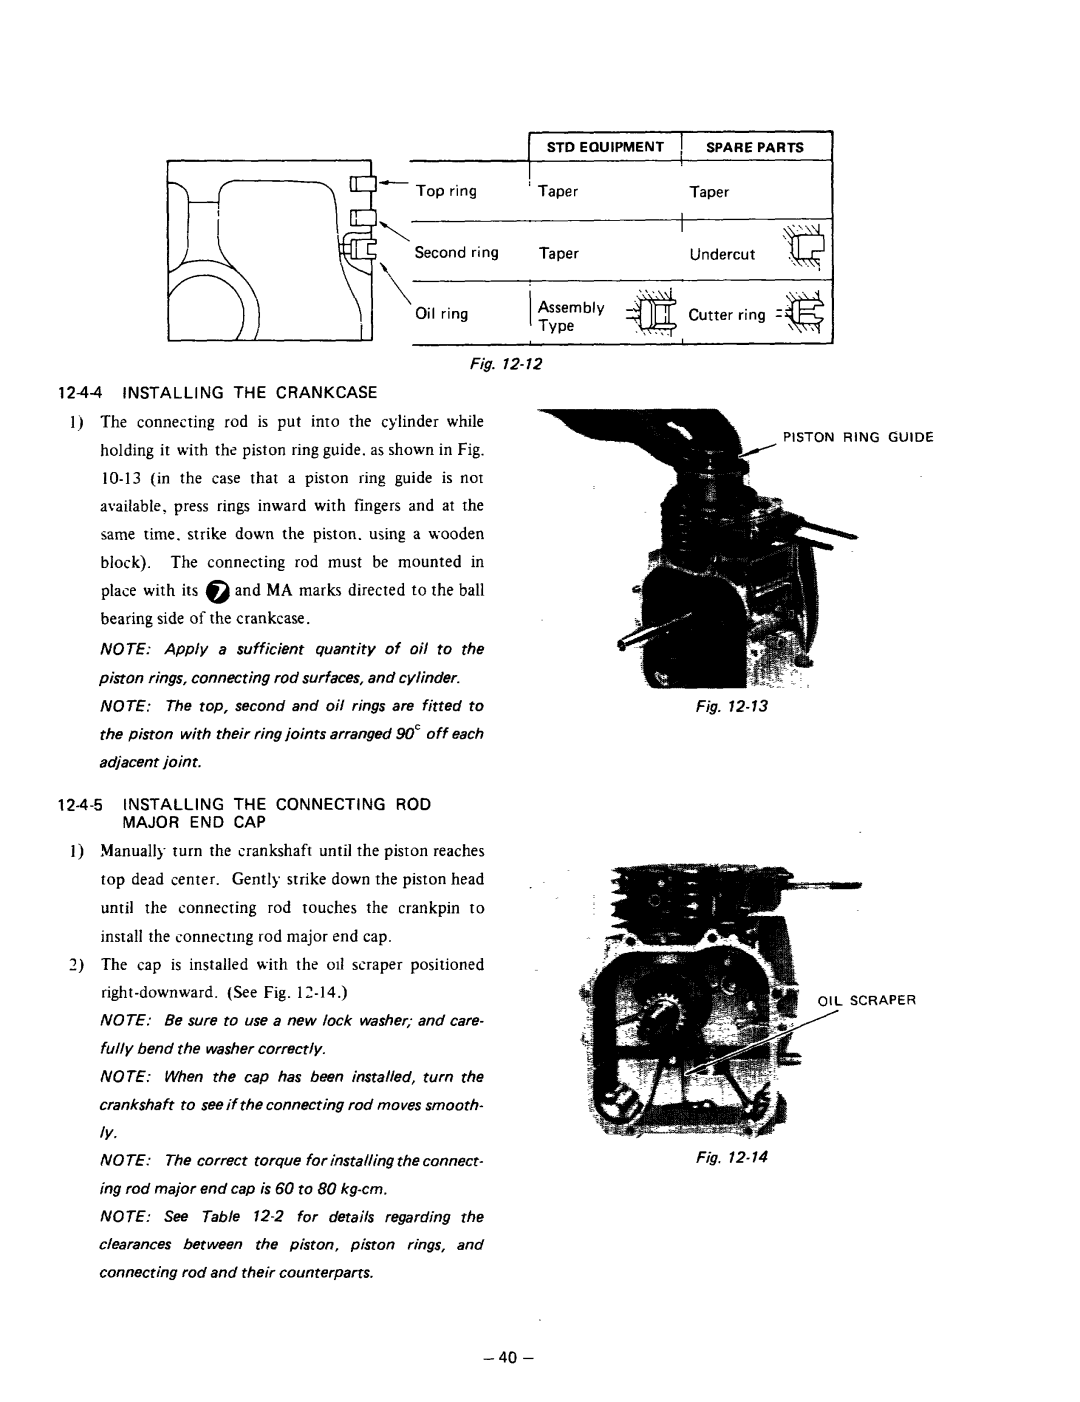
| STD EQUIPMENT | ! SPARE PARTS | |
- | Top | ring | ’ Taper | Taper |
|
|
|
|
| I | x..\ ‘,\ |
\ | Second ring |
|
| ||
‘\ | Taper | Undercut | q:.\ .. | ||
|
|
|
|
| |
| \ |
|
|
|
|
| Oil | ring | I |
|
|
|
|
|
|
| |
Fig.
1244 INSTALLING THE CRANKCASE
1)The connecting rod is put into the cylinder while holding it with the piston ring guide. as shown in Fig.
NOTE: Apply a sufficient quantity of oil to the piston rings, connecting rod surfaces, and cylinder.
NOTE: The top, second and oil rings are fitted to the piston with their ring joints arranged 90’ off each adjacent joint.
12-4-5 INSTALLING THE CONNECTING ROD
MAJOR END CAP
1j Manually turn the crankshaft until the piston reaches top dead center. Gently strike down the piston head until the connecting rod touches the crankpin to install the connecting rod major end cap.
3)The cap is installed with the 011scraper positioned
NOTE: Be sure to use a new lock washer; and care- fully bend the washer correctly.
NOTE: When the cap has been installed, turn the
crankshaft to see if the connecting rod moves smooth- Iv.
NOTE: The correct torque for installing the connect- ing rod major end cap is 60 to 80
NOTE: See Table
clearances between the piston, piston rings, and connecting rod and their counterparts.
GUIDE
Fig.
OIL SCIRAPER
Fig.