Manuals
/
Swann
/
Home Audio
/
Home Theater System
Swann
manual
Channel H.264 DVR
Models:
H.264
1
1
76
76
Download
76 pages
44.2 Kb
1
2
3
4
5
6
7
8
Troubleshooting
Specs
Alarm
Password
Warranty
Alarm Configuration Menu
Remote Access
Display Setup Menu
USB Backup
Setting the Schedule
Page 1
Image 1
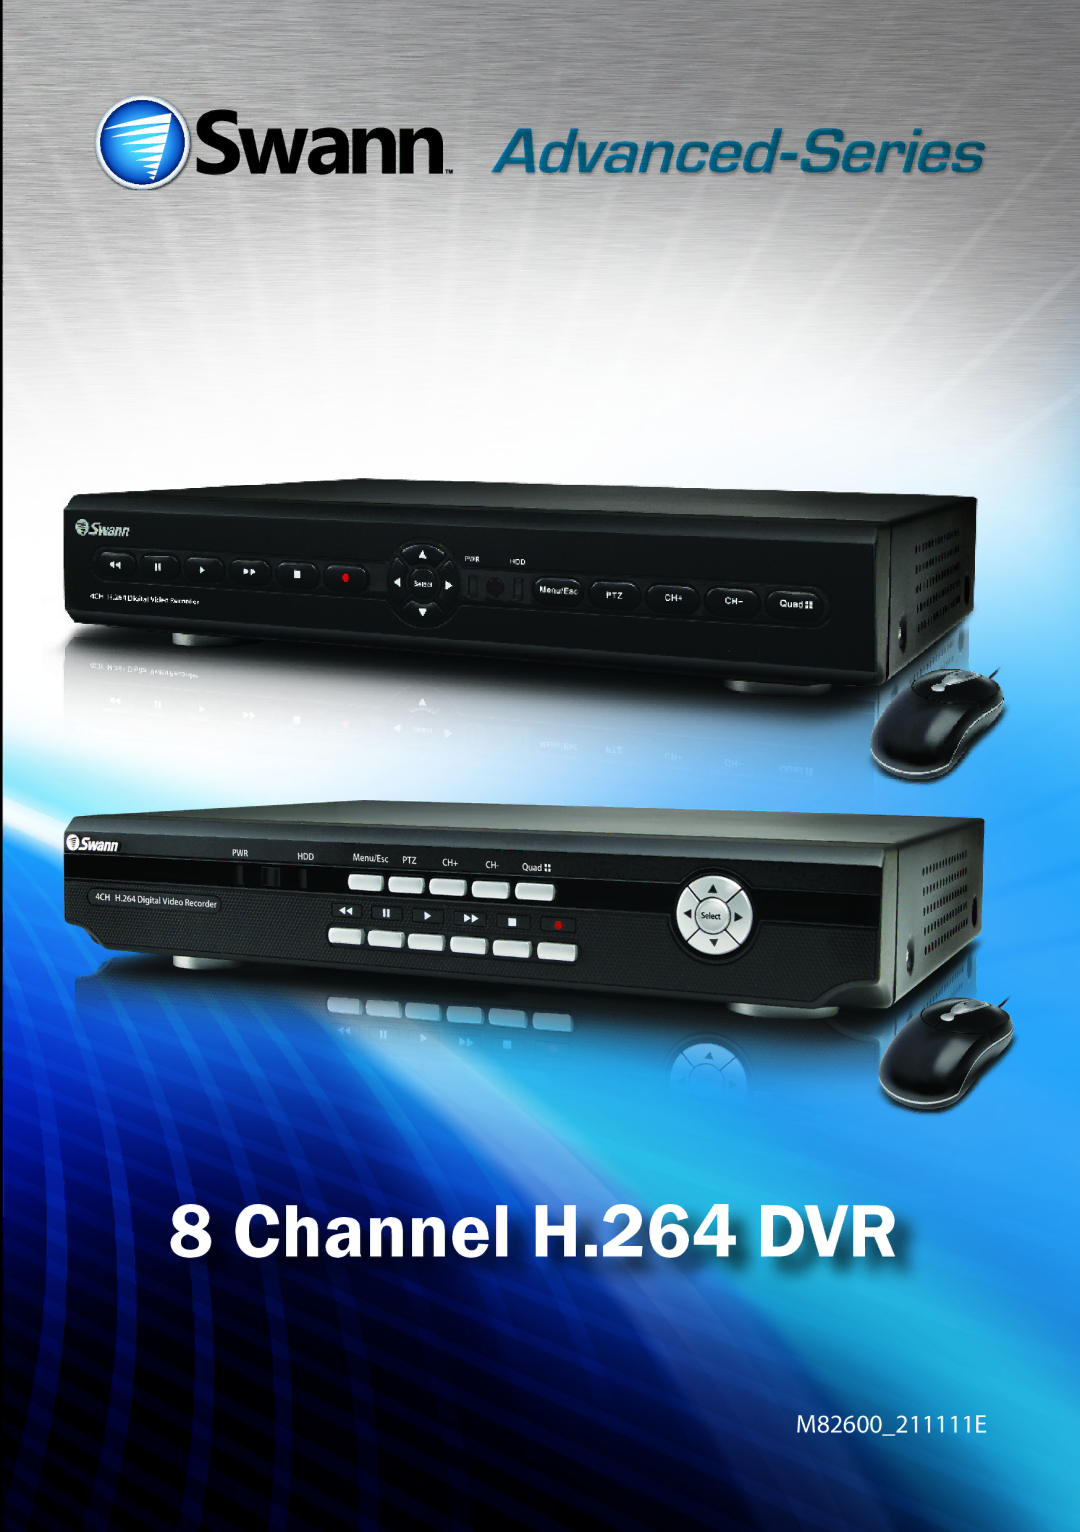
Advanced-Series
8 Channel H.264 DVR
M82600_211111E
Page 1
Page 2
Page 1
Image 1
Page 1
Page 2
Contents
Channel H.264 DVR
Easy Se
Etup Guide 8ch H.264 DVR
FCC Verification
Before you begin
Table of Contents
Overview
Package Contents
Installation Tips & Tricks
Important Guidelines
Important Information
Layout of the Rear Panel
Layout of the DVR4-2600
3 4 5 6 7 Power Indicator This LED is
Up menu. This is used to control PTZ
If this sensor is blocked or obstructed
Layout of the DVR4-2550
Layout of the Remote Control
Page
Navigating the Menus
USB Mouse
Remote Control
Important Remembering to Apply Your Changes
Using the On-Screen Keyboard
Getting Started
Starting the DVR
Page
Record Menu
Main Menu
Page
Naming Channels
Display Setup Menu
Live Viewing Enabling and Disabling Channels
Color Setup
Displaying the Time
Record Menu
Record Setup Menu
Manual Frame Rate Configuration
Recording Schedule
Copying and Pasting Schedules from day to day
Setting the Schedule
Motion Detection Setup
How Motion Detection Works
About Motion Detection
To set the Motion Detection Area
Motion Detection Area Setup
Red boxes mark the area that is sensitive to motion
Network Menu
See Remote Access Ports and UPnP on
Page
Video Search
Record Video Search
To execute a Video Search
Detail Files Screen
Detail Files and Log List
Log List Screen
Preparing a USB Flash Drive
USB Backup
To format your USB flash drive
USB Backup Instructions
Playback
Playback Controls
Playing Backed Up Footage on a PC
Installing the Playback Software
Opening Files
Playback Interface
Playback Interface
Playing Backed Up Footage on a Mac
Managing the Playlist Removing Files
Managing the Playlist Opening Files
Device Management
Alarm
HDD Management
Page
PTZ Menu
Alarm Configuration Menu
Email See Auto Email Setup Menu on
Tips and Tricks
Auto Email Setup Menu
Page
System Setup Menu
Date and Time Menu
Setting the Date and Time
Remember to Apply your changes
Configuring DST Daylight Savings Time Settings
To set a Username and Password
User Setup Menu
To edit the level of access a User account has
Video / Audio Setup Menu
Language Menu
Language Menu
System Information Menu
System Information Menu
Maintain System Maintenance Menu
On the capabilities and limitations of your PTZ system
PTZ Controls
Setting up Cruise Mode
Cruise Mode
Your DVR & Local Network Correctly Configured
Remote Access
High-Speed Internet Connection
Port Configuration
Remote Access Ports and UPnP
UPnP
Enabling UPnP
Public and Private IP Addresses
Remote Access IP addresses
What’s the difference?
Page
To access the DVR remotely via Internet Explorer
Remote Access via Internet Explorer
Click Tools --Internet Options
Open Internet Explorer
Setting up the DVR for Mobile Access
Remote Access from a Mobile Device
Requirements
Check out
Preparing your Mobile Device
Supported Mobile Platforms
Changing or Installing the Hard Drive
Problem My DVR does not switch on
Troubleshooting
Ntsc / PAL
Technical Specifications
Limited Warranty Terms & Conditions
Warranty Information
Swann Technical Support
Helpdesk / Technical Support Details
Top
Page
Image
Contents