4 Operation | Model 7300A | |
|
|
|
|
|
|
|
|
|
If you do not wish to continue a function, you can abort the session by escaping . Escaping a function takes the analyzer back to the previous screen, or to the ANALYZE Function, depending on the function escaped.
reproduced, at the appropriate point in the procedure, in a Mono- spaced type style.
4.3.2 Setting up an AUTO-CAL
When proper automatic valving is connected (see chapter 3, installation), the Analyzer can cycle itself through a sequence of steps that automatically zero and span the instrument.
Note: Before setting up an
Note: If you require highly accurate
Note: If your ranges are configured for different applications, then
To setup an
TheVFDwilldisplayfivesubfunctions.
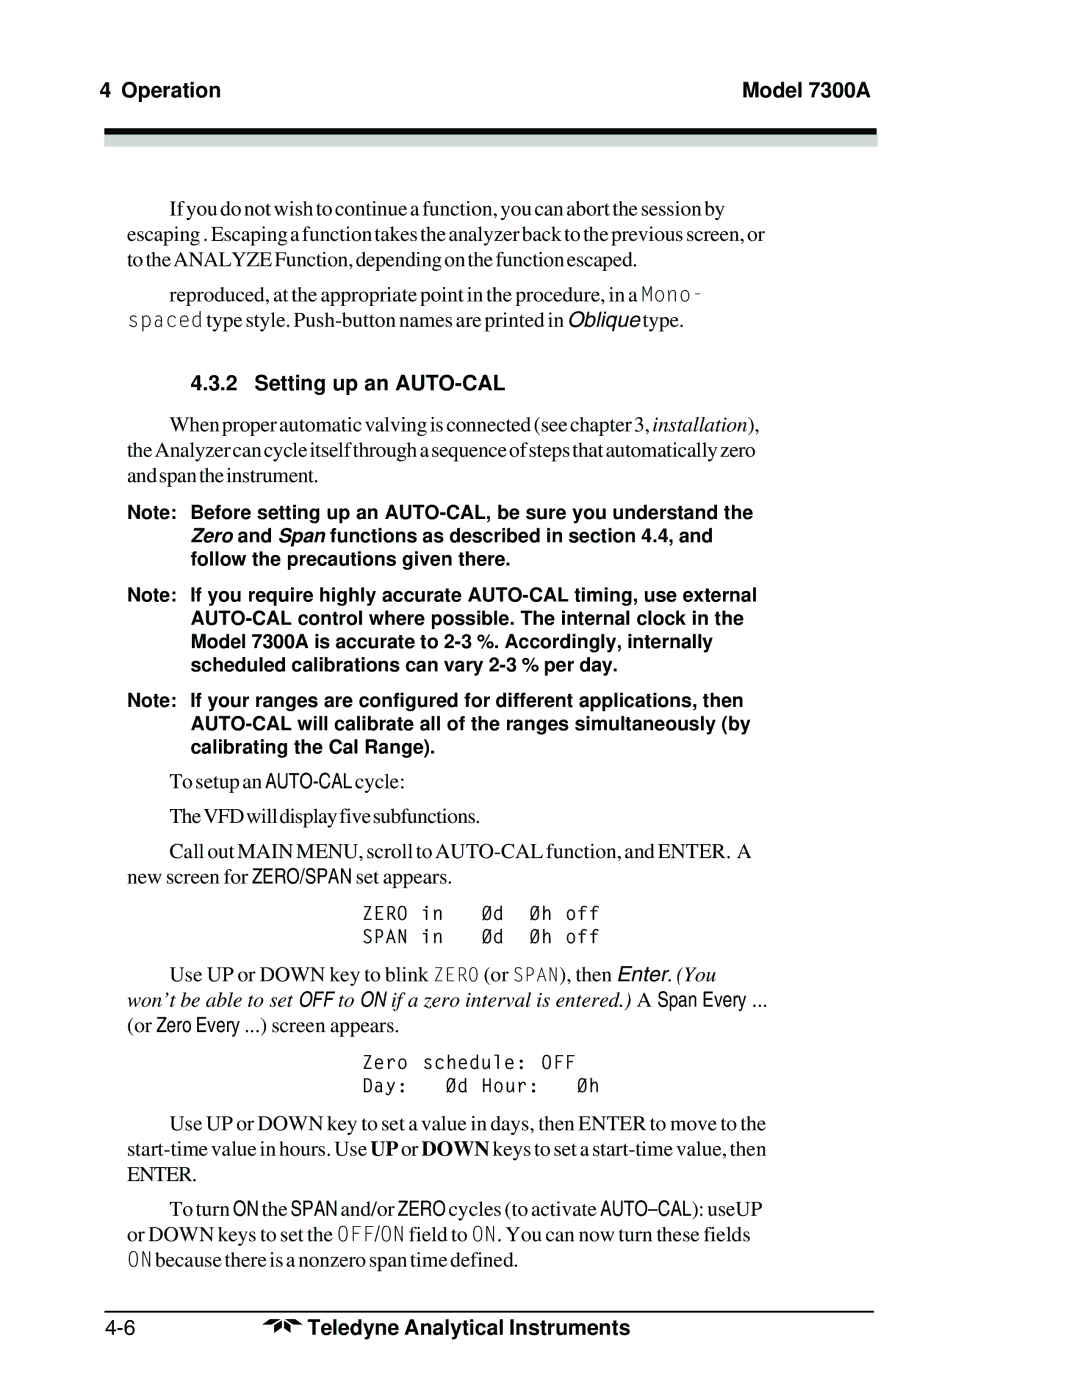
Call out MAIN MENU, scroll to
ZERO | in | Ød | Øh | off |
SPAN | in | Ød | Øh | off |
Use UP or DOWN key to blink ZERO (or SPAN), then Enter. (You
won’t be able to set OFF to ON if a zero interval is entered.) A Span Every ...
(or Zero Every ...) screen appears.
Zero schedule: OFF
Day: Ød Hour: Øh
Use UP or DOWN key to set a value in days, then ENTER to move to the
ENTER.
To turn ON the SPAN and/or ZERO cycles (to activate
Teledyne Analytical Instruments |
