RAID Configuration
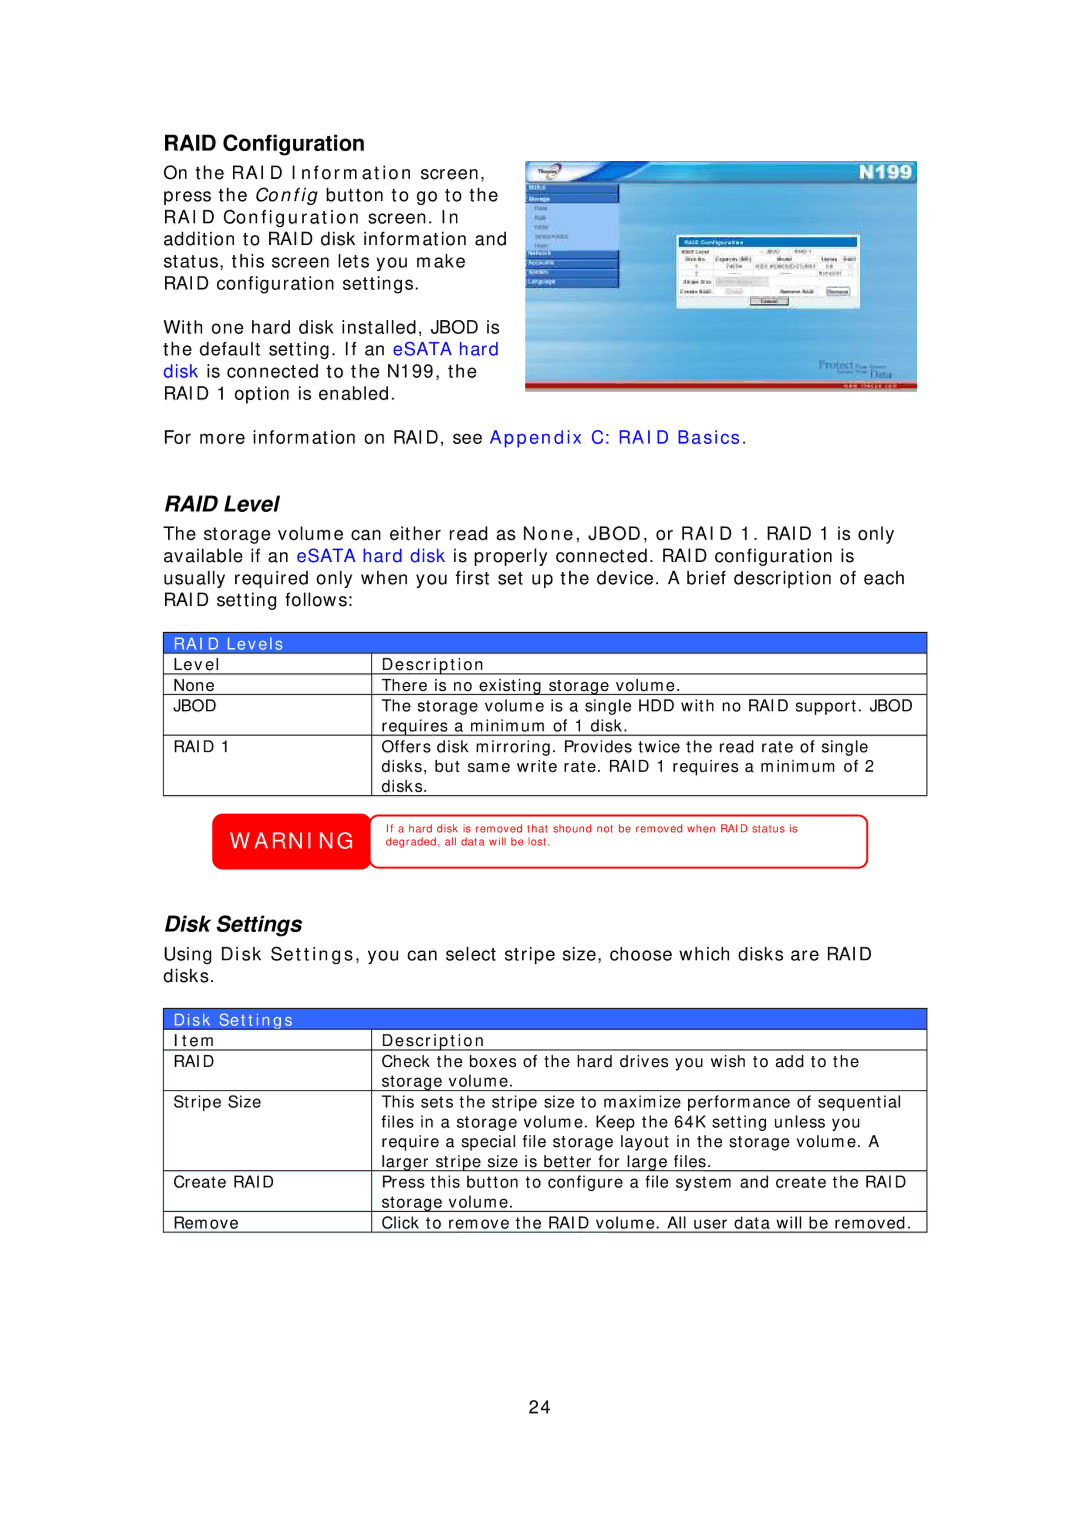
On the RAID Information screen, press the Config button to go to the RAID Configuration screen. In addition to RAID disk information and status, this screen lets you make RAID configuration settings.
With one hard disk installed, JBOD is the default setting. If an eSATA hard disk is connected to the N199, the RAID 1 option is enabled.
For more information on RAID, see Appendix C: RAID Basics.
RAID Level
The storage volume can either read as None, JBOD, or RAID 1. RAID 1 is only available if an eSATA hard disk is properly connected. RAID configuration is usually required only when you first set up the device. A brief description of each RAID setting follows:
RAID Levels
Level | Description |
None | There is no existing storage volume. |
JBOD | The storage volume is a single HDD with no RAID support. JBOD |
| requires a minimum of 1 disk. |
RAID 1 | Offers disk mirroring. Provides twice the read rate of single |
| disks, but same write rate. RAID 1 requires a minimum of 2 |
| disks. |
WARNING | If a hard disk is removed that shound not be removed when RAID status is |
degraded, all data will be lost. |
Disk Settings
Using Disk Settings, you can select stripe size, choose which disks are RAID disks.
Disk Settings
Item | Description |
RAID | Check the boxes of the hard drives you wish to add to the |
| storage volume. |
Stripe Size | This sets the stripe size to maximize performance of sequential |
| files in a storage volume. Keep the 64K setting unless you |
| require a special file storage layout in the storage volume. A |
| larger stripe size is better for large files. |
Create RAID | Press this button to configure a file system and create the RAID |
| storage volume. |
Remove | Click to remove the RAID volume. All user data will be removed. |
24
