eSATA Storage Expansion
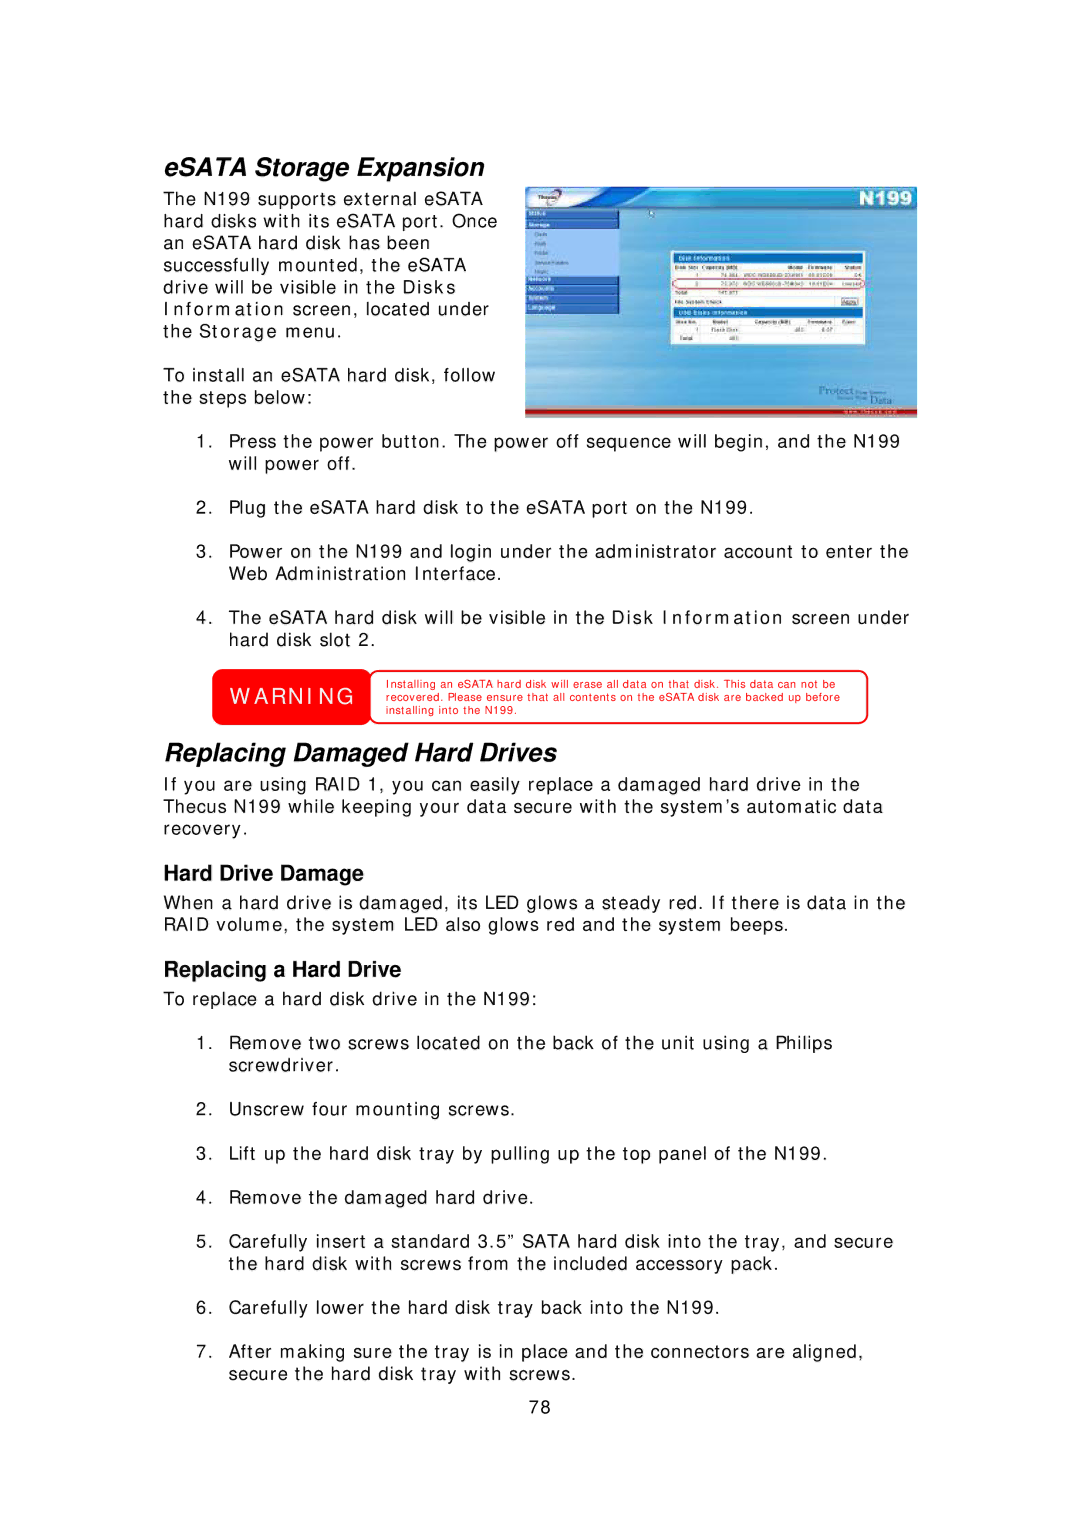
The N199 supports external eSATA hard disks with its eSATA port. Once an eSATA hard disk has been successfully mounted, the eSATA drive will be visible in the Disks Information screen, located under the Storage menu.
To install an eSATA hard disk, follow the steps below:
1.Press the power button. The power off sequence will begin, and the N199 will power off.
2.Plug the eSATA hard disk to the eSATA port on the N199.
3.Power on the N199 and login under the administrator account to enter the Web Administration Interface.
4.The eSATA hard disk will be visible in the Disk Information screen under hard disk slot 2.
Installing an eSATA hard disk will erase all data on that disk. This data can not be WARNING recovered. Please ensure that all contents on the eSATA disk are backed up before
installing into the N199.
Replacing Damaged Hard Drives
If you are using RAID 1, you can easily replace a damaged hard drive in the Thecus N199 while keeping your data secure with the system’s automatic data recovery.
Hard Drive Damage
When a hard drive is damaged, its LED glows a steady red. If there is data in the RAID volume, the system LED also glows red and the system beeps.
Replacing a Hard Drive
To replace a hard disk drive in the N199:
1.Remove two screws located on the back of the unit using a Philips screwdriver.
2.Unscrew four mounting screws.
3.Lift up the hard disk tray by pulling up the top panel of the N199.
4.Remove the damaged hard drive.
5.Carefully insert a standard 3.5” SATA hard disk into the tray, and secure the hard disk with screws from the included accessory pack.
6.Carefully lower the hard disk tray back into the N199.
7.After making sure the tray is in place and the connectors are aligned, secure the hard disk tray with screws.
78