Chapter 5: Using the N199
Overview
Once the N199 is setup and operating, users on the network may manage all varieties of digital music, photos, or files by simply using their web browsers. To manage your personal files or access public files on the N199, just enter its IP address into your browser, and you will be taken to the N199 Login page.
Login Page
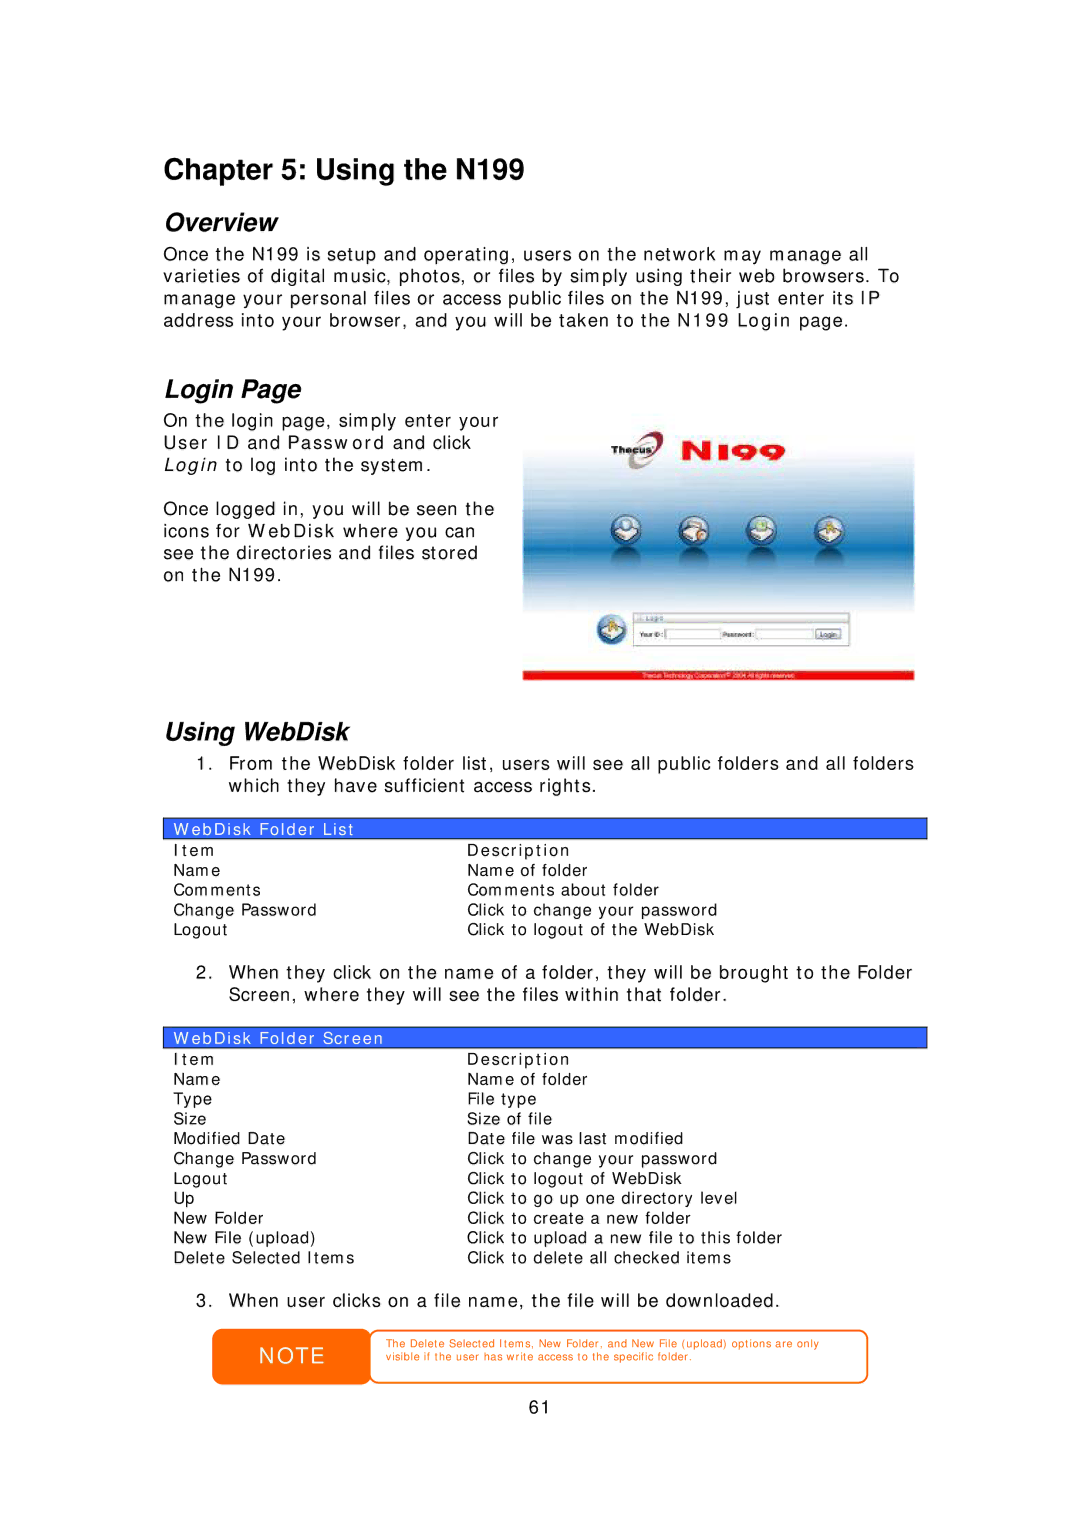
On the login page, simply enter your
User ID and Password and click
Login to log into the system.
Once logged in, you will be seen the icons for WebDisk where you can see the directories and files stored on the N199.
Using WebDisk
1.From the WebDisk folder list, users will see all public folders and all folders which they have sufficient access rights.
WebDisk Folder List
Item | Description |
Name | Name of folder |
Comments | Comments about folder |
Change Password | Click to change your password |
Logout | Click to logout of the WebDisk |
2.When they click on the name of a folder, they will be brought to the Folder Screen, where they will see the files within that folder.
WebDisk Folder Screen
Item | Description |
Name | Name of folder |
Type | File type |
Size | Size of file |
Modified Date | Date file was last modified |
Change Password | Click to change your password |
Logout | Click to logout of WebDisk |
Up | Click to go up one directory level |
New Folder | Click to create a new folder |
New File (upload) | Click to upload a new file to this folder |
Delete Selected Items | Click to delete all checked items |
3. When user clicks on a file name, the file will be downloaded.
NOTE | The Delete Selected Items, New Folder, and New File (upload) options are only |
visible if the user has write access to the specific folder. |
61