Cable Connections
Make the following connections on the Thecus N199 and then power up the unit:
1.Connect an Ethernet cable from your network to the WAN port on the back panel of the N199.
2.Connect the provided power cord into the universal power socket on the back panel. Plug the other end of the cord into a surge protected socket.
3.Press the power button on the front panel to power on the N199.
4.Make sure system is running properly by checking all front panel LEDs for any error indications.
Installation Wizard
The handy Thecus Setup Wizard makes configuring N199 a snap. To configure the
N199 using the Setup Wizard, perform the following steps:
1.Insert the installation CD into your
2.The Setup Wizard should launch automatically. If not, please browse your
Click START to continue.
NOTE
For MAC OS X users, double click on Thecus Setup Wizard 1.1.6.dmg
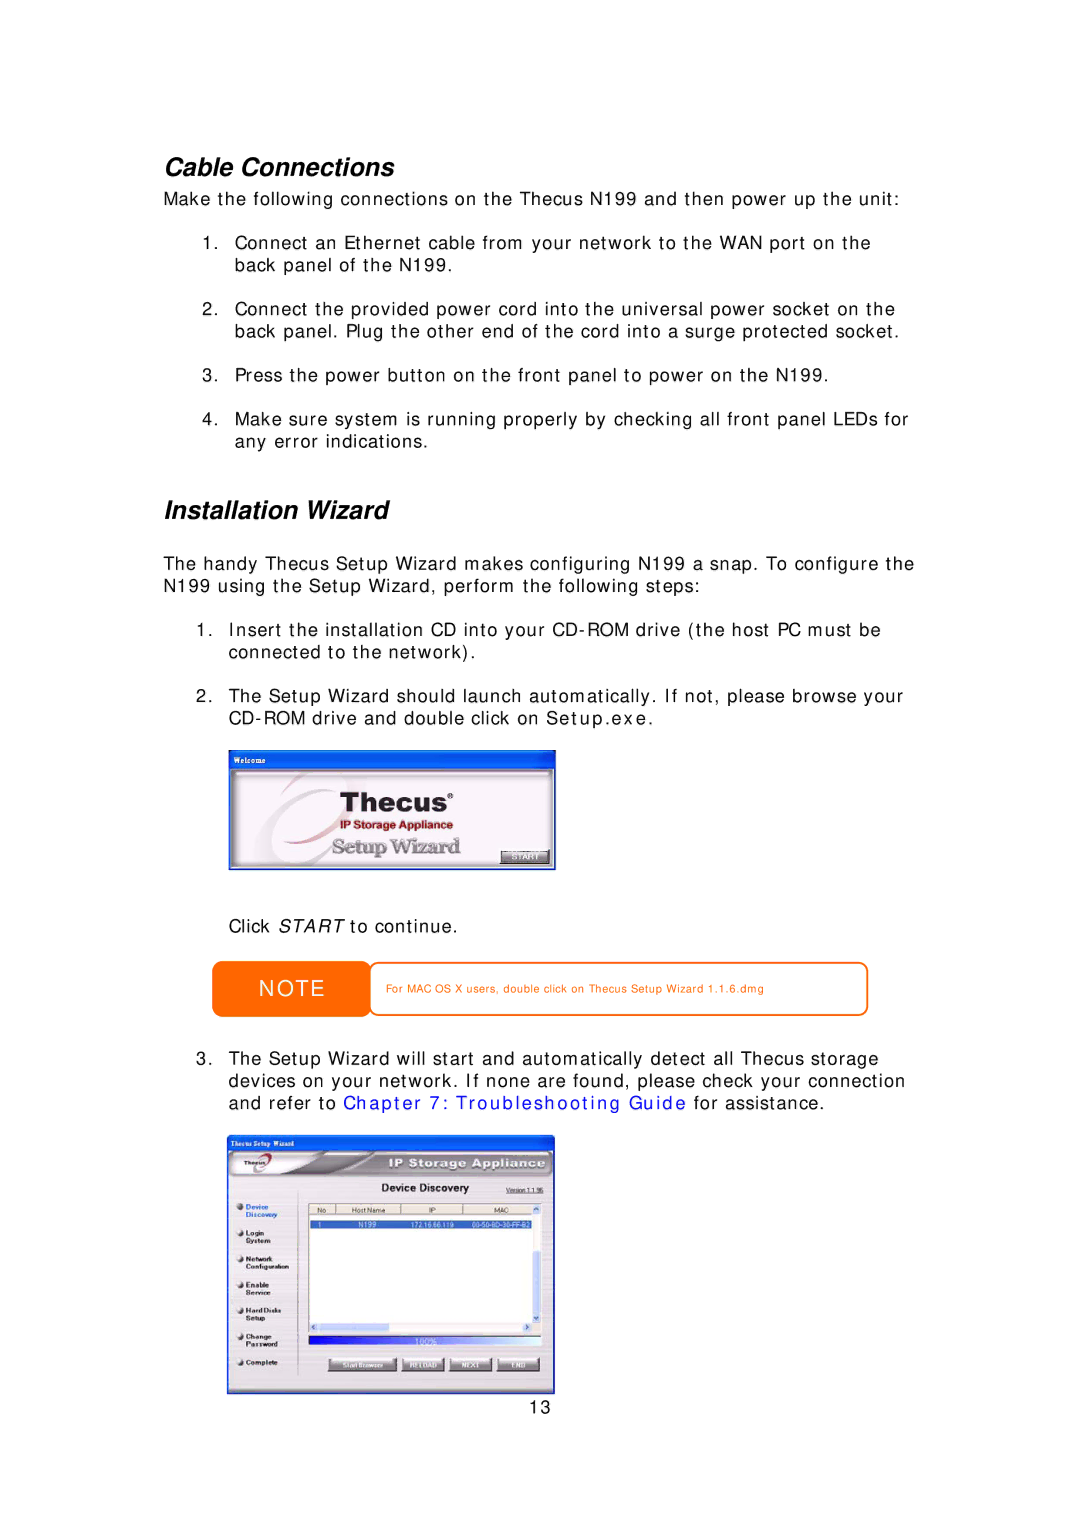
3.The Setup Wizard will start and automatically detect all Thecus storage devices on your network. If none are found, please check your connection and refer to Chapter 7: Troubleshooting Guide for assistance.
13