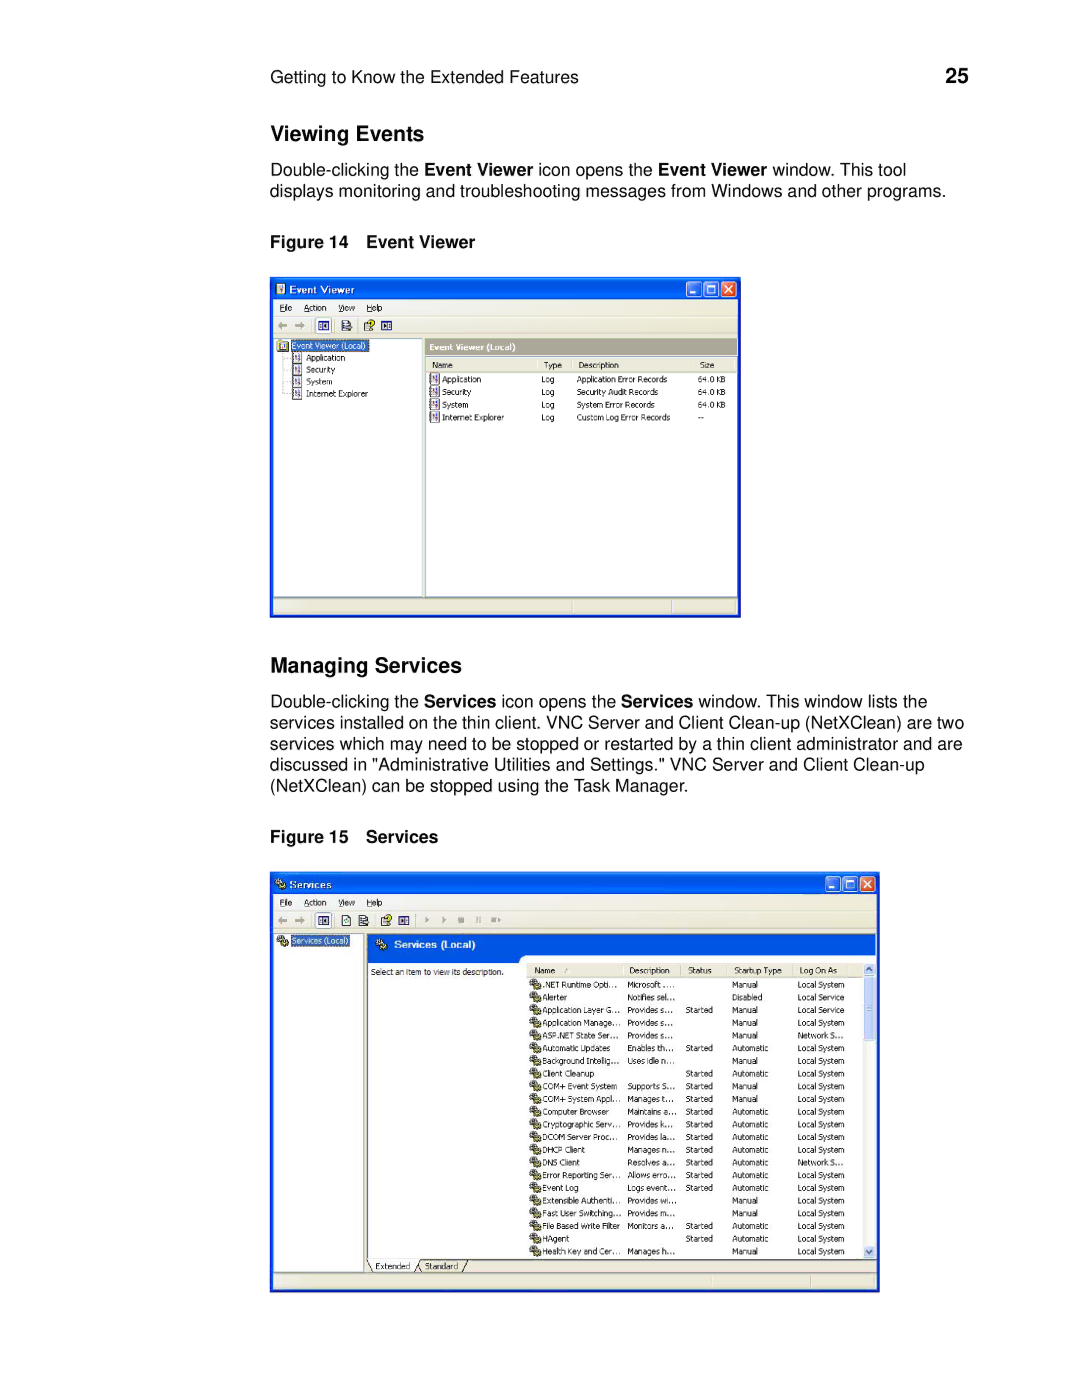
Products R90LE, R90L, X90Le, X90L, X90e, X90, C90LE, V90LE, V90L, S90
Administrators Guide
Issue PN 883808-01 Rev. L
Wyse Thin Clients Based on Microsoft Windows XP Embedded
Patents
Copyright Notices
End User License Agreement “License”
Trademarks
Canadian DOC Notices
Wireless Usage and Requirements
Device Power Supply
Regulatory Compliance for Thin Clients
Model VX0 Thin Client, Products V90L, V90LE
Battery Information
Model Rx0LE Thin Client, Product R90LE
Model SX0 Thin Client, Product S90
1 Introduction
Contents
Getting to Know the Extended Features
Summary of Revisions
System Administration
Administrative Utilities and Settings
Tables
Figures
viiiContents This page intentionally blank
Description
Summary of Revisions
Wyse Technology Inc. 883808-01 Rev. L
Reference
Description
Summary of Revisions
Reference
Organization of this Guide
1 Introduction
About this Guide
Wyse Online Community
Wyse Technical Support
Finding the Information You Need in this Guide
Related Online Resources Available at Wyse
2 Establishing a Server Environment
Setting-Up Access to the Enterprise Servers
Using Dynamic Host Configuration Protocol DHCP
Understanding How to Configure Your Network Services
Description
DHCP Options
Option
Description
Using FTP File Servers
Table 1 DHCP Options, Continued
Option
Using DNS
Understanding Session Services
Configuring RDP Session Services
Configuring ICA Session Services
Implementing View Client Support on Wyse Thin Clients
Using VMware View Manger Services
This page intentionally blank
Chapter
Logging On
What Happens When You Turn on Your Thin Client
3 Getting Started
Manual Log-on
Configuring the Thin Client
Automatic Logon
About the Automatically Launched Utilities
Figure 1 User desktop - example
Understanding the User Desktop
Figure 2 Administrator desktop - example
Understanding the Administrator Desktop
Logging Off, Shutting Down, and Restarting
Accessing the Extended Features of the All Programs Menu
4 Getting to Know the Extended Features
Configuring and Using Peripherals
Figure 3 Citrix Program Neighborhood
Managing Connections with Citrix Program Neighborhood
Viewing Client Information
Figure 5 Remote Desktop Connection - expanded view example
Browsing the Internet with Internet Explorer
Establishing Remote Desktop Connections
Figure 4 Internet Explorer
Figure 6 Odyssey Client Manager
Using the Odyssey Client Manager
Managing Connections with Ericom PowerTerm Terminal Emulation
Figure 7 Ericom - PowerTerm Session Manager
Figure 9 Neutron - extended view
Figure 8 Ericom - PowerTerm TEC and Connect
Synchronizing Thin Client Time with Neutron
Figure 10 VMware View Client - extended view
Using VMware View Client to Connect to a Virtual Desktop
Figure 11 Administrator Control Panel
Accessing the Extended Features of the Administrator Control Panel
Figure 13 Component Services
Accessing and Using the Administrative Tools
Configuring Component Services
Administrative Tools window Figure 12 Administrative Tools
Figure 14 Event Viewer
Managing Services
Figure 15 Services
Viewing Events
Figure 17 WinVNC Current User Properties
Configuring WinVNC Current User Properties
Managing Users
Figure 16 Local Users and Groups
Figure 18 Custom Fields
Setting Configuration Strings with Custom Fields
Figure 20 Dual Video VGA RAM
Configuring Dual Monitor Display
Configuring Dual Video VGA RAM
Figure 19 Display Properties
8. Select Do not share this printer and click Next
Configuring Touchscreens
Configuring Printers
Adding Printers
Figure 21 Ramdisk Configuration
Setting Ramdisk Size
1. Click Start Control Panel
English US default
Selecting Regional and Language Options
Controlling Sounds and Audio Devices
Figure 23 Winlog
Configuring WDM Properties
Enabling and Disabling Automatic Logon Using Winlog
Figure 22 WDM Properties
Figure 24 Disable Odyssey
Configuring the Internal Wireless Feature
Configuring Wireless Local Area Network LAN Settings
Using Wireless Zero Configuration WZC
Open the Network Connections dialog box Start Control Panel Network
Wireless Network Connection Properties dialog box
Figure 25 Wireless Network Connection Properties
Figure 26 Wireless Network Properties - EAP-TLS
Figure 27 Smart Card or other Certificate Properties - EAP-TLS
7. Click the Authentication tab
9. Select the Smart Card or other Certificate option for EAP type
Chapter
Configuring Wireless Thin Clients for PEAP-MS-CHAP
Figure 28 Wireless Network Connection - EAP-TLS
Figure 29 Wireless Network Properties PEAP-MS-CHAP
11. Clear the Validate server certificate check box
12. Select the Enable Fast Reconnect check box
13. Click Configure to open the EAP MSCHAPv2 Properties dialog box
Figure 30 Protected EAP Properties - PEAP-MS-CHAP
Chapter
Preserving Wireless Connections
Figure 32 Enter Credentials - PEAP-MS-CHAP
Using the Regpersistence Tool to Configure PEAP Wireless Connections
Using PEAP Fast Reconnect
This page intentionally blank
Chapter
Using the File Based Write Filter FBWF
5 Administrative Utilities and Settings
Changing Passwords with the File Based Write Filter
Disabling the machine account password change on the thin client
fbwfmgr /restore C filepath
Running File Based Write Filter Command Line Options
fbwfmgr /enable
fbwfmgr /disable
Figure 33 File Based Write Filter Control
Setting the File Based Write Filter Controls
Current Session Exclusion List area includes
Cache Limit and Warning Settings area includes
Understanding the NetXClean Utility
Drive C and Flash
Saving Files and Using Local Drives
Saving Files
Drive Z
Joining a Domain
Mapping Network Drives
Participating in Domains
Figure 34 WinPing
Using the WinPing Diagnostic Utility
Using the Net and Tracert Utilities
Using Roaming Profiles
Creating New User Accounts
Managing Users and Groups with User Manager
Creating New Groups
Configuring User Profiles
Determining Group Membership
Changing the Computer Name of a Thin Client
This page intentionally blank
Chapter
Accessing Thin Client BIOS Settings
6 System Administration
Using Wyse Device Manager Software for Remote Administration
Figure 35 FTP Addon Installer dialog box - manual example
Installing and Upgrading Addons
Installing and Upgrading Addons Using the FTP Addon Installer
Manually Installing and Upgrading Addons
Figure 36 FTP Addon Installer dialog box - automatic example
Automatically Installing and Upgrading Addons
Page
Configuring the Thin Client for WSUS
Using Windows Server Update Services WSUS on a Thin Client
Uninstalling Addons Using the FTP Addon Installer
Prerequisites
Automatic Software Updates on Wyse Thin Clients Using WSUS
Using WSUS on the Wyse Thin Client in Standalone Mode
Time
Troubleshooting WSUS in Standalone Mode
Table 2 WSUS Log Format
Date
The user is offered one update and chooses to install it
Windows Update Log File Examples
Service Startup
The Windows Update agent searches for available updates
Prerequisites
Configuring WSUS for Automatic Software Updates Using SMS
Troubleshooting WSUS Used with SMS
About VB Scripts
Prerequisites
Using WSUS with WDM
Figure 37 WSUS 2.0 Reports Tab
Netmon or Ethereal trace-shows data flow
Troubleshooting WSUS with WDM
WindowsUpdate.log file-provides statistics
Figure 38 WSUS 3.0 Management Console
Figure 39 System Settings Change message
Using WinVNC to Shadow a Thin Client
Setting VNC Server Properties
Figure 41 VNC Connection Details
Setting VNC Viewer Options
Figure 40 WinVNC Current User Properties
Figure 42 VNC Connection Options
snoopy0 or 132.237.16.2380
Figure 43 VNC Authentication
This page intentionally blank
Chapter
Figures
Page
1 DHCP Options 2 WSUS Log Format 3 WSUS Components
Tables
Written and published by Wyse Technology Inc., August
Administrators Guide
Wyse Thin Clients, Based on Microsoft Windows XP Embedded Issue
Created using FrameMaker and Acrobat