36 | Chapter 4 |
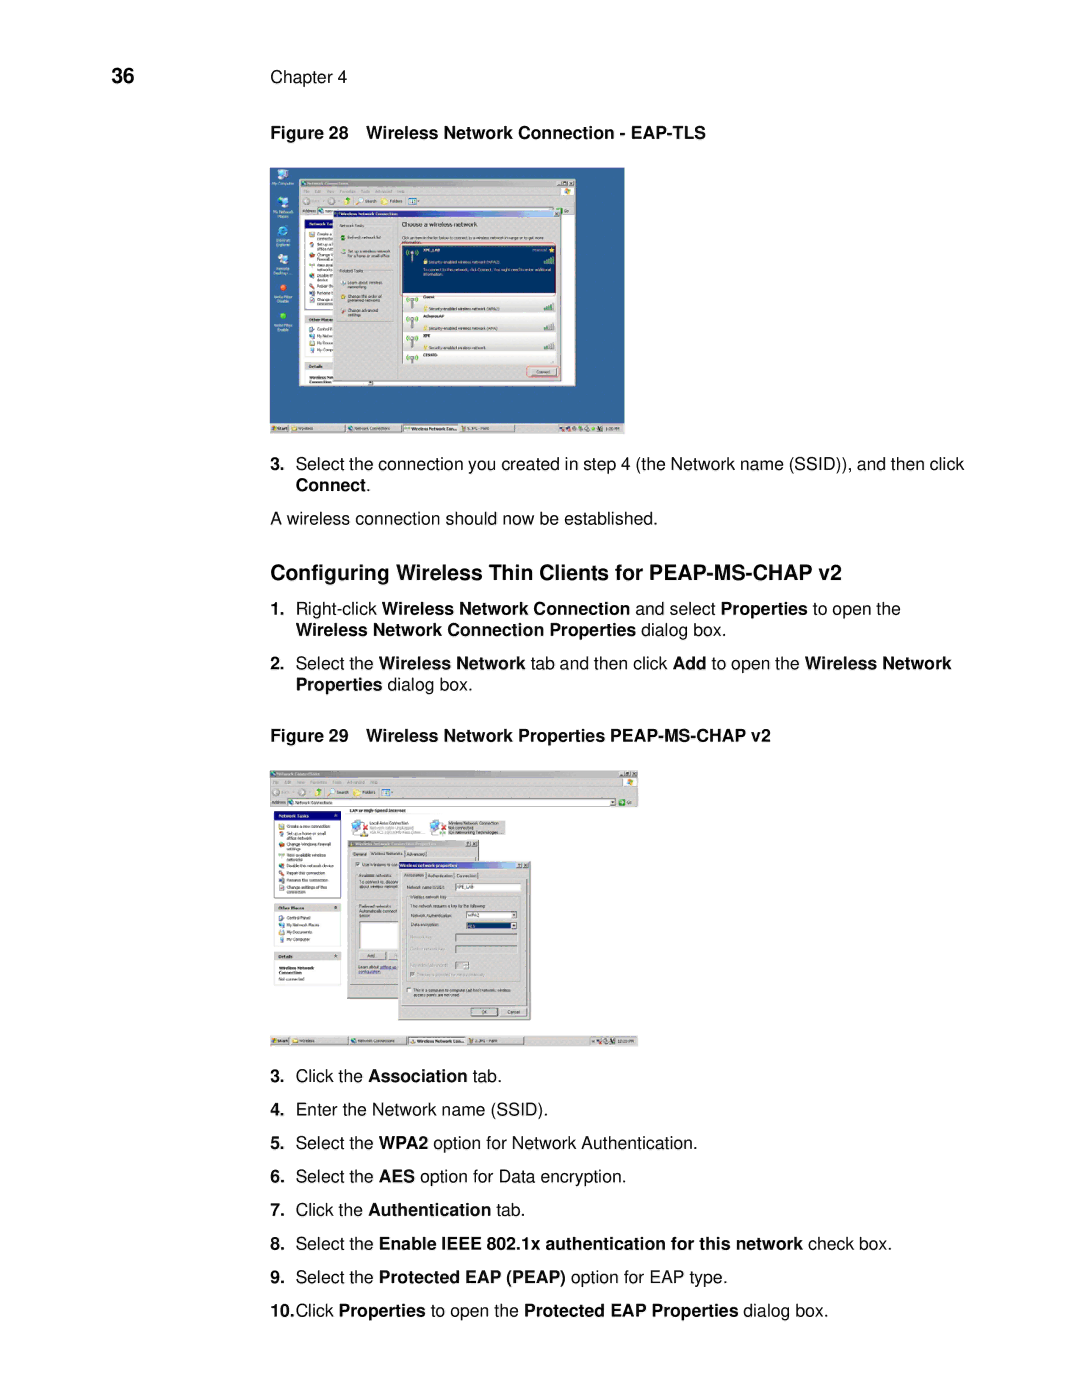
| Figure 28 Wireless Network Connection - |
3.Select the connection you created in step 4 (the Network name (SSID)), and then click Connect.
A wireless connection should now be established.
Configuring Wireless Thin Clients for PEAP-MS-CHAP v2
1.
2.Select the Wireless Network tab and then click Add to open the Wireless Network Properties dialog box.
Figure 29 Wireless Network Properties PEAP-MS-CHAP v2
3.Click the Association tab.
4.Enter the Network name (SSID).
5.Select the WPA2 option for Network Authentication.
6.Select the AES option for Data encryption.
7.Click the Authentication tab.
8.Select the Enable IEEE 802.1x authentication for this network check box.
9.Select the Protected EAP (PEAP) option for EAP type.
10.Click Properties to open the Protected EAP Properties dialog box.
