P R I N T E R M A I N T E N A N C E |
Follow these steps to clean the rollers.
1.Raise the Front cover.
2.Locate the Print Drum.
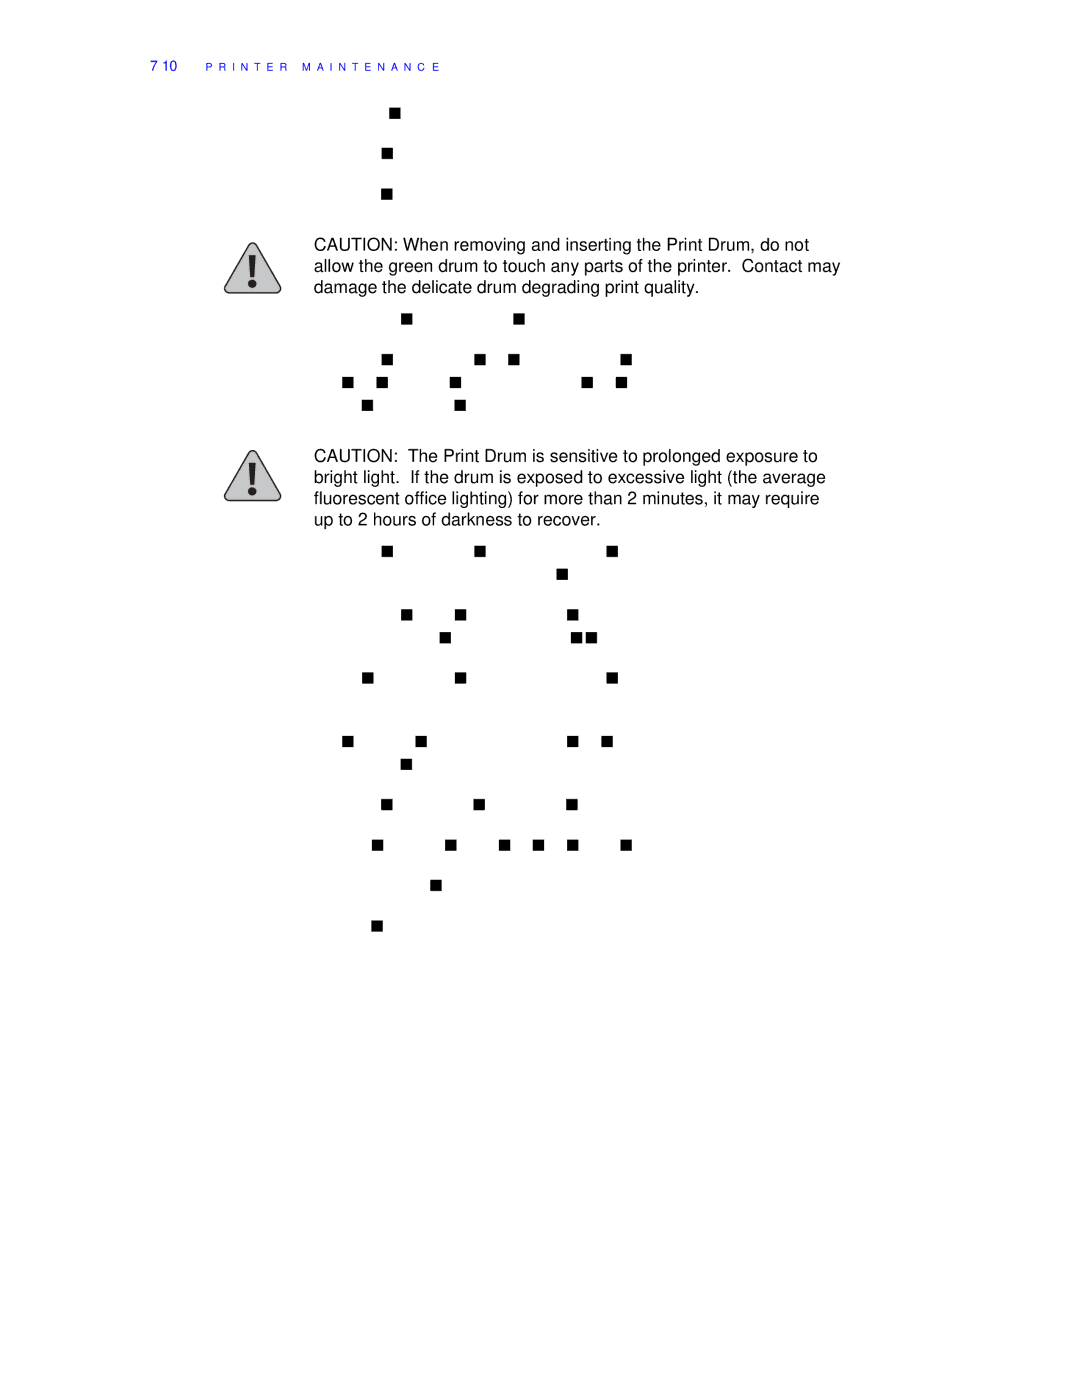
CAUTION: When removing and inserting the Print Drum, do not allow the green drum to touch any parts of the printer. Contact may damage the delicate drum degrading print quality.
3.Release the latches on both sides of the Print Drum.
4.Grasp the Print Drum by the handles and slide it up and out of the printer, being careful to not allow the drum to come into contact with the front cover of the printer.
CAUTION: The Print Drum is sensitive to prolonged exposure to bright light. If the drum is exposed to excessive light (the average fluorescent office lighting) for more than 2 minutes, it may require up to 2 hours of darkness to recover.
5.Set the Print Drum Module aside on several sheets of used paper and cover the drum with several layers of paper to avoid light contact.
6.Locate the paper sensor switch in the bottom of the printer. See diagram above. Take care not to damage this switch while cleaning.
7.While holding the paper switch down, wipe all the rollers with a clean cloth.
8.Clean the areas between the developer rollers. It is not necessary to completely remove the toner from the developer rollers.
9.Hold the Print Drum with both hands by the side handles.
10.Replace the Print Drum by sliding it down and into the printer.
11.Secure both latches of the Print Drum.
12.Close the Front Cover.