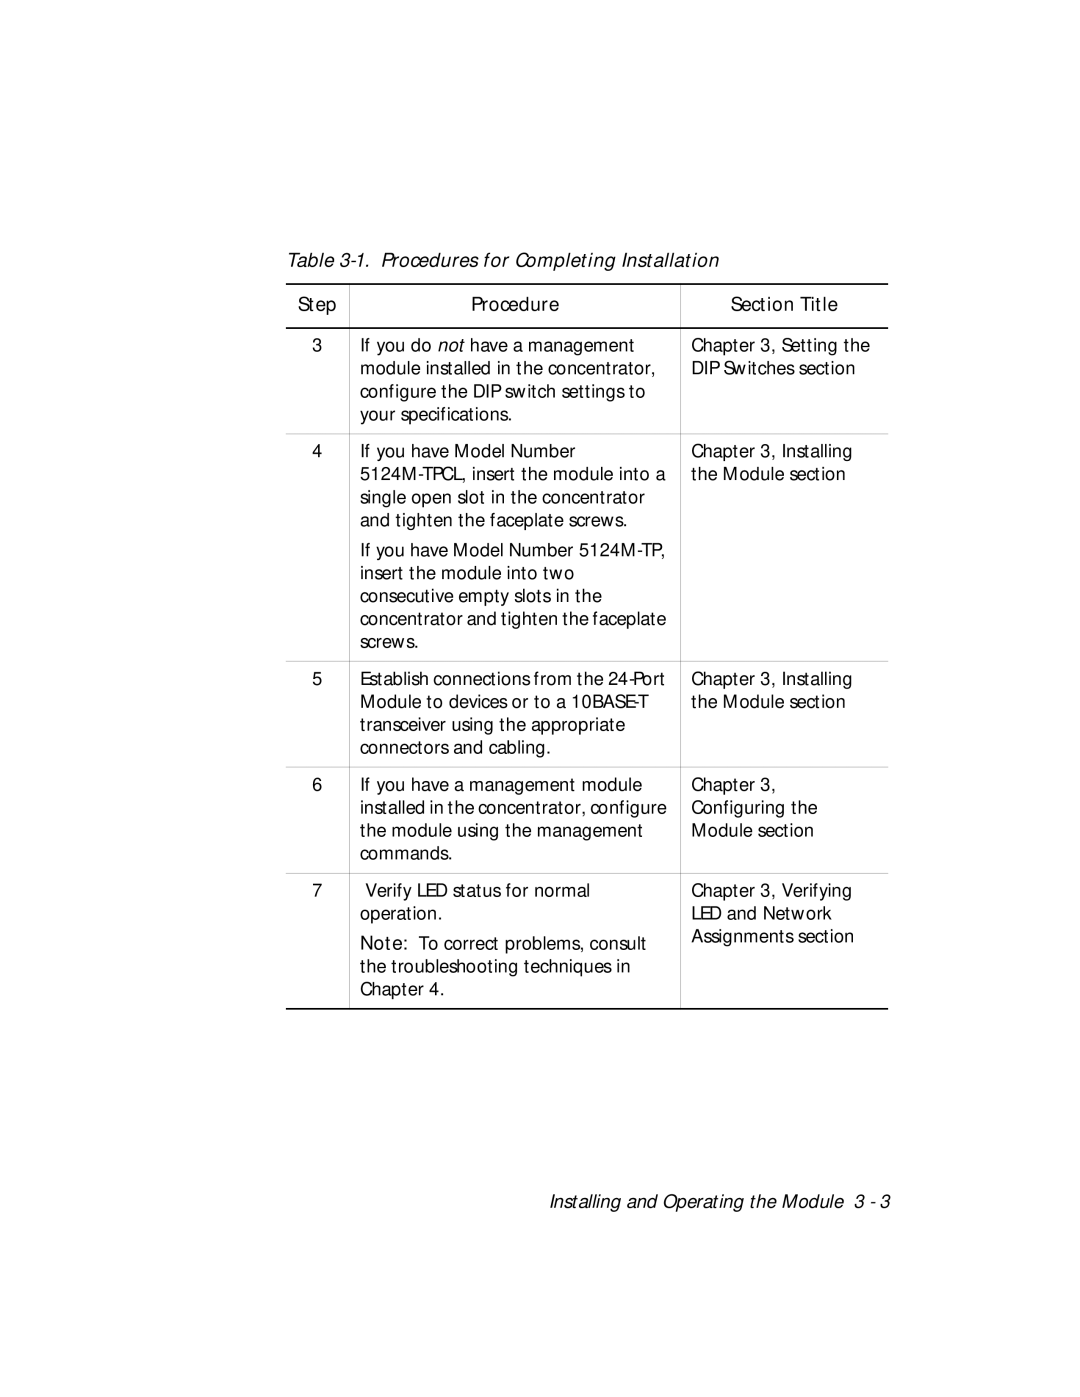
Table 3-1. Procedures for Completing Installation
Step | Procedure | Section Title |
|
|
|
3 | If you do not have a management | Chapter 3, Setting the |
| module installed in the concentrator, | DIP Switches section |
| configure the DIP switch settings to |
|
| your specifications. |
|
|
|
|
4 | If you have Model Number | Chapter 3, Installing |
| the Module section | |
| single open slot in the concentrator |
|
| and tighten the faceplate screws. |
|
| If you have Model Number |
|
| insert the module into two |
|
| consecutive empty slots in the |
|
| concentrator and tighten the faceplate |
|
| screws. |
|
|
|
|
5 | Establish connections from the | Chapter 3, Installing |
| Module to devices or to a | the Module section |
| transceiver using the appropriate |
|
| connectors and cabling. |
|
|
|
|
6 | If you have a management module | Chapter 3, |
| installed in the concentrator, configure | Configuring the |
| the module using the management | Module section |
| commands. |
|
|
|
|
7 | Verify LED status for normal | Chapter 3, Verifying |
| operation. | LED and Network |
| Note: To correct problems, consult | Assignments section |
|
| |
| the troubleshooting techniques in |
|
| Chapter 4. |
|
|
|
|
Installing and Operating the Module 3 - 3
