Chapter 3: Web Interface
2.4.8 About
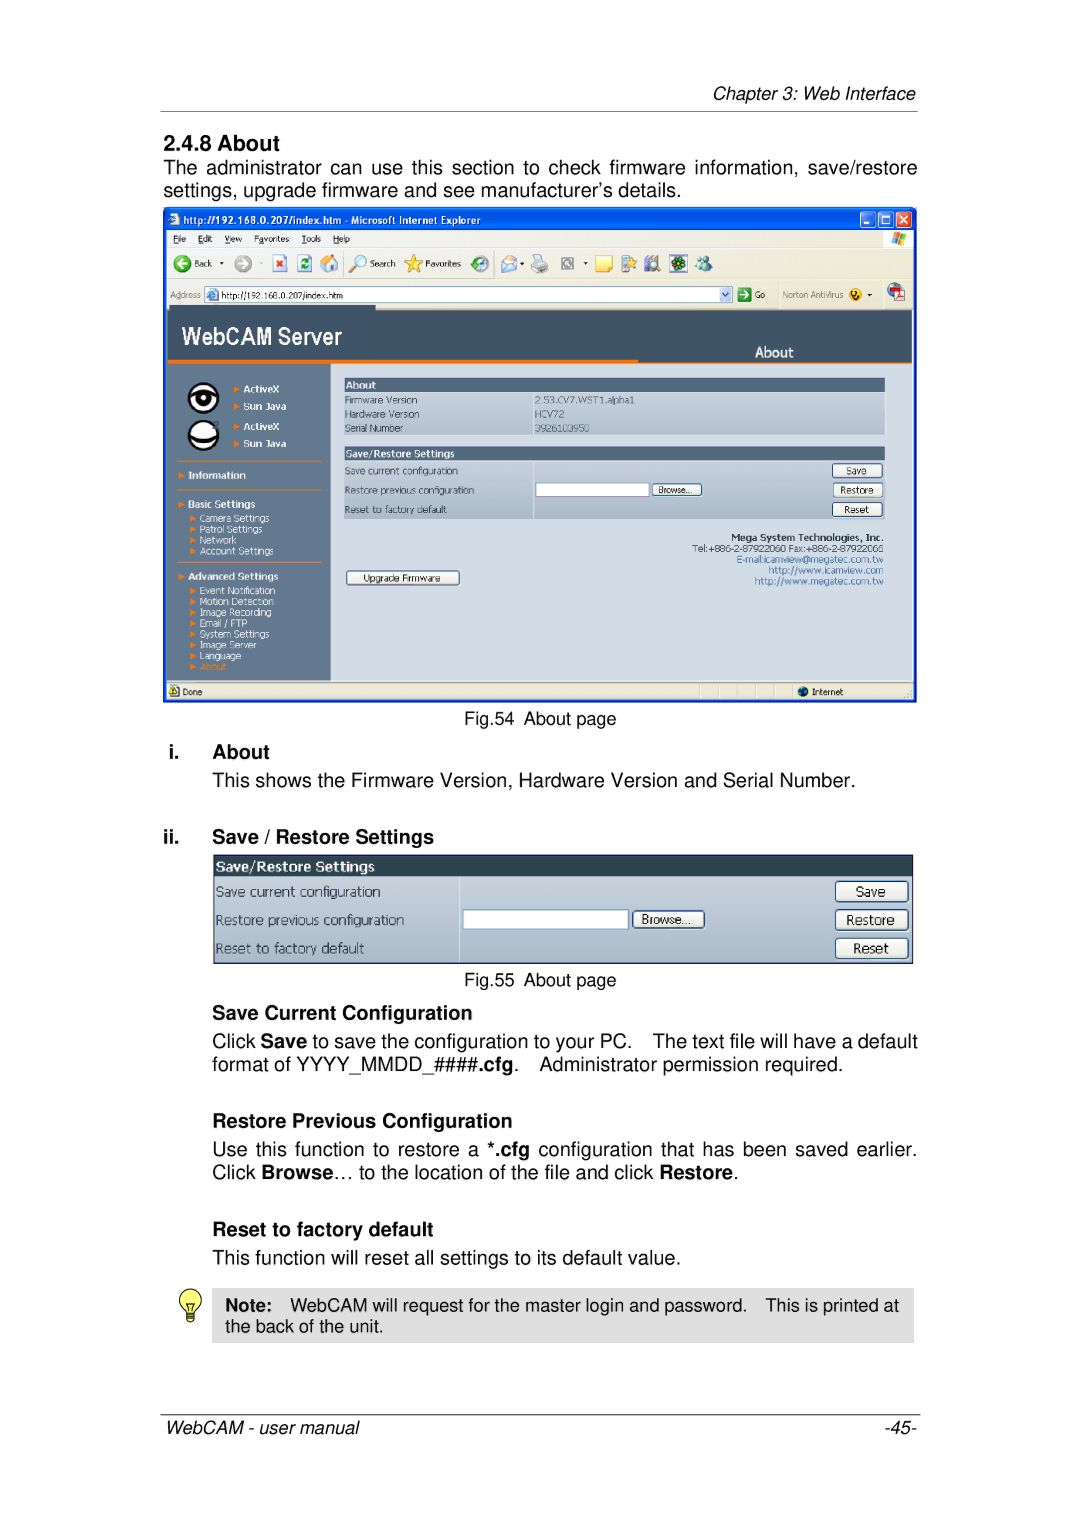
The administrator can use this section to check firmware information, save/restore settings, upgrade firmware and see manufacturer’s details.
Fig.54 About page
i.About
This shows the Firmware Version, Hardware Version and Serial Number.
ii.Save / Restore Settings
Fig.55 About page
Save Current Configuration
Click Save to save the configuration to your PC. The text file will have a default format of YYYY_MMDD_####.cfg. Administrator permission required.
Restore Previous Configuration
Use this function to restore a *.cfg configuration that has been saved earlier. Click Browse… to the location of the file and click Restore.
Reset to factory default
This function will reset all settings to its default value.
Note: WebCAM will request for the master login and password. This is printed at the back of the unit.
WebCAM - user manual |