Chapter 3: Web Interface
ii.Other Dynamic DNS
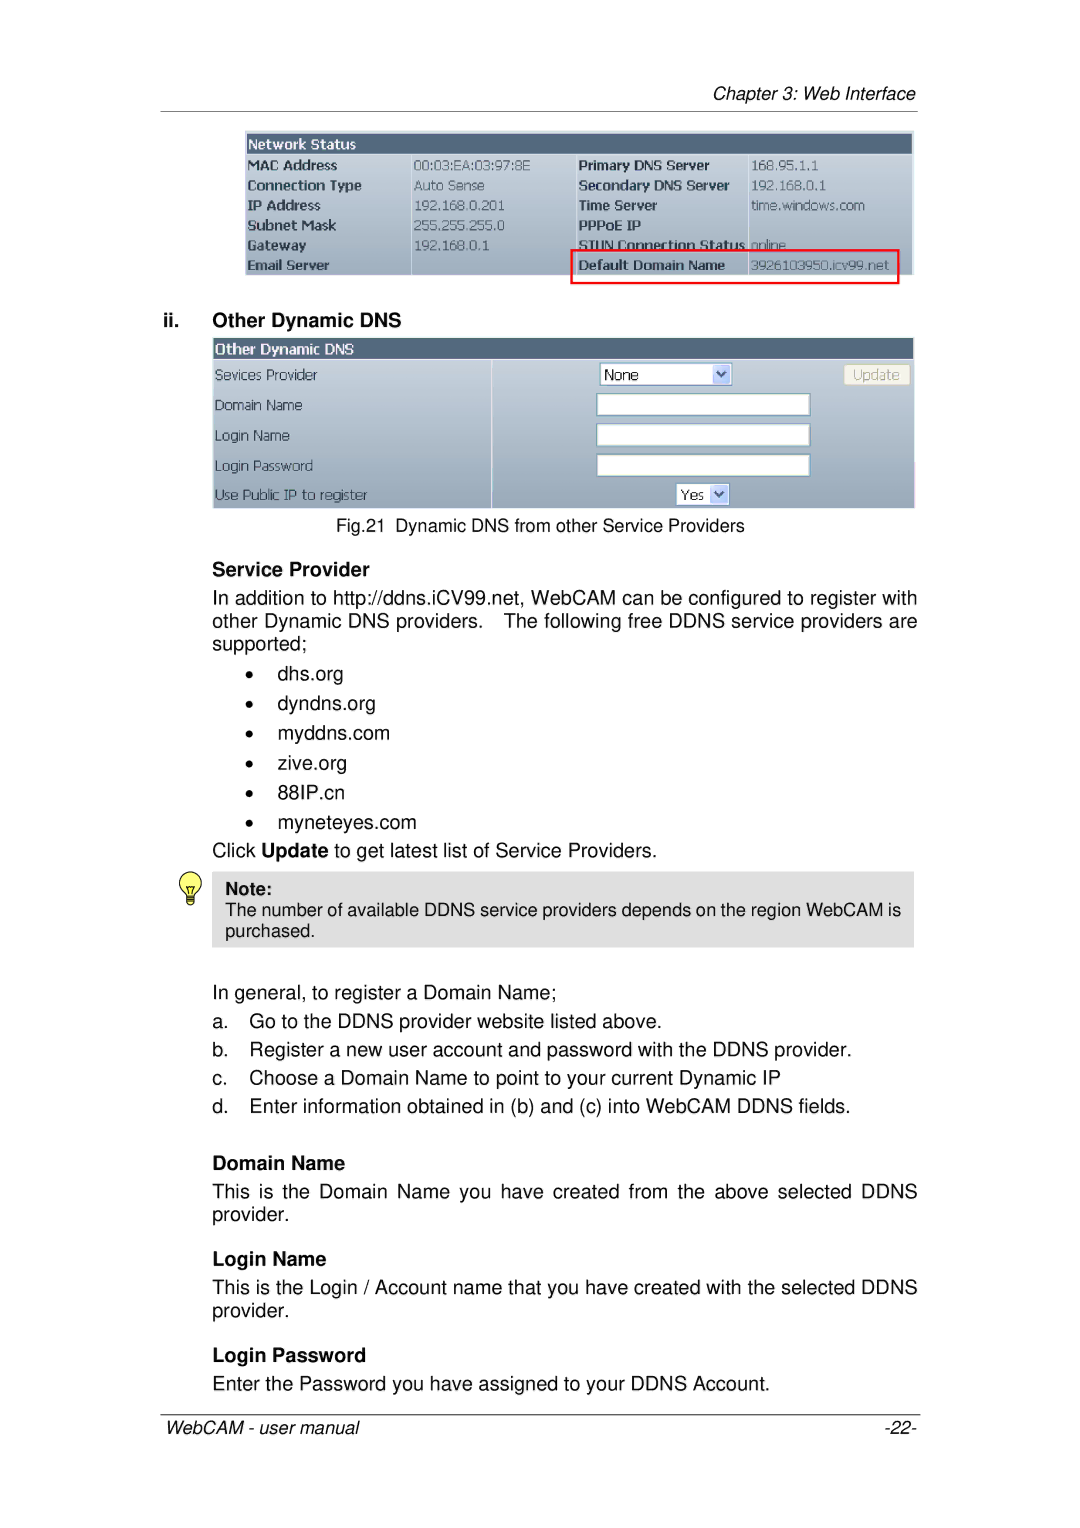
Fig.21 Dynamic DNS from other Service Providers
Service Provider
In addition to http://ddns.iCV99.net, WebCAM can be configured to register with other Dynamic DNS providers. The following free DDNS service providers are supported;
•dhs.org
•dyndns.org
•myddns.com
•zive.org
•88IP.cn
•myneteyes.com
Click Update to get latest list of Service Providers.
Note:
The number of available DDNS service providers depends on the region WebCAM is purchased.
In general, to register a Domain Name;
a.Go to the DDNS provider website listed above.
b.Register a new user account and password with the DDNS provider.
c.Choose a Domain Name to point to your current Dynamic IP
d.Enter information obtained in (b) and (c) into WebCAM DDNS fields.
Domain Name
This is the Domain Name you have created from the above selected DDNS provider.
Login Name
This is the Login / Account name that you have created with the selected DDNS provider.
Login Password
Enter the Password you have assigned to your DDNS Account.
WebCAM - user manual |