Anti-tip Bracket Installation
To reduce risk of range tipping, secure range with a properly installed
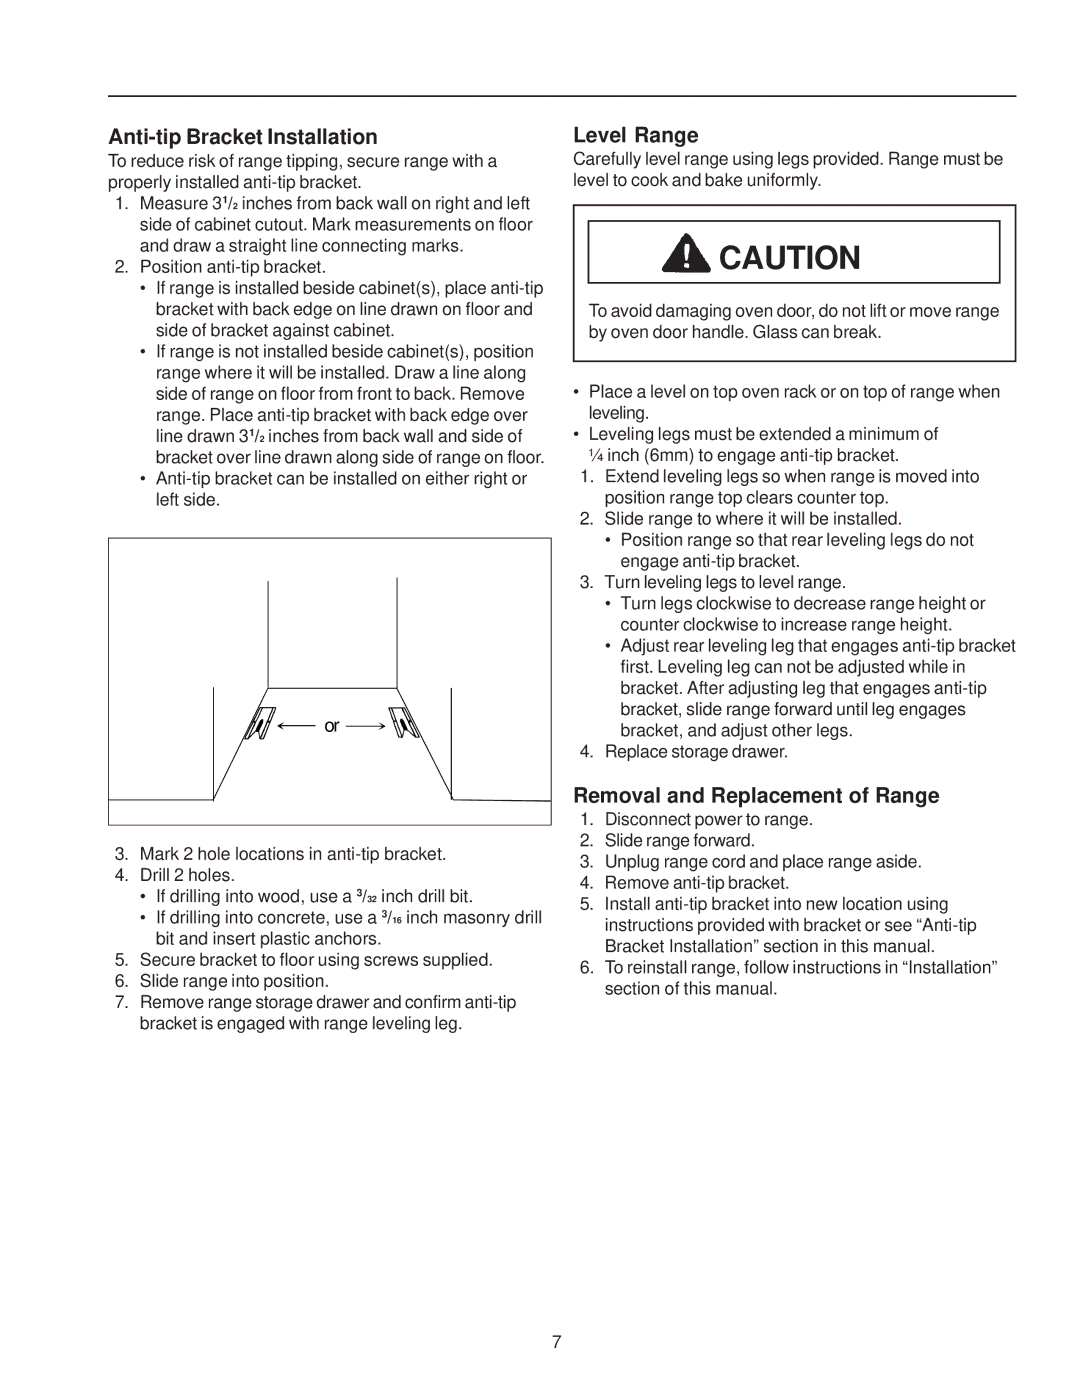
1.Measure 31/2 inches from back wall on right and left side of cabinet cutout. Mark measurements on floor and draw a straight line connecting marks.
2.Position
•If range is installed beside cabinet(s), place
•If range is not installed beside cabinet(s), position range where it will be installed. Draw a line along side of range on floor from front to back. Remove range. Place
•
or
3.Mark 2 hole locations in
4.Drill 2 holes.
•If drilling into wood, use a 3/32 inch drill bit.
•If drilling into concrete, use a 3/16 inch masonry drill bit and insert plastic anchors.
5.Secure bracket to floor using screws supplied.
6.Slide range into position.
7.Remove range storage drawer and confirm
Level Range
Carefully level range using legs provided. Range must be level to cook and bake uniformly.
![]() CAUTION
CAUTION
To avoid damaging oven door, do not lift or move range by oven door handle. Glass can break.
•Place a level on top oven rack or on top of range when leveling.
•Leveling legs must be extended a minimum of
¼inch (6mm) to engage
1.Extend leveling legs so when range is moved into position range top clears counter top.
2.Slide range to where it will be installed.
•Position range so that rear leveling legs do not engage
3.Turn leveling legs to level range.
•Turn legs clockwise to decrease range height or counter clockwise to increase range height.
•Adjust rear leveling leg that engages
4.Replace storage drawer.
Removal and Replacement of Range
1.Disconnect power to range.
2.Slide range forward.
3.Unplug range cord and place range aside.
4.Remove
5.Install
6.To reinstall range, follow instructions in “Installation” section of this manual.
7