Appendix A: Troubleshooting
Step 3: Copy Firmware file
1.
2.Copy the file into the
Step 4: Ethernet Connectivity
1.Verify the Ethernet port is enabled and connect an Ethernet cable from the laptop to the WAP250G.
2.Highlight My Network Places;
3.Assign a static IP Address on the same network as the WAP250
4.Click OK.
5.Click OK.
6.Click Start/Run and type CMD.
7.Ping IP Address of the WAP250G to verify connectivity.
Step 5: Launch TFTP Server
1.Start\Run\Program
2.Select Solarwinds Free Tools.
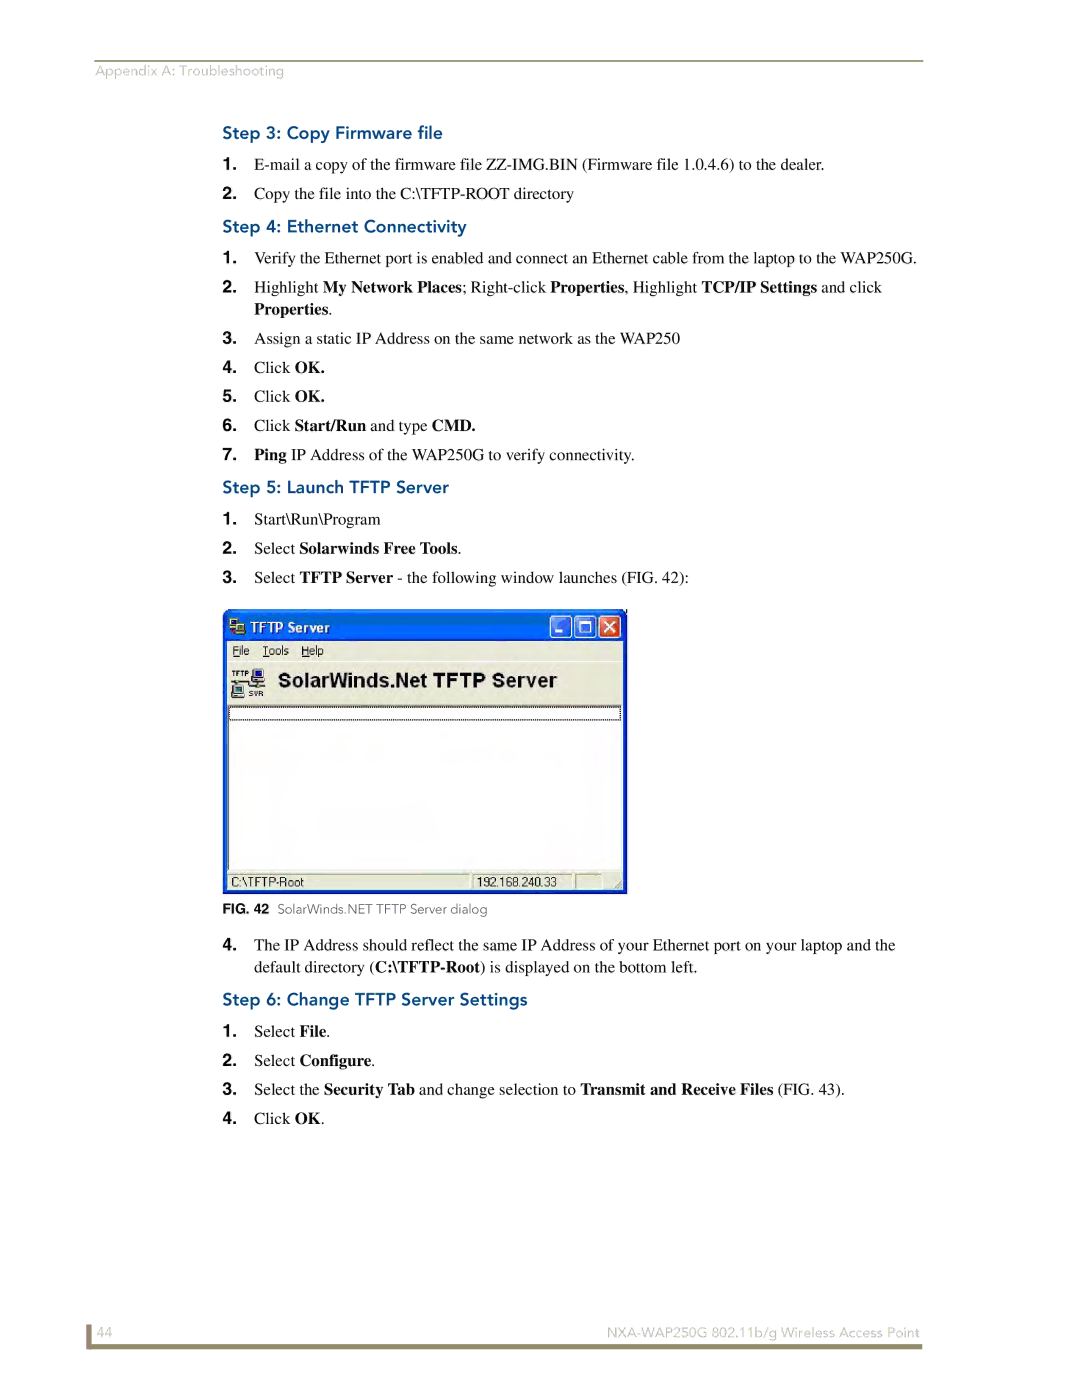
3.Select TFTP Server - the following window launches (FIG. 42):
FIG. 42 SolarWinds.NET TFTP Server dialog
4.The IP Address should reflect the same IP Address of your Ethernet port on your laptop and the default directory
Step 6: Change TFTP Server Settings
1.Select File.
2.Select Configure.
3.Select the Security Tab and change selection to Transmit and Receive Files (FIG. 43).
4.Click OK.
44 |